|
Boeing 777-200
by Dan Lee
|
|
|
Boeing 777-200 |

Hasegawa's 1/200 scale Boeing 777-200 is
available online from Squadron
The Boeing 777 was designed
to fill the airliner gap between its 747 and 767 product lines. It was
meant to replace the aging DC-10 and L1011 fleets and to compete with the
McDonnell Douglas MD-11 and Airbus A340/330. These were already in
development when Boeing started on the 777 project.
The 777 followed after the development of the 747-400 and as a result
employed the latest technological advances at that time. A two crew
cockpit, LCD displays, digital data buses, and composite structures just
to name a few. The 777 was also Boeing’s first airliner to employ digital
fly-by-wire for all control surfaces.
First flight was on June 20 1994. And at the time, it was the largest twin
engine passenger aircraft in the world. Today that title goes to its
stretched version, the 777-300. The –300 variant is intended to replace
the early 747-100/200s. Development of the 777 was an international
project with customers having input during the entire development cycle.
The plane is powered by either the Pratt & Whitney PW4000, General
Electric GE90 or Rolls-Royce Trent 800.
From its original offering (-200), a total of five variants are offered (
-200, -200ER, -300, -200LR, -300ER). As of July 2003 there have been 622
orders and 443 deliveries covering all variants.
The 777-200 is of particular interest to me, since I was at Allied Signal
Aerospace in Toronto, Canada during the development of the pneumatic
control system for the aircraft.
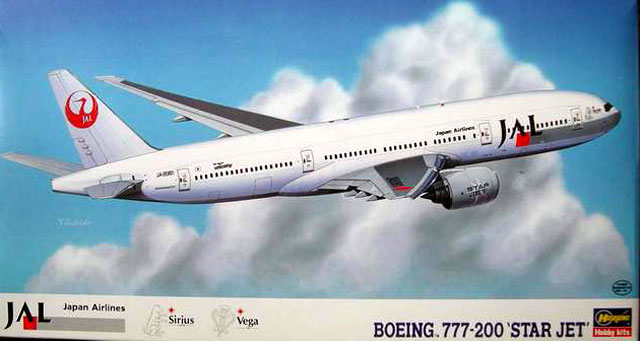
Hasegawa’s
1/200 B777-200
|
This one of Hasegawa’s many
releases of its 777-200 kit and was purchased for $26CDN.
The kit decals are for Japan
Airlines, with individual aircraft named after particular constellations.
The kit features recessed panel lines, openings for passenger windows, a
clear cockpit windshield, and display stand. Engines are the Pratt &
Whitney variety.
The kit went together
without any major problems. A bit of filler was required on the left wing
root and around the engine nacelle intake lips which weren’t cleanly
molded on my copy.
Construction started with the fuselage. The provided nose weight ballast
was installed which consisted of machine screw being screwed into the
cockpit bulkhead. The interior was sprayed flat black. Passenger windows
are depicted by holes which for some reason I prefer; instead of window
decals. Window counters will need to fill in the appropriate windows for
the particular airline they are modelling or use window decals.
With the fuselage halves glued, a slight peak is noticeable along the join
line for both top and bottom joints. Sanding is required to eliminate this
artifact. All antennas were removed and replaced with thinner parts made
from 10 thou plastic card. Provision is provided for the builder to mount
the aircraft on a display stand. A hole must be opened in the fuselage and
the stand mounting plug installed to use the display stand.
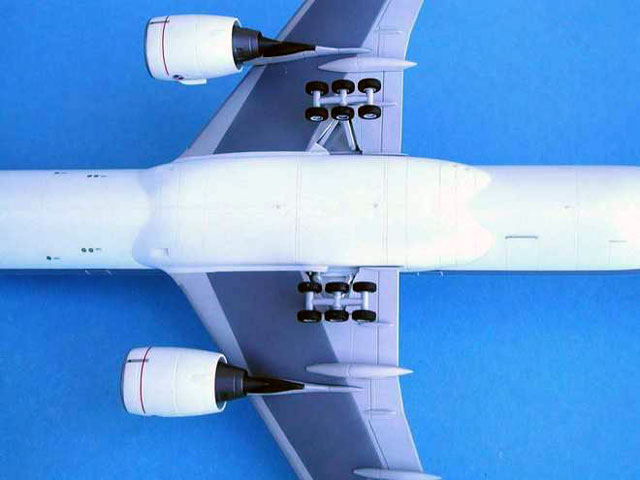
The wings were assembled next which consist of upper/lower halves. A nice
feature about the wings are that the under wing fairings are all separate
and were left off until after everything was painted. This makes masking
and painting the underside corrogard panels painless.
I decided to glue the wings to the fuselage before any painting since test
fitting revealed a slight gap/ mismatch on the forward left fuselage/wing
joint. Here putty was used to fix the problem. Otherwise you could paint
the wings and fuselage separately and join them afterwards.
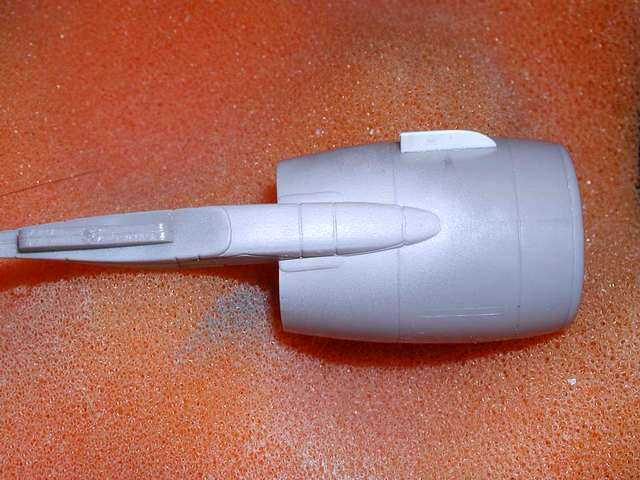
The engine nacelle fan discs require painting before they are installed
between the nacelle halves. Testors steel for the fan blades and Tamiya
Semi-gloss black for the hub were used. The interior ducting was painted
Testors steel enamel which turned out to look metallic grey. New engine
vanes were made with 10thou plastic card. The engine hot sections were
left off until painting was done.
The main landing gears are
molded to fit either the left or right gear bays. As such they have
mounting holes for the main gear doors on both sides of the struts.
However the struts are quite thin and the holes quite large. Therefore I
decided to fill the extra holes in with stretches spruce and have mounting
posts for the gear doors.
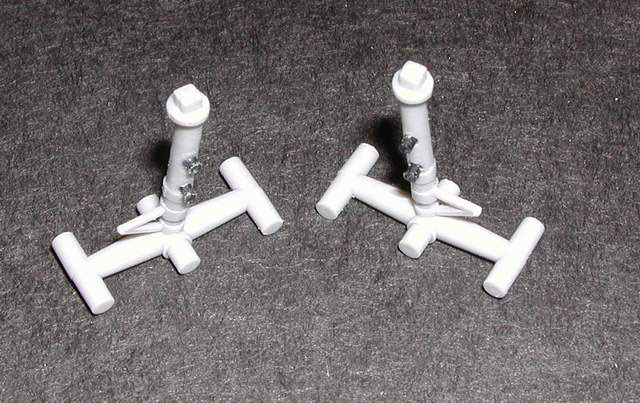
All the gear doors are
overly thick. The main landing gear doors were sanded thinner. Nose doors
and auxiliary main landing gear doors were replaced with thinner ones made
from plastic card.
The engines, horizontal stabilizers, and landing gear were left off during
the painting session.
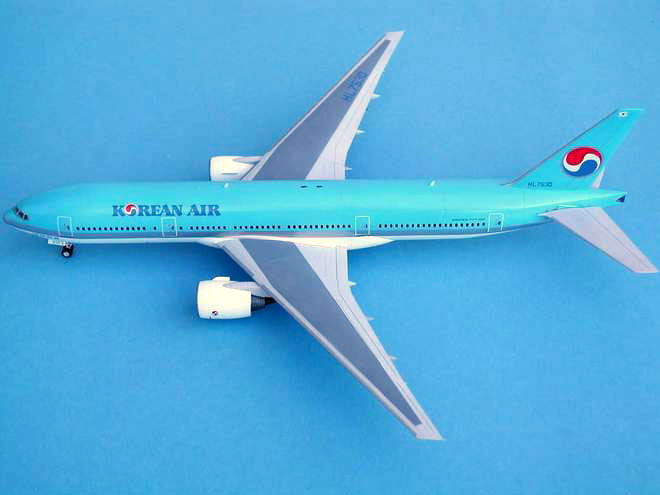
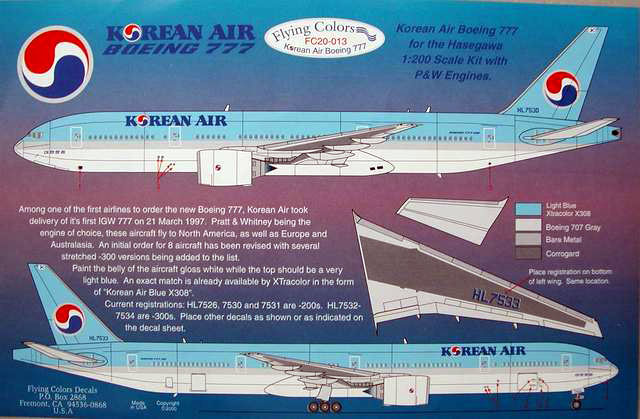
Long ago I decided that the
JAL scheme was too boring. It was the Korean Air decals from Flying Colors
that caught my attention and became the target scheme for this kit.
Paint
Wings were paint first.
Gunze Sanyo H338 Light Grey was used for the wings and horizontal
stabilizers. Tamiya neutral grey was used for the corrogard on the wings.
Gunze Sanyo H45 Light Blue mixed with white was then used for the upper
fuselage. The blue was then masked off and Tamiya White was used for the
lower fuselage. During painting of the fuselage, the wings were masked to
prevent any overspray from contaminating the wing’s finish.
I found that painting the engine pylons light grey and then masking the
pylon and painting the nacelle white the easiest sequence.
The leading edges for the wings and horizontal stabilizers were masked off
and Testors silver was then sprayed.
Testor's Metallizer Exhaust and burnt metal was used to for the engine hot
section. Once all engine nacelle parts were painted, all parts were
superglued.
Future was applied prior to decal application.
The cockpit windshield, landing gear, landing gear doors and engines were
installed as the last step prior to decal application.
Decals
The Korean Air, Flying
Colors decals ($10.95CDN) cover both 777-200 and 777-300 variants that
Korean Air fly. Registration numbers are provided for HL7526,7530,7531 for
777-200s and HL7532-7534 for 777-300s. The default registration number is
HL7533.
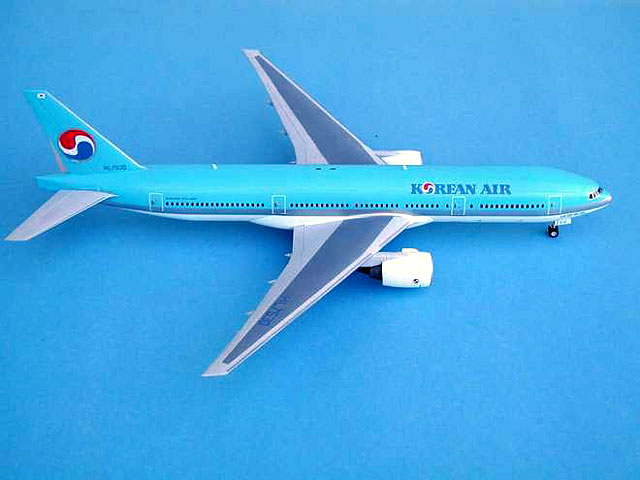
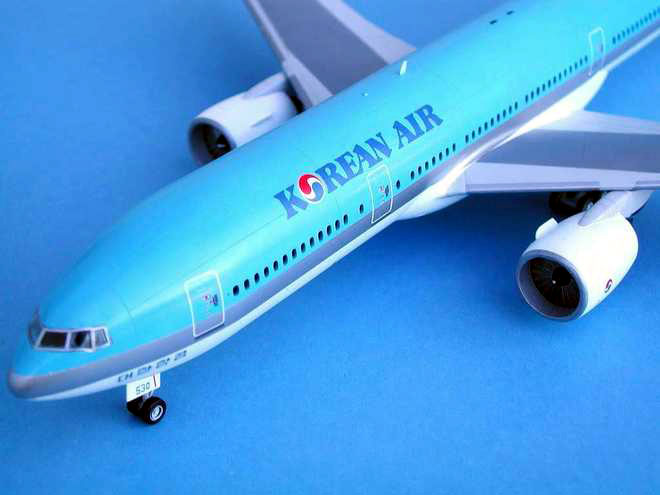
There are two challenges with the decals; the silver band and the fin
airline emblem. The silver band along the fuselage consisted of two
segments per side. Plenty of Mircoscale Micro Sol setting solution and
time was required to soften the decals to get them to conform to the
complex curves at the nose and the rear fuselage. The end result is that
the silver band looks like it was painted on. One hicup was the silver
bands needs a cut out over the wing. Otherwise the decal spills onto the
wing which happened to me; such is life.
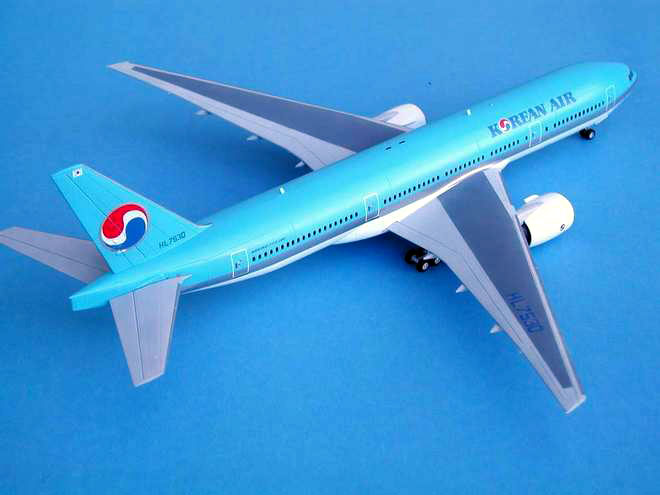
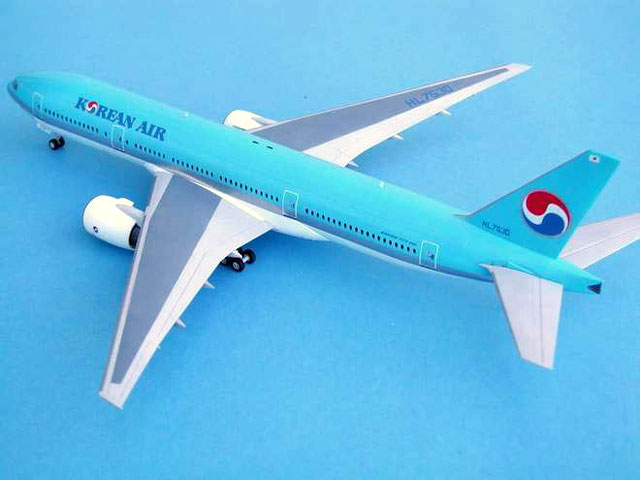
The circular fin emblem sits on top of the rudder hinge line which is
quite deep. The port side also has three lumps for the rudder trim tab
actuators which adds a further complex surface for which the decal must
conform against. Again Micro Sol solution and time was required to get the
decal to sit down. However I did manage to get the decals to crack along
the rudder hinge line; looked like more time with Micro Sol was required
unfortunately.
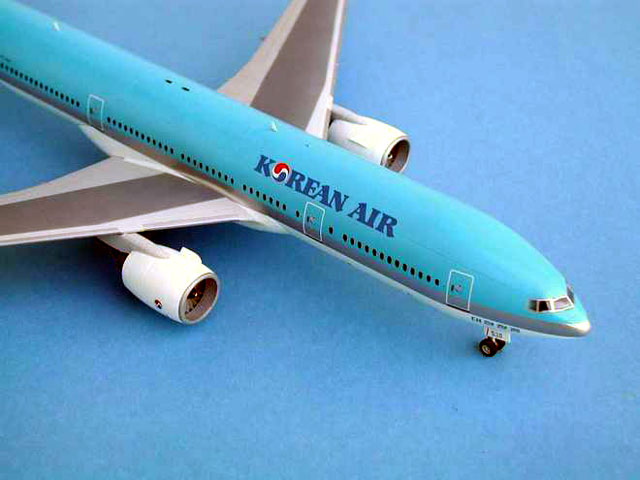
The final hiccup was with the registration number. To make any aircraft
other than default 7533, the last digit ‘3’ must be cut off and the
desired digit selected from the spare numbers. However the font size for
the spare numbers is slightly smaller than that of the default. This is
quite noticeable on the nose door numbers and slightly noticeable on the
fin numbers.
There was plenty of silver decal left which I used for the cockpit
framing.
Otherwise the decals were great to work with and are highly recommended.
Hasegawa’s 777 was a simple
and easy kit to put together. The Korean Air is definitely one of the more
colorful and easier paint schemes for the B777. Highly recommended as an
diversion from your normal subjects.
Click the
thumbnails below to view larger images:
Model, Images and Text Copyright ©
2003 by Dan Lee
Page Created 08 September, 2003
Last Updated
17 March, 2004
Back to
HyperScale Main Page |
 Home |
What's New |
Features |
Gallery |
Reviews |
Reference |
Forum |
Search
Home |
What's New |
Features |
Gallery |
Reviews |
Reference |
Forum |
Search