|
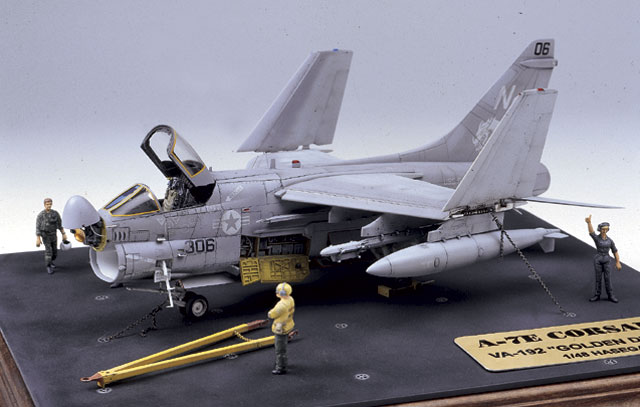
A-7E Corsair II
by
Maciek Zywczyk

Hasegawa's
1/48 scale A-7E Corsair II is available online from
Squadron
This is Hasegawa's 1/48
scale A-7E Corsair II, kit no. P12, which I bought many years ago on a
trip to Germany.
I love the A-7, so I decided
to spend a fortune (70 DM – ca. 35 USD) for it. In the late 1980’s this
price almost equalled a month’s salary here in Poland. It was supposed to
be build as a highlight in my collection, so I stored the box in safe
place and practised my skills. On one of my next trips to Germany I’ve
bought Verlinden 544 Super Detail Set. After some years situation changed
and many great kits became available in our hobby shops, but this A-7E is
still something special for me.
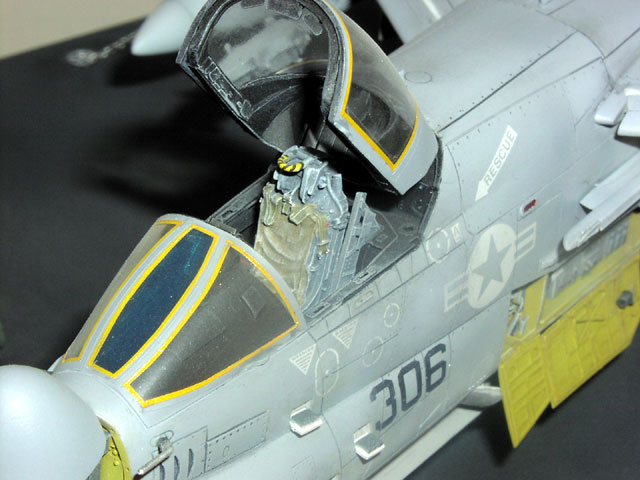
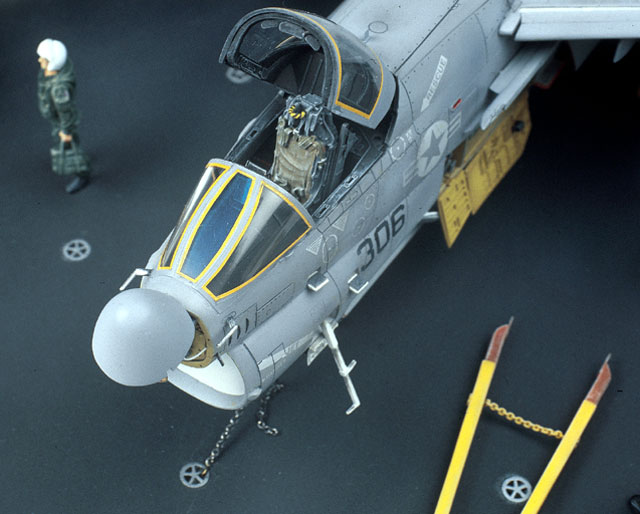
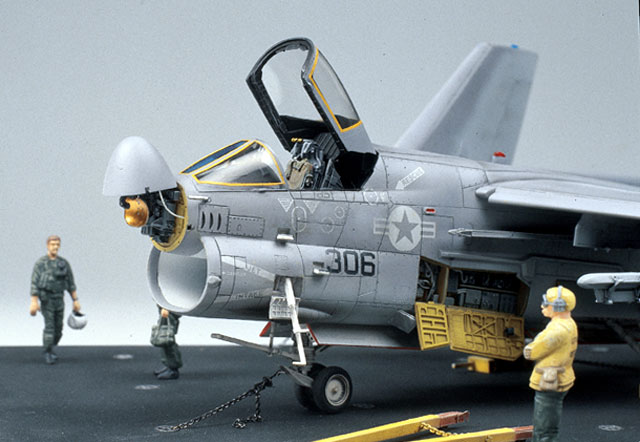
The cockpit was detailed with Verlinden parts. It was painted and
drybrushed with enamels. Construction of cockpit and nose gear bay went
straightforward, only air intake was difficult to putty and sand inside.
Gear bays look good, but I’ve detailed them with Eduard photo etched items
and wire. Gear legs and wheels were prepared and everything was painted
white. After drying I gave them brown – black „wash” (water based paints
for children). Tires were painted black and drybrushed.
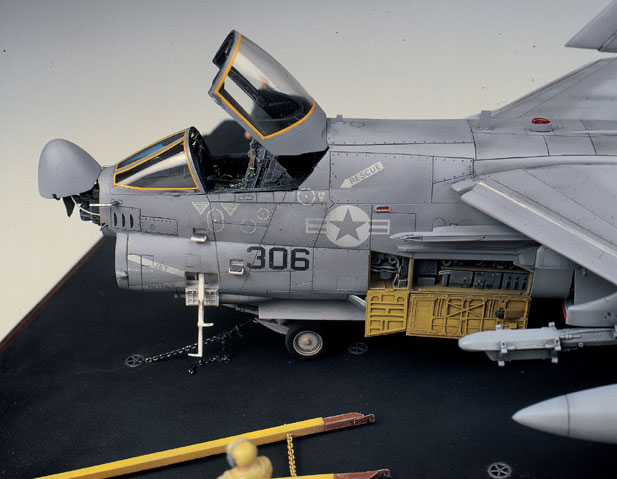
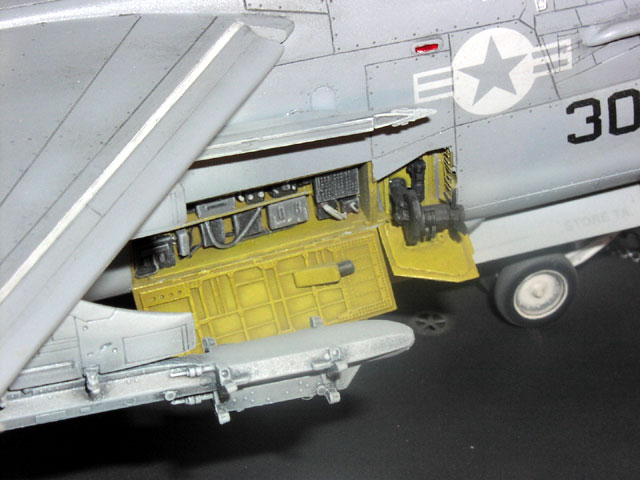
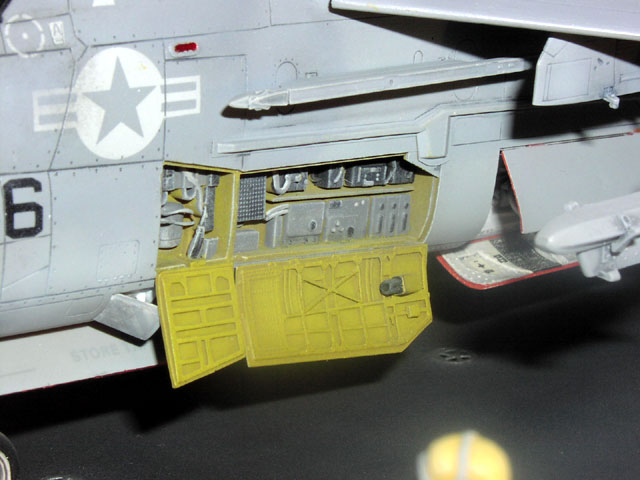
Electronic bays also benefitted from some detailing with resin parts from
Verlinden and wire. The doors were modified photo etched items, as the
Eduard set (48 050) was for A-7D version.
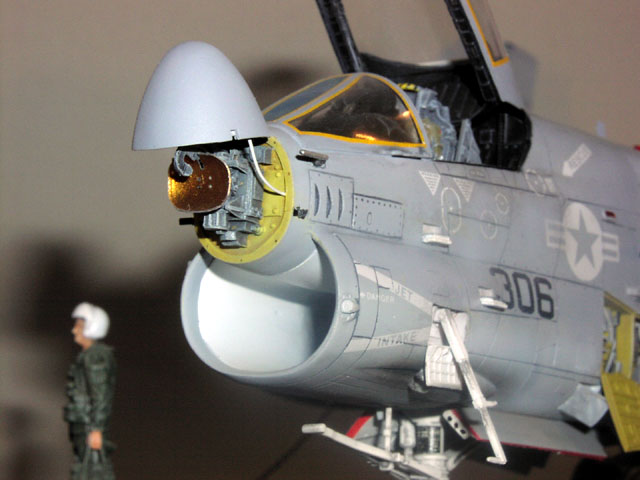
After the fuselage halves were joined, I cut out the radome. It was
thinned and smoothed from inside with motor tool. Resin and etched parts
were glued to the fuselage. After finishing radar antenna, the cover
cannot be closed, because plastic is too thick and Verlinden radar is a
bit too big.
The inner sections of wings were glued without modifications and then
attached to the fuselage. Almost no filler had to be used. All joins were
smoothed and panel lines rescribed. Other subassemblies – outer sections
of wings, stabilisers, tanks, etc. were finished without modifications.
I masked off all painted bits: cockpit, radar, wheel bays, electronic bays
and exhaust. As I wanted to finish my Corsair in low visibilty scheme,
appropriate decals were needed. Aftermarket items were very hard to find
on our market these days. After long search I’ve managed to get Super
Scale 48-206 set. Instruction was awfull, painting scheme was incorrect
and it was impossible to find out where most of the stencils should be
positioned. Thankfully somebody answered my e-mails, so I could start
painting process. Kit instructions was used as a reference during
decalling process. Camo was airbrushed freehand with Pactra acrylics, it
was my first paint job with acrylic paints.
After decalling and clearcoat, all panel lines were darkened with water
based paints for children. After another clearcoat all small bits and
items were attached and the kit was ready.
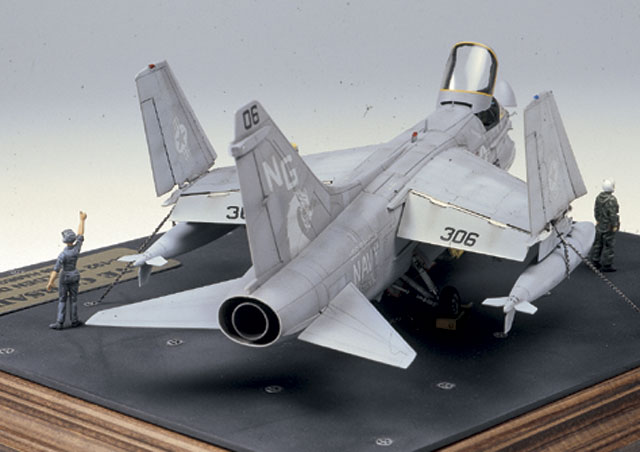
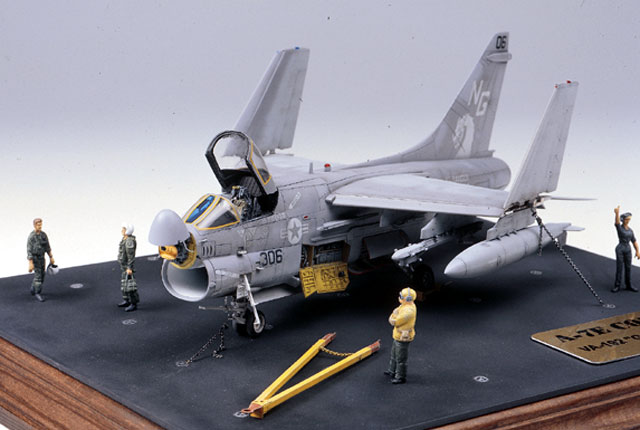
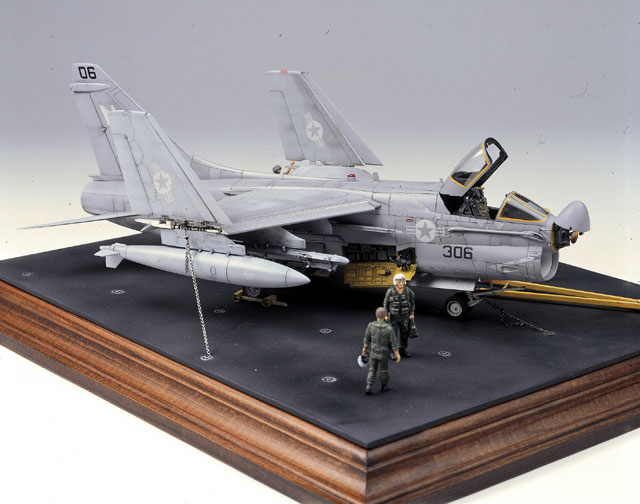
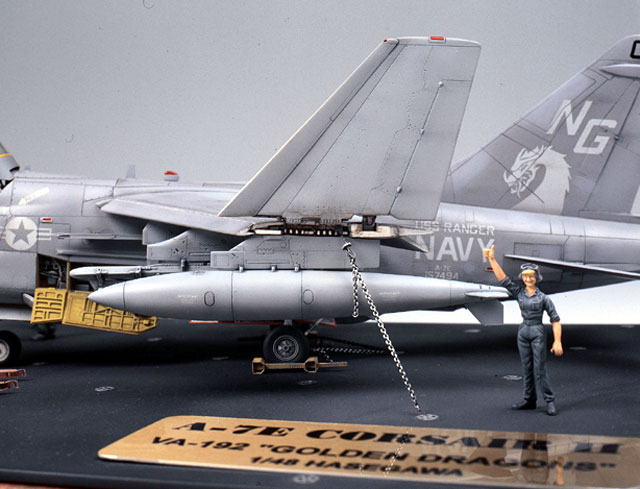
The display base was made from photo frame. I’ve used US Navy Carrier Deck
Diorama Set, an excellent Flightpath product. Only the chain in this set
was out of scale, so a smaller one was used.
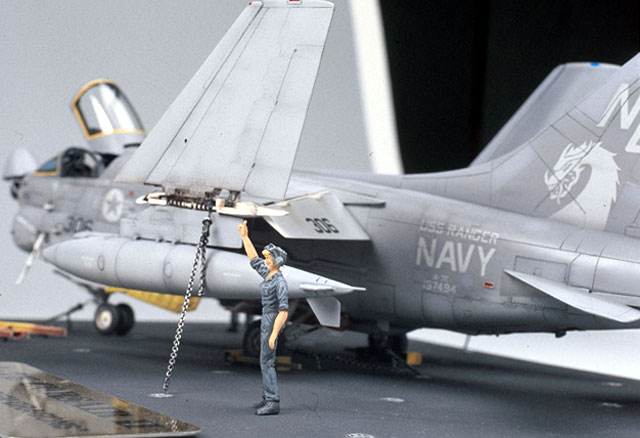
My A-7 was glued to the base
and „fixed” with chains. Some figures came from Fujimi and ESCI, they were
painted and drybrushed.
This is a great kit of a great plane. It looks very convincing. One of
best Hasegawa products, we get dropped flaps, slats and opened electronic
bays out of box. Corsairs may be seen in this configuration on many photos
parked on a carrier deck.
It took almost 2 months back in 1999 to complete this kit. Nowadays I’m a
bit slower.
Click the thumbnails below to view larger
images:
Model, Images and Text Copyright ©
2003 by Maciek Zywczyk
Additional images by Rossagraph
Page Created 01 December, 2003
Last Updated
17 March, 2004
Back to
HyperScale Main Page |
 Home |
What's New |
Features |
Gallery |
Reviews |
Reference |
Forum |
Search
Home |
What's New |
Features |
Gallery |
Reviews |
Reference |
Forum |
Search