|
Messerschmitt Bf 109E-4
by
Frank Pipek
|
|
|
Messerschmitt Bf 109E-4 |

Tamiya's
1/48 scale Messerschmitt Bf 109E-4/7 Trop is available online from
Squadron
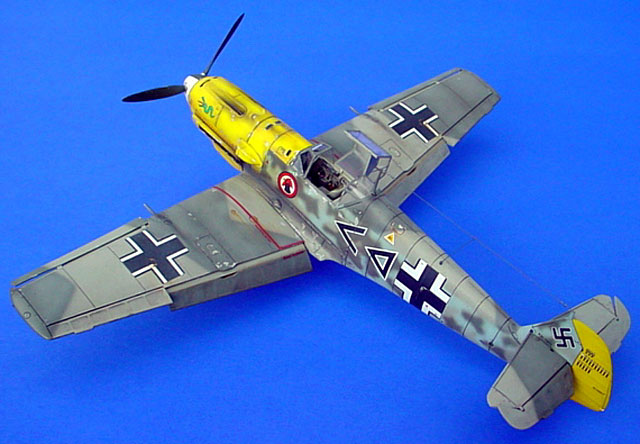
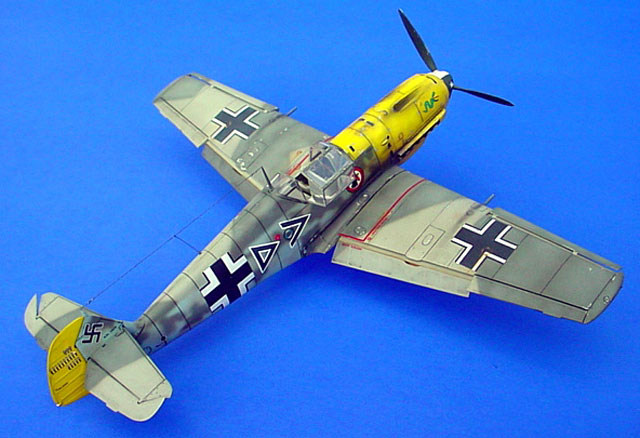
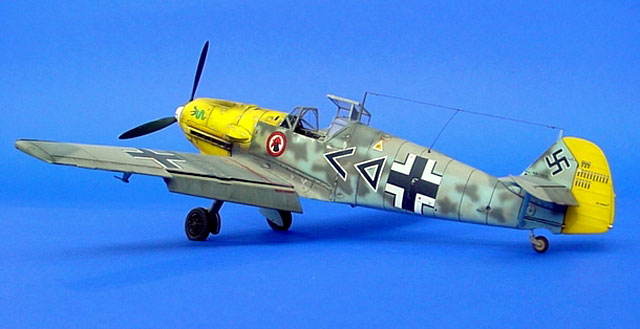
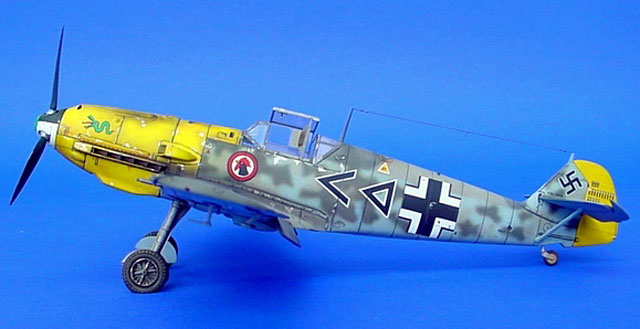
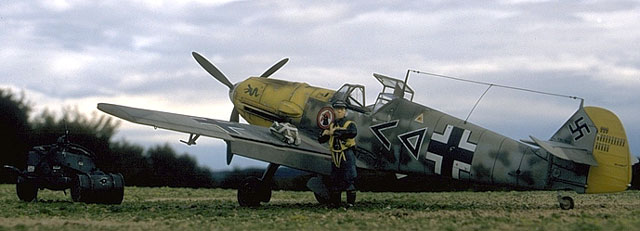
Here is Tamiya's 1/48 scale Messerschmitt Bf 109E-4.
I finished the model in the markings of Hans von Hahn, 1.Grp / JG 3 "Udet". He flew it in the “Adlertag ” campaign from
Colombert, France, in Sept. 1940.
The model was built with following updates:
-
cockpit-set from Aires
(resin)
-
photoechted parts from
Eduard
-
main wheels from True
Details (resin)
-
decals from Aeromaster
(Battle of Britain special)
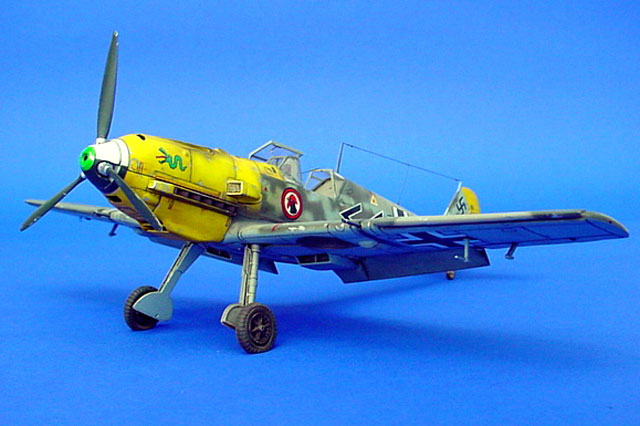
The kit fitted very well and was a pleasure to build.
The option for dropped flaps and slats was very helpful and simply
achieved! Under the circumstances I decided to cut off the elevators and
place them in a down position, too. I also replaced the kit cockpit with
the Aires cockpit set and I was very happy with it - much better details
and realistic look!
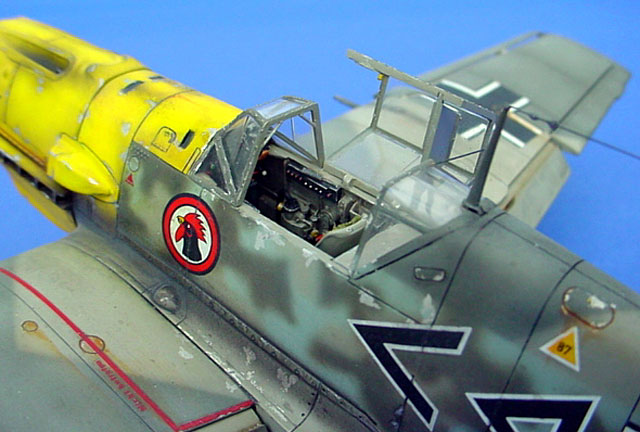
Additionally, I added some handgrips out of stretched
sheet to the windscreen and some details like the main gear brake lines
and the antenna.
The exhausts have also been drilled out.
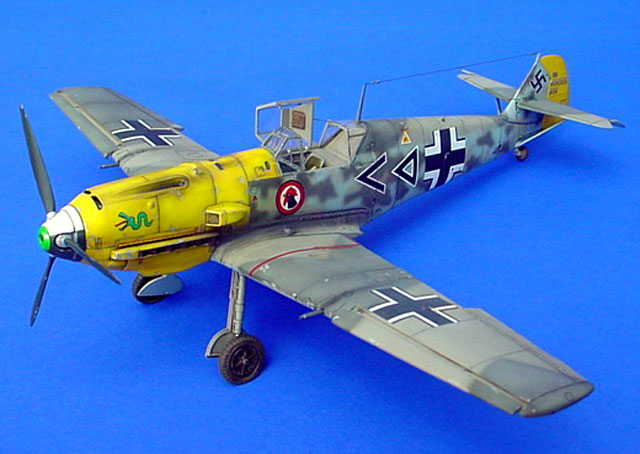
First, Polished Aluminium from Humbrol was sprayed
overall, followed by Gunze acrylics for the camouflage scheme in RLM 65 /
02 / 71.
Because of the mottling on the fuselage sides I did
not tape the straight camouflage pattern on the wings and the top of the
fuselage to avoid a to hard contrast between both kind of schemes. Instead
of tape, I used a homemade stencil out of cardboard to brush the straight
pattern. I was very satisfied with the result! The transition between the
colours looks straight, but softer than a taped colour-line.
So both types of camouflage schemes, straight pattern
+ mottling, fit together well.
Then I scratched off the topcolour with a sharp blade
to show the aluminium base. After that I sprayed Gunze gloss and attached
the decals. All weathering (panel lines, oil stains etc) was achieved
using artists oilcolours. The only exeption was the soot from the exhausts and guns. I
used artists chalk (pastels) for this effect.
Finally everything was sealed with Gunze Flat Clear.
Click the
thumbnails below to view larger images:
Model, Images and Text Copyright © 2003
by Frank Pipek
Page Created 16 February, 2003
Last Updated
17 March, 2004
Back to
HyperScale Main Page |
 Home |
What's New |
Features |
Gallery |
Reviews |
Reference |
Forum |
Search
Home |
What's New |
Features |
Gallery |
Reviews |
Reference |
Forum |
Search