|
Messerschmitt
Bf 109G-4 and F-4/Trop
by Tim Both
|
|
|
Messerschmitt Bf 109G-4 |

Hasegawa's
1/48 scale Messerschmitt Bf 109G-2 is available online from Squadron
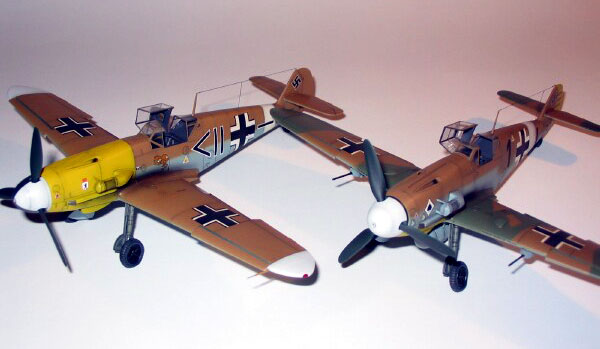
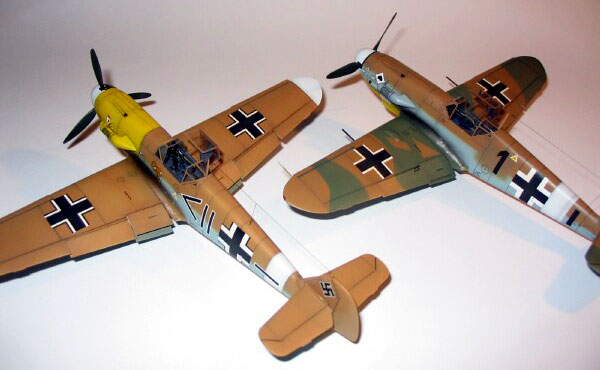
Here are two Hasegawa 109s
that I have recently completed.
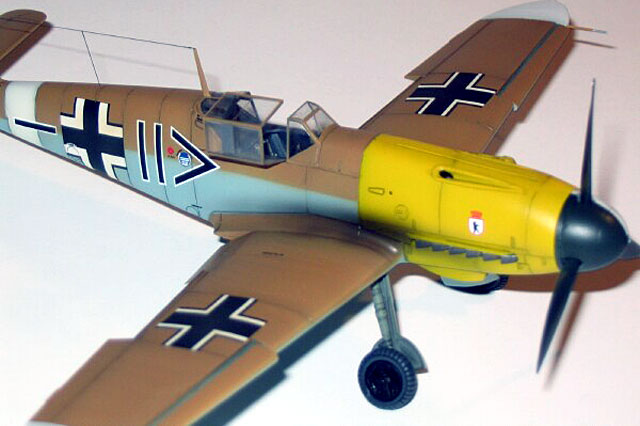
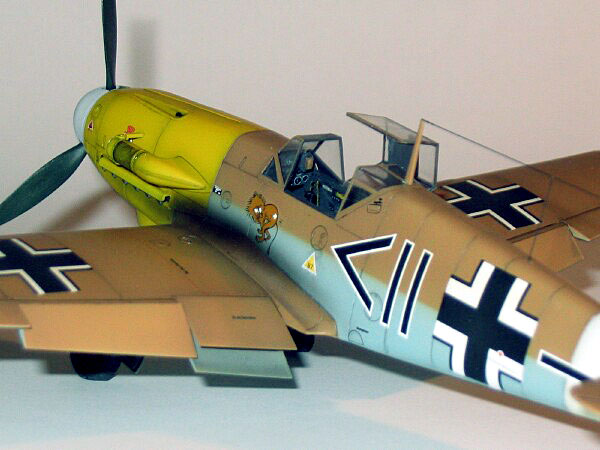
The first is a Messerschmitt Bf 109G-2 converted to G-4. This aircraft was
flown by Oblt Franz Schiess in February 1943.
Construction Notes
I converted the G-2 to G-4
by replacing the tail wheel with a larger G-6 unit, adding wing bulges
from the spare parts box and also replacing the earlier head armour with
the ‘Galland Panzer’ glass. This plane had quite an unusual mix of
equipment! I have read that the wheels were the old ‘F’ type but with
larger tyres. The best I could do was to use True Details 109F wheels.
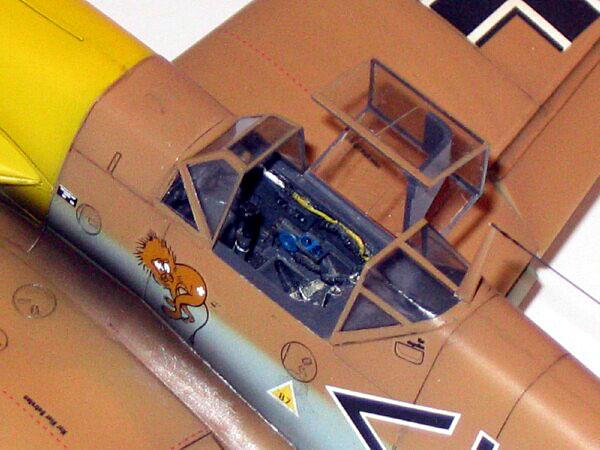
I used MDC’s outstanding resin cockpit set for this model. Of all the
resin sets available I firmly believe that these MDC ones are the best.
They are a drop fit and the detail is outstanding.
The markings came from Eagle Cals #48 and went on perfectly. The Eagle
Cals came with a photograph of this plane and enormous amounts of painting
details.
Messerschmitt
Bf 109F-4/Trop
|
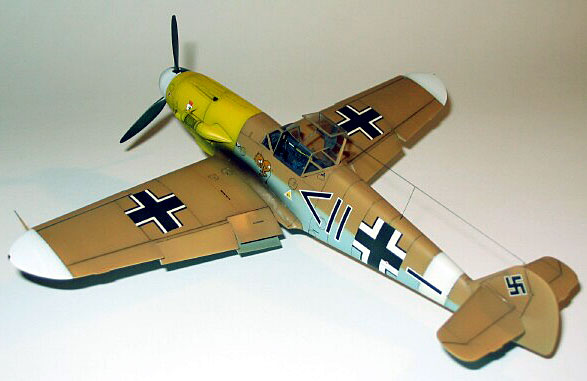
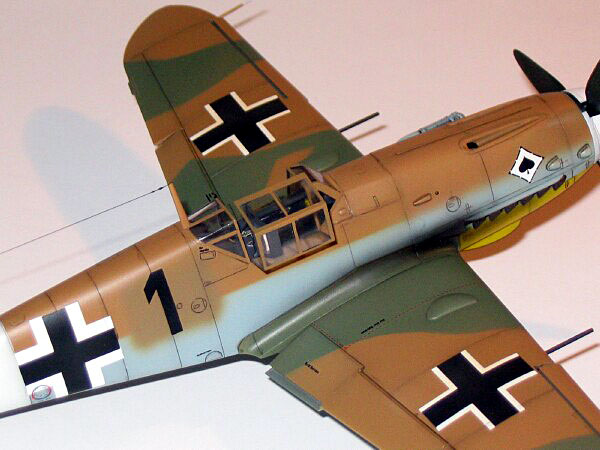
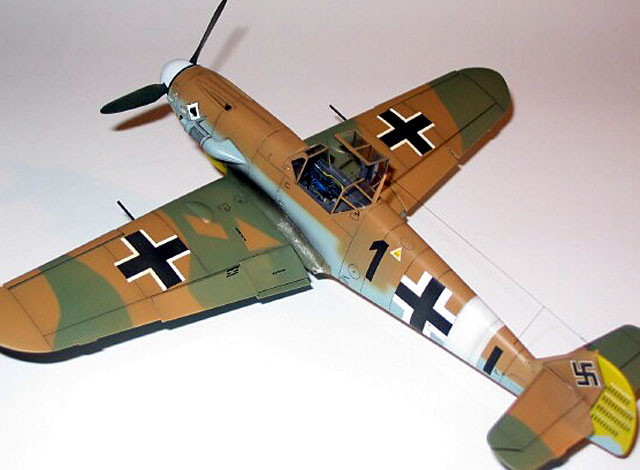
The second model is a Messerschmitt Bf 109F-4/Trop. This aircraft was
reportedly flown by Fw Otto Schultz between late 1941 to Spring 1942.
Construction Notes
This aircraft went together
flawlessly like the G-2 above. The only tricky part is the two-piece cowl.
I glued this in segments to remove any gaps. I started with the front of
each cowl half and once that had dried glued and clamped the rear section.
There were a few minor gaps and interestingly enough they were in
different areas on the cowling for each model.
I used the very good True Details resin set. At half the cost of the MDC
one it is super value for money. I thinned the sidewalls considerably and
that made for more room in the cockpit. Whilst the detail is not as sharp
it certainly is one I would use again. I used the kit instrument panel and
etched rudder pedals.
The markings came from Cutting Edge decals CED 48216. The decals
themselves were brilliant but the marking guide was incorrect and with no
detail. The Cutting Edge sheet shows the extra windscreen armour fitted
where this was not the case and the single upper view is a generic one for
a variety of 109Fs. The Eagle Cals instructions were far superior and is
something that Cutting Edge need to be aware of. Thanks to Erik Whipple
who provided a scan of the appropriate Third Group sheet to help complete
this project.
These Hasegawa mid-war
Messerschmitt Bf 109s are a piece of cake to put together and the resin
sets make them all the better. I
f you want a break from a
tedious, difficult kit give one of these a go!
Click the
thumbnails below to view larger images:
Model, Images and Text Copyright ©
2003 by Tim Both
Page Created 09 December, 2003
Last Updated
17 March, 2004
Back to
HyperScale Main Page |
 Home |
What's New |
Features |
Gallery |
Reviews |
Reference |
Forum |
Search
Home |
What's New |
Features |
Gallery |
Reviews |
Reference |
Forum |
Search