|
Building MPM’s 1/72
Scale
Boulton-Paul Defiant Mk.I
by Glen Porter
|
|
|
Boulton-Paul Defiant Mk.I |
images by Brett Green

MPM's 1/72 scale
Defiant Mk.I is available online from
Squadron.com
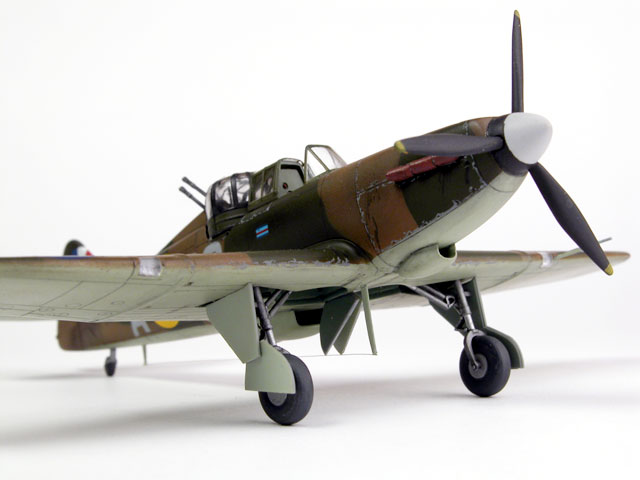
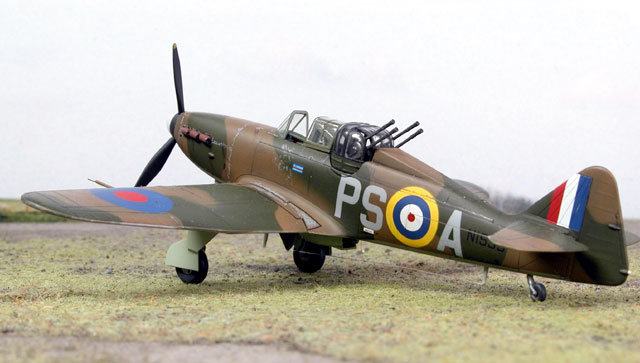
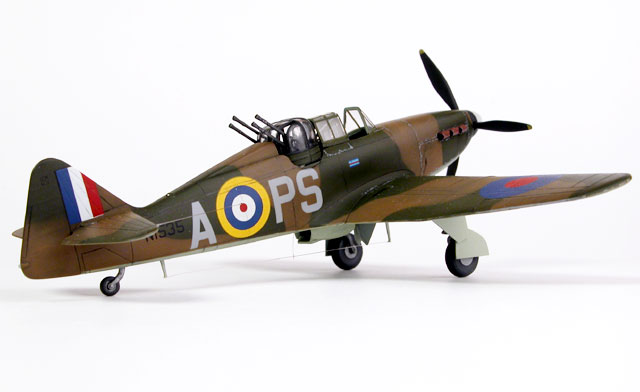
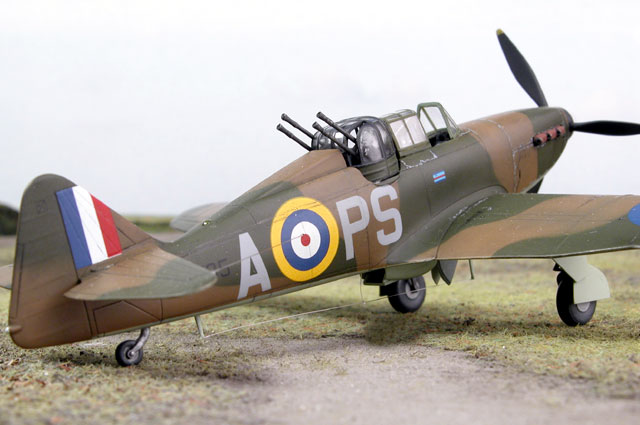
This is MPM's 1/72 scale Boulton-Paul Defiant Mk.I.
The MPM kit was released around the same time as the Pavla offering.
Glen bought both models but feels that the MPM kit is clearly the better
of the two, despite the fact that the Pavla kit includes resin interior
details.
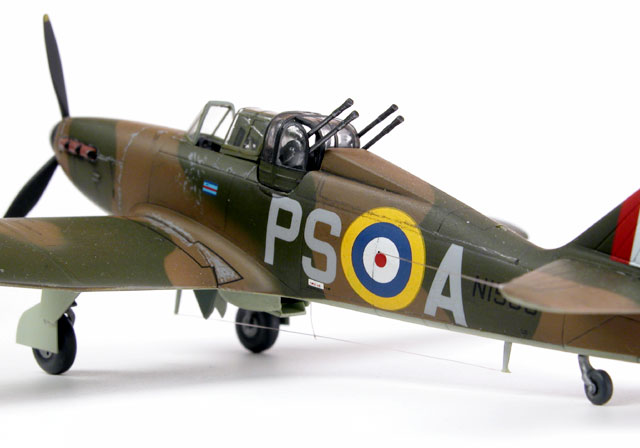
MPM's kit comprises injection-moulded plastic parts with crisply
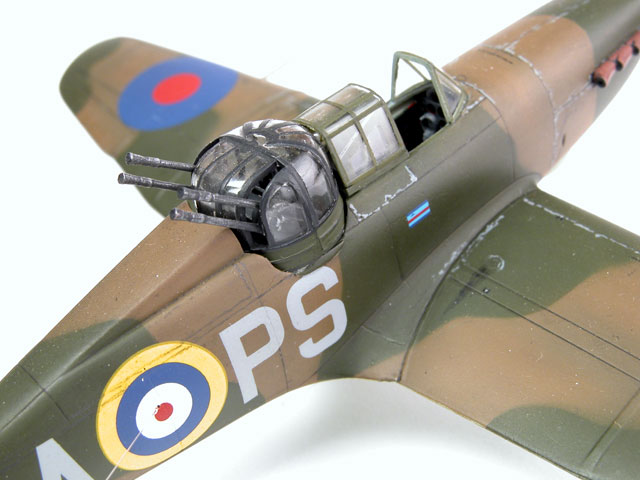
engraved panel lines. The canopy and turret are supplied in clear
injection moulded styrene.
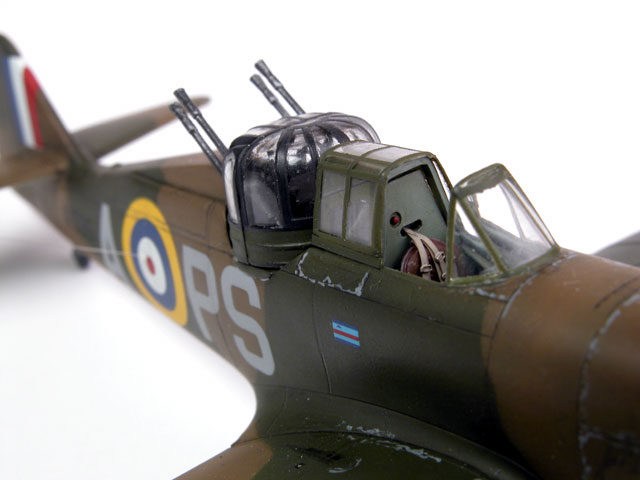
Glen added structural details on the interior of the aircraft between
the turret and the cockpit. In the end, most of this detail was hidden.
An Eduard "Color Etch" pre-painted photo-etched harness was added to
the pilot's seat, and some additional details were scratchbuilt and
secured to the cockpit sidewalls.
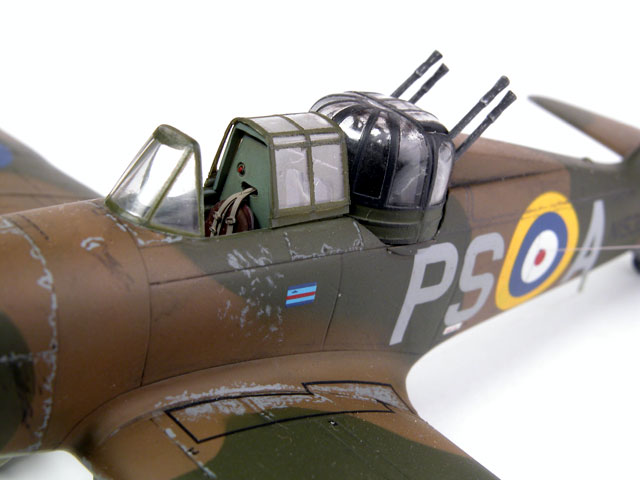
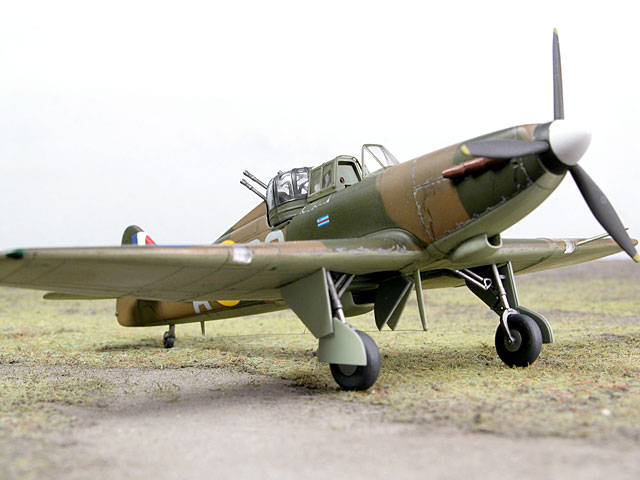
The windscreen and sliding section of the canopy are moulded as a
single part. Glen sliced these apart and replaced the sliding section
with the vacuum formed canopy included in the Pavla kit.
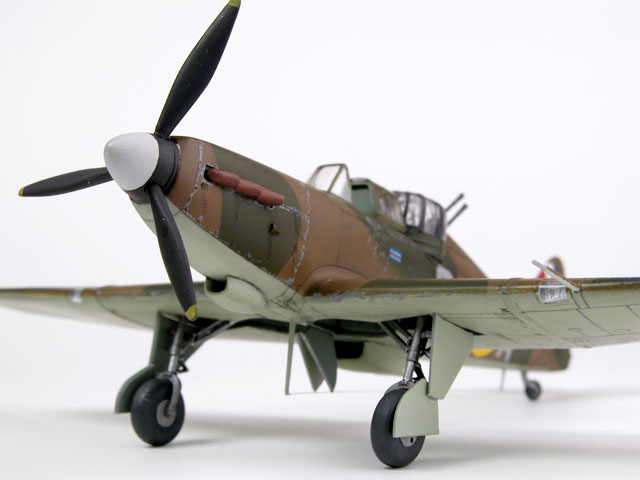
Additional details included:
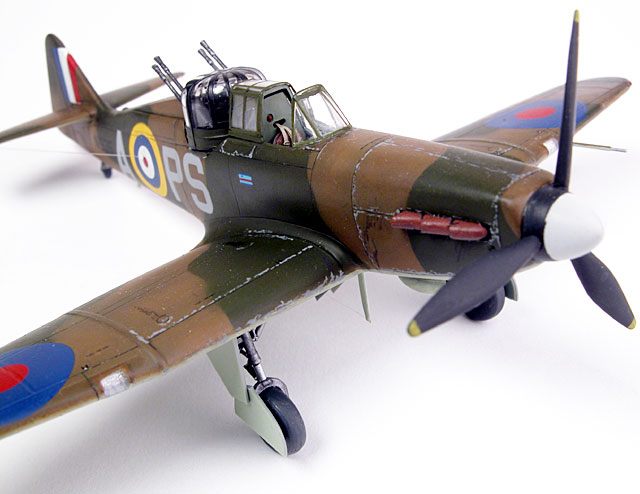
- The radiator flap was cut off and repositioned "open"
- Struts on the main undercarriage legs were replaced with plastic
rod
- Aerial wires were added from monofilament (invisible mending
thread)
Painting,
Markings and Weathering
|
 Paint Paint
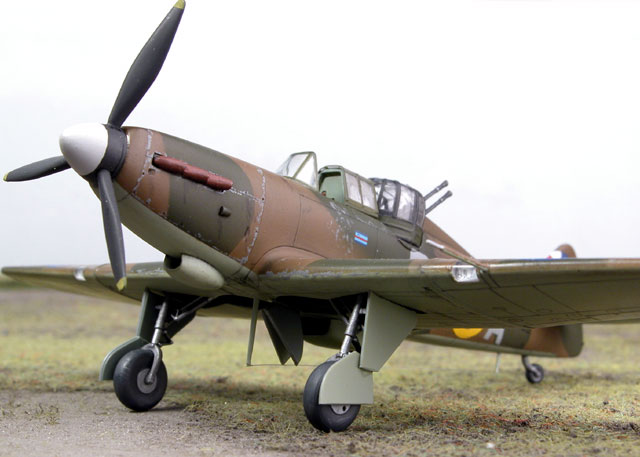
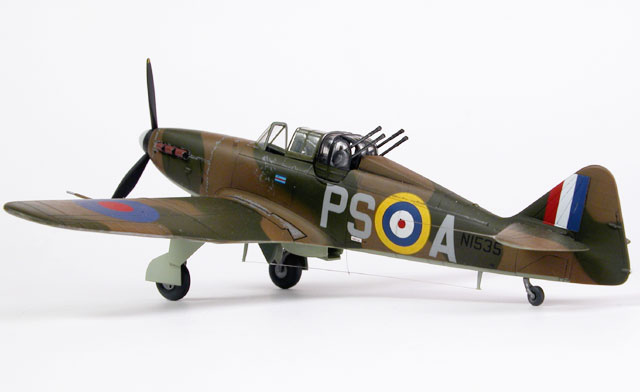
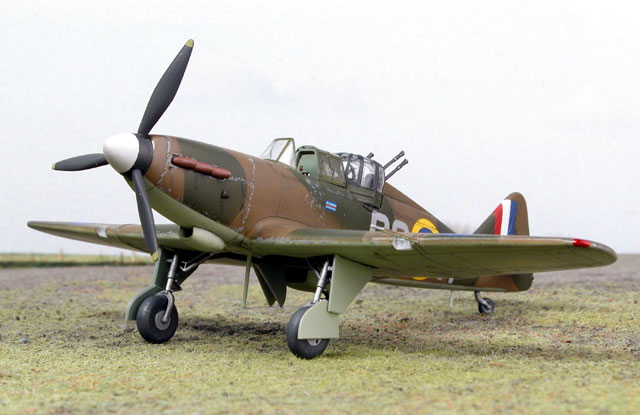
Camouflage colours were sourced from the Testor Model Master enamel
range. These comprised Dark Earth, Dark Green and Sky. The paint was
sprayed straight from the bottle through Glen's Aztek A470 airbrush.
The model was prepared for decals with a coat of acrylic gloss.
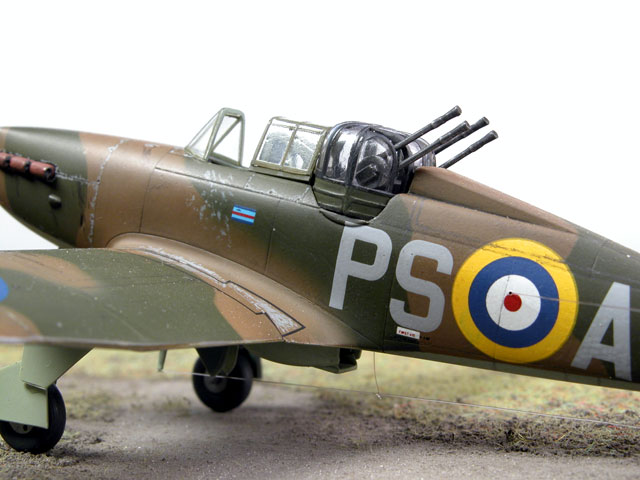
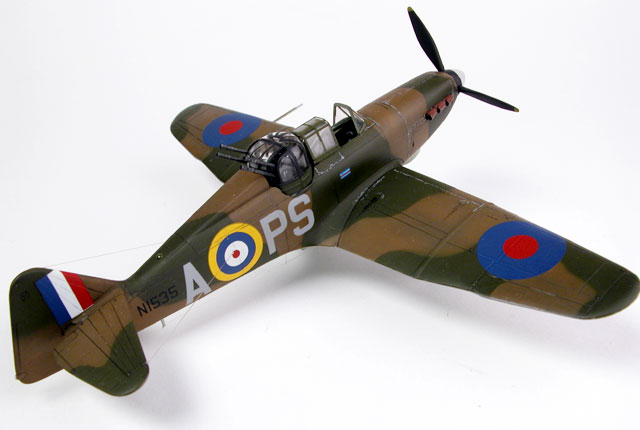
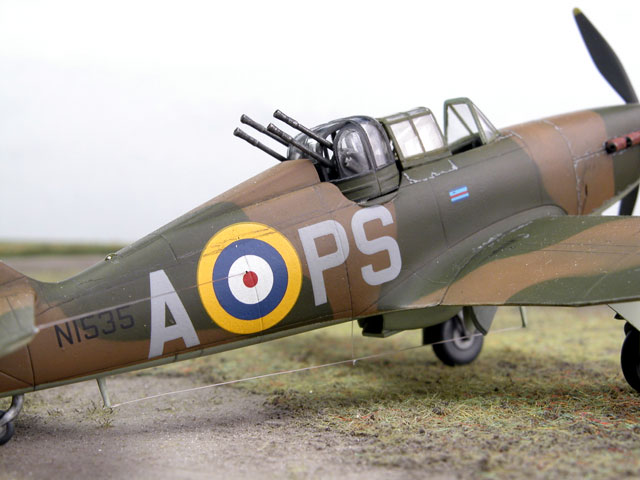
Markings
MPM's kit decals were used. These performed flawlessly on the glossy
paint finish. The stencil markings supplied were also terrific. The only
criticism was that the red in the fin flash looked a little bright.
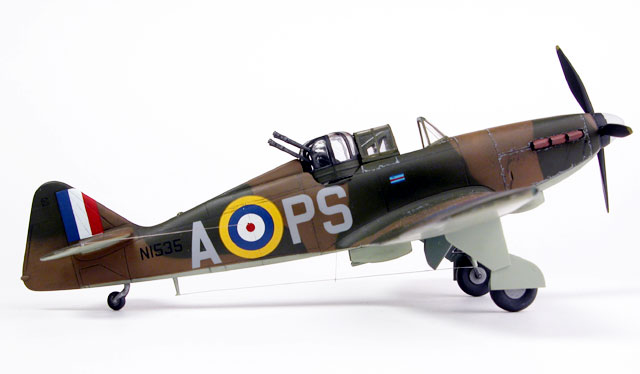
Please note that the camera has highlighted the red in the photos.
The real colour is somewhat duller (and therefore more accurate) than it
appears on this page.
Weathering and Finishing
Weathering was kept relatively light. The main weathering treatment
was selective "chipping" of the camouflage colours. This was achieved
with Tamiya Light Sea Grey applied with the tip of a very fine brush in
the appropriate areas.
The finished model was finally sprayed with a coat of Testor's
Dullcoat to flatten the colours and blend in the markings.
Click on the thumbnails
below to view larger images:
Model and Text by Glen Porter
Images Copyright © 2003 by
Brett Green
Page Created 07 December, 2003
Last Updated 17 March, 2004
Back to HyperScale
Main Page
|
 Home |
What's New |
Features |
Gallery |
Reviews |
Reference |
Forum |
Search
Home |
What's New |
Features |
Gallery |
Reviews |
Reference |
Forum |
Search