|
 |
|
F4U-1A Corsair |

Tamiya's
1/48 scale F4U-1A Corsair is available online from
Squadron.com
I like the Corsair as much as the next guy, so when Tamiya's 1/48
scale F4U-1A kit came out, I read the reviews and dumped the Arii kit I
was planning to build (someday). In fact, the kit was so nice that it
became my current project within days of my buying it.
The kit is truly a work of art in mold making. I'm sure that it lacks
something somewhere, but you would be hard pressed to find it. The
following is a brief synopsis of the features of the kit.
-
The cockpit is very nice, right out of the
box. No after-market kit could really improve on what Tamiya has
provided in the kit. With some careful painting, an outstanding cockpit
can be made straight from the box.
-
Two canopies are provided, one with framing
(typical of the F4U-1A) and one without (typical of the F4U-1D).
-
The wing flaps are separate and can be
attached in the lowered position.
-
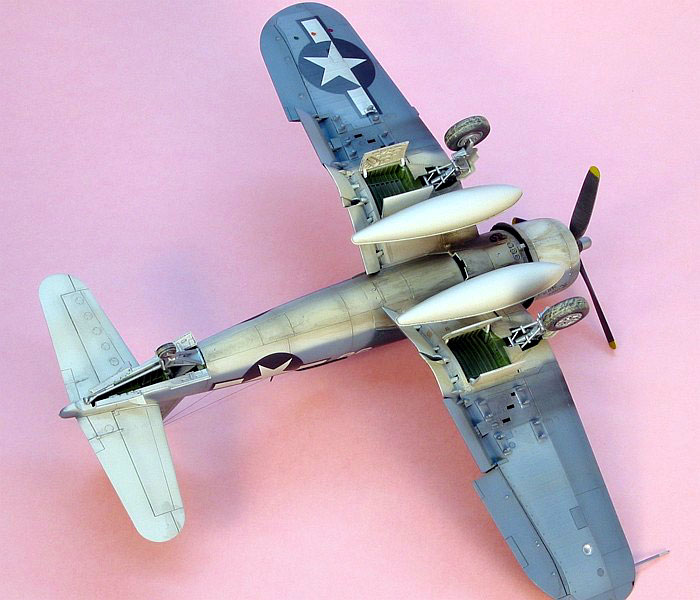
The wings are separated into pieces that
let you display the wings folded.
-
The engraving of the kit is well executed.
The fabric-covered portions of the outer wing, flaps, and tails are
molded with a finely engraved fabric texture.
-
Underwing pylons are provided for five inch
rockets. Unfortunately, though, no actual rockets are in the kit.
-
Under fuselage pylons are provide with
external fuel tanks. The F4U-1 kit provides bombs, also. Unforunately
again,
-
Tamiya chose to delete these from the
F4U-1D kit. The F4U-1D kit has no external weapons included, only
weapons pylons.
-
The landing gear is nicely molded and
attaches positively and firmly for a strong joint. This is important to
me as the model will sit for a long time on my display shelves and
surely get bumped around more than once.
With all these great molded in details already provided in the box, I
built the model straight out-of-the-box. The only extra I did was add
the line antennae between the fuselage and the tail.
The kit box art labels the kit as an F4U-1D, but parts provided in the
kit allow you to build either an F4U-1A or an F4U-1D. I really like the
three-tone camouflage. I understood, though, that no F4U-1Ds ever saw
this camouflage, so I was opting to build an F4U-1A.
Then, in my model building, I opted to use some of the "1D"
specific kit pieces before I realized they were just that, "1D" pieces.
Hence, I have a camouflage that was seemingly never applied to a "1D" on
a model of an F4U-1D airframe. I'm explaining away my error by saying
that the "1D" items were retrofitted to a "1A" airframe. This works for
all but the step hole in the right inboard wing flap. Oh well...
Painting
 The
model is painted exclusively in Testor's Model Master enamel paints. I
chose to paint the cockpit in one of the options I have seen in books
for Corsair cockpits. The cockpit is black on the upper portions from
the side consoles and up. I used Interior Black as the primary black
color of the upper cockpit and highlighted it with true black and
various dark grays. The lower cockpit is Interior Green (F.S.34151) from
just below the side consoles and down. I did washes in black and brown
and dry brushed the green portions using Israeli Green (F.S.34227).
The
model is painted exclusively in Testor's Model Master enamel paints. I
chose to paint the cockpit in one of the options I have seen in books
for Corsair cockpits. The cockpit is black on the upper portions from
the side consoles and up. I used Interior Black as the primary black
color of the upper cockpit and highlighted it with true black and
various dark grays. The lower cockpit is Interior Green (F.S.34151) from
just below the side consoles and down. I did washes in black and brown
and dry brushed the green portions using Israeli Green (F.S.34227).
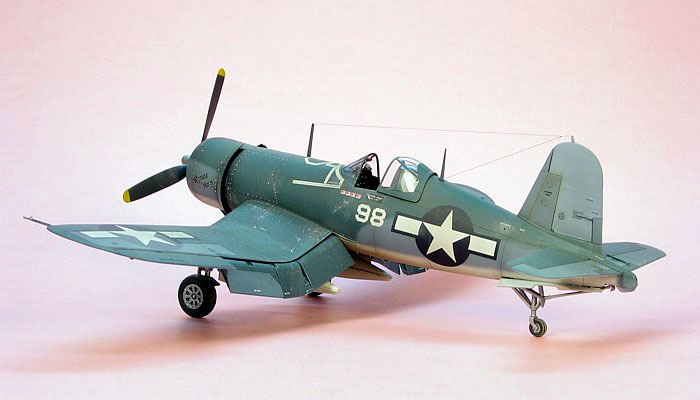
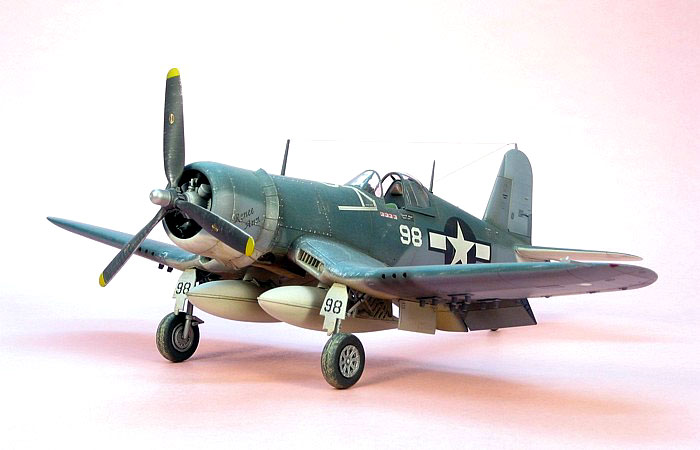
The camouflage is the standard three-tone camouflage of Non-Specular Sea
Blue (F.S.35042) on the top sides, Intermediate Blue (F.S.35164) on the
vertical surfaces, and Gloss White on the bottom. I cut the two top
colors with 25% white to represent heavy weathering. For the same
reason, I substituted Light Gray (F.S.36495) for the white on the
bottom.
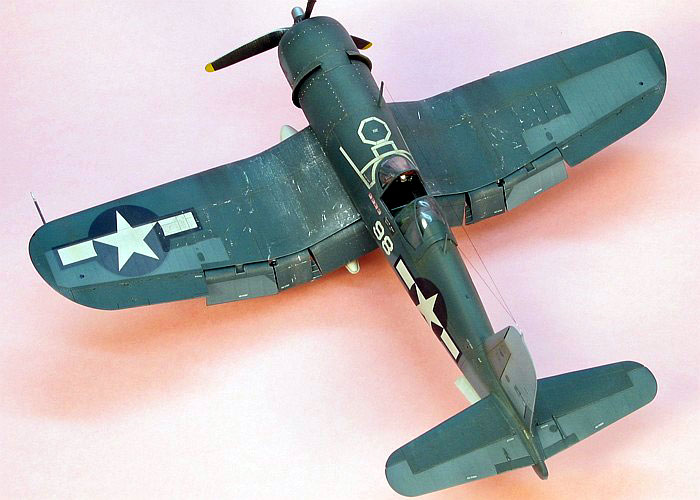
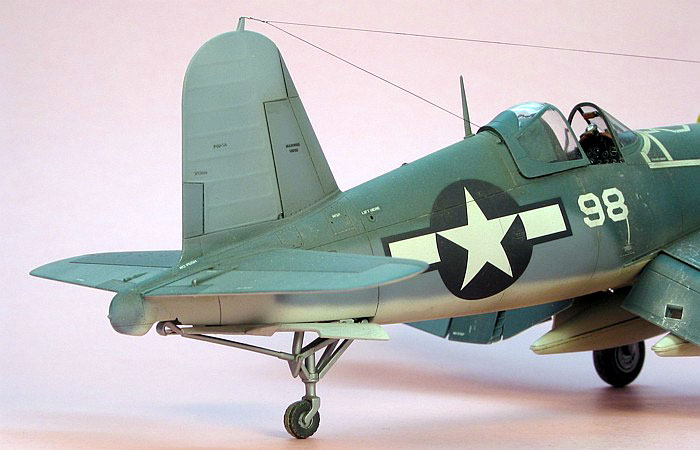
To further simulate the effects of heavy weathering, I thinned down
some of the Light Gray to a nearly transparent mixture and applied a
light overcoat to the fabric covered wing and tail surfaces to further
lighten these areas. I found the effect very appealing, especially on
the vertical tail.
Decals
 The
decals come from various sources, including the Tamiya kit decals and
SuperScale. The Tamiya decals presented a small issue in getting the
middles of the huge national insignia decals to snuggle down, but a cut
or two with a sharp X-acto knife and more Solvoset solved the problem.
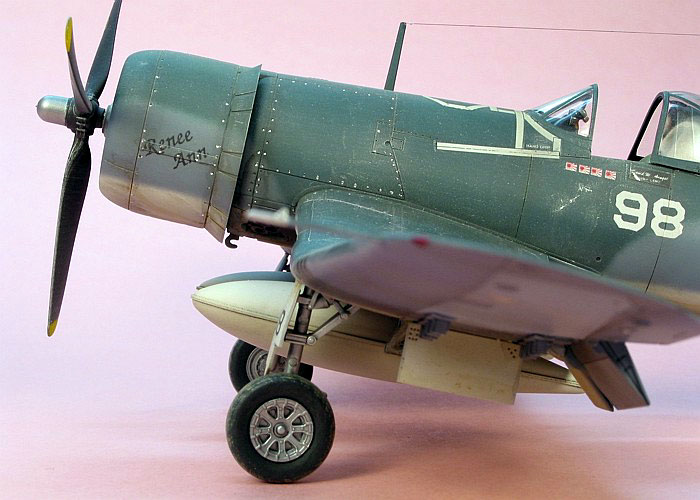
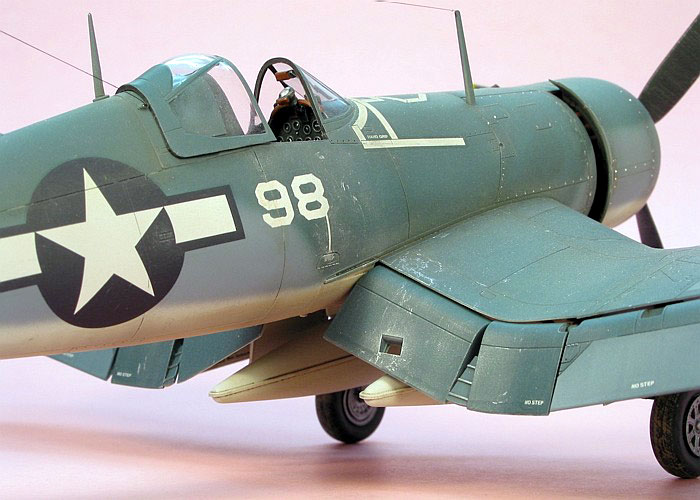
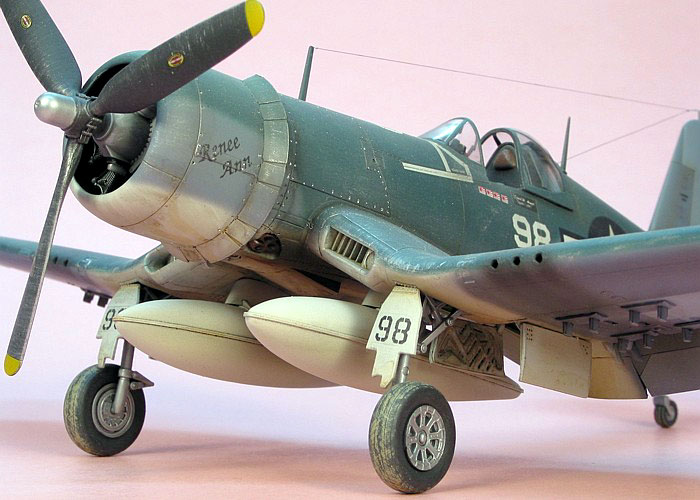
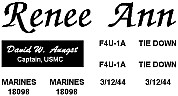
The markings I applied to the model represent a nondescript aircraft
from VMF-214. I custom printed with my PC and laser printer a pilot's
name block with my name in it and added an aircraft name on the left
engine cowl (my wife's name, she was flattered). An image of the decal
artwork is included to the right.
The
decals come from various sources, including the Tamiya kit decals and
SuperScale. The Tamiya decals presented a small issue in getting the
middles of the huge national insignia decals to snuggle down, but a cut
or two with a sharp X-acto knife and more Solvoset solved the problem.
The markings I applied to the model represent a nondescript aircraft
from VMF-214. I custom printed with my PC and laser printer a pilot's
name block with my name in it and added an aircraft name on the left
engine cowl (my wife's name, she was flattered). An image of the decal
artwork is included to the right.
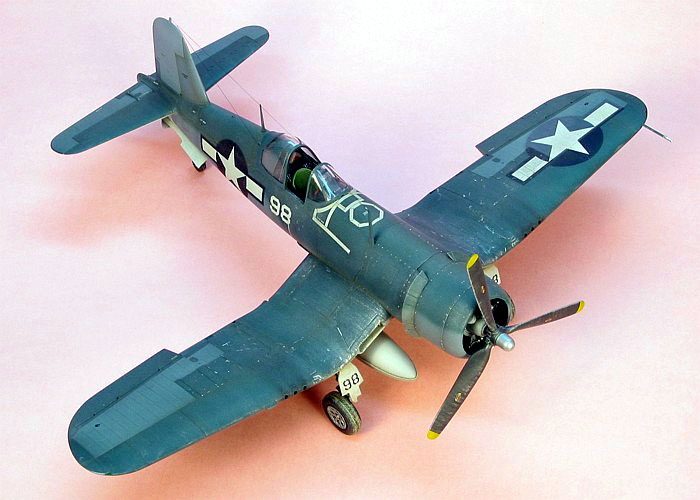
Weathering
I heavily weathered the airframe with thinned down enamel paints
using washes and air brush shading. Then I applied a significant amount
of silver dry brushing. The pictures of island based Corsairs I found
show that the coral sand took a substantial toll on the surfaces of the
aircraft. I think I did a little too much silver dry brushing, but
then... For a more complete discussion of what I do to weather my
models, see my posting on "Weathering Aircraft".
|
Additional Images and Project
Summary |
Click the
thumbnails below to view images full-sized.
Click the "Back" arrow on your browser to return to this page.
|
|
|
Project Statistics |
|
Completion
Date: |
19 November, 1998 |
|
Total Building
Time: |
30.5 |
|
Research: |
0.5 |
|
Construction: |
7.1 |
|
Painting
(includes creation and printing of custom decals): |
17.6 |
|
Decals /
Markings (includes creating and printing custom decals): |
5.3 |
|
Extra Detailing
/ Conversion: |
0.0 |
|
Model, Description and Images Copyright ©
2003 by David Aungst
 Home |
What's New |
Features |
Gallery |
Reviews |
Reference |
Forum |
Search
Home |
What's New |
Features |
Gallery |
Reviews |
Reference |
Forum |
Search