|
Tamiya's 1/48 scale
Prop Action
Douglas A-1H Skyraider
by Le Thanh Tung
|
 |
|
Douglas A-1H
Skyraider |

Tamiya's 1/48 scale A-1H "Prop Action" Skyraider is available
online from
Squadron
 Here
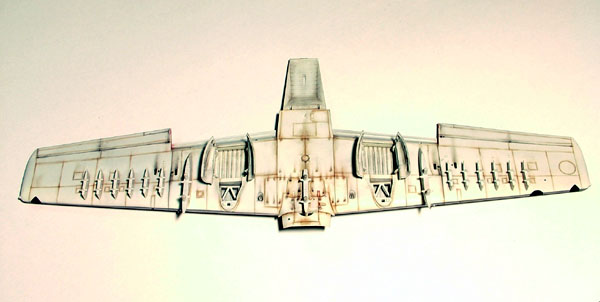
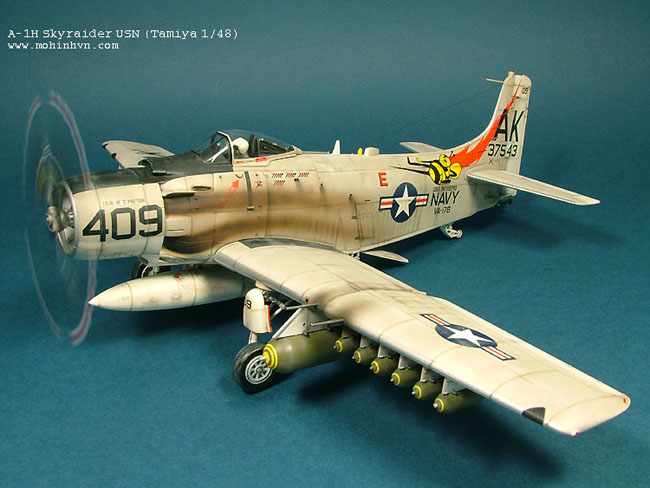
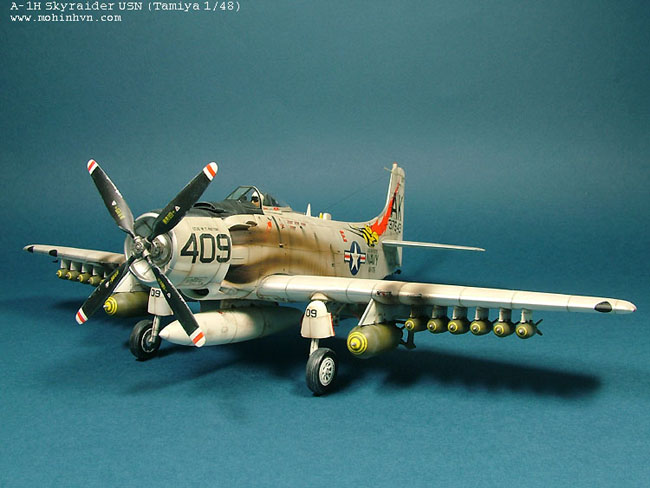
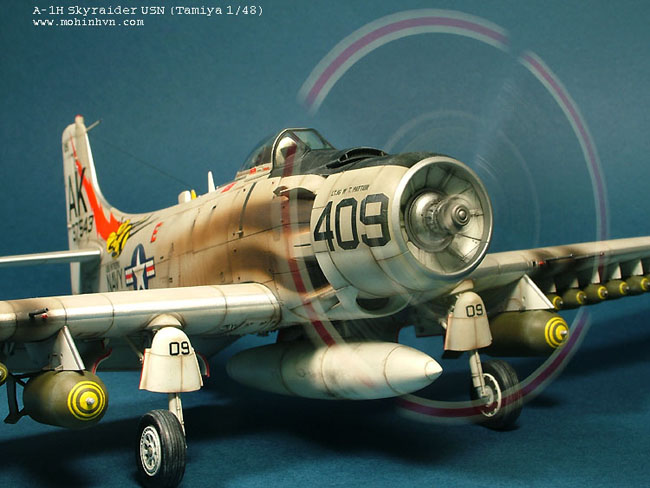
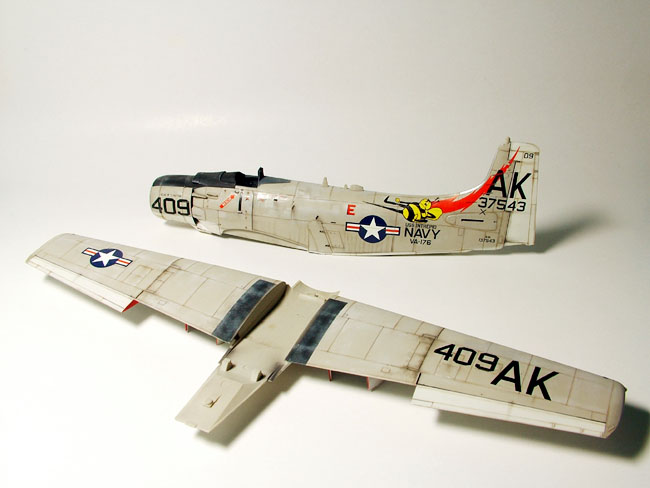
is Tamiya's 1/48 scale A-1H "Prop Action" Skyraider. Here
is Tamiya's 1/48 scale A-1H "Prop Action" Skyraider.
I just finished this bird on Sep 10. This one was built straight
from box.
This kit is really beautiful, with nice details, good decals for
famous subjects, reasonable parts arrangement, and last but not
least, the instruction are always clear and detailed per Tamiya
style. At the very first step, I predicted a future treatment to
antenna wire so I decided not to glue fuselage and wings together.
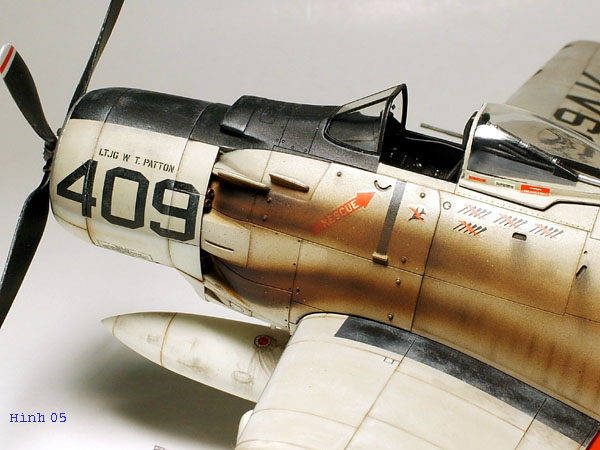
Upper fuselage was painted with Humbrol code 129 for Flat Gull Gray.
Lower was with Insignia White of Model Master.
Click the thumbnails
below to view larger images:
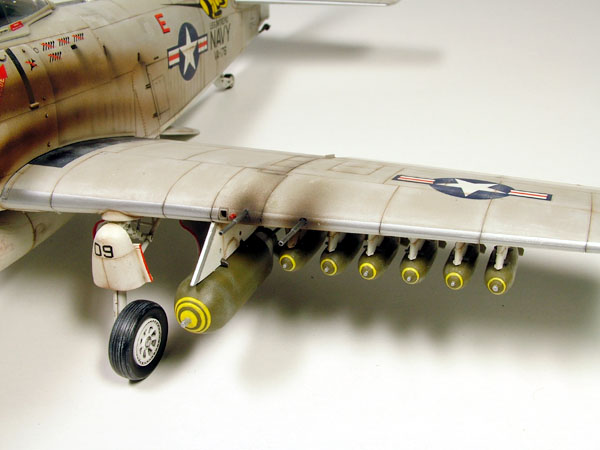
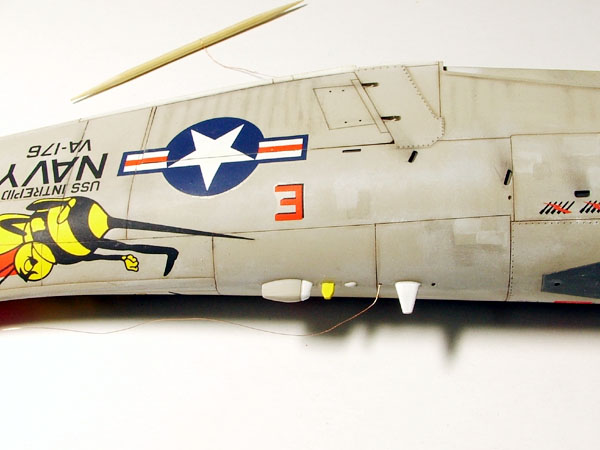
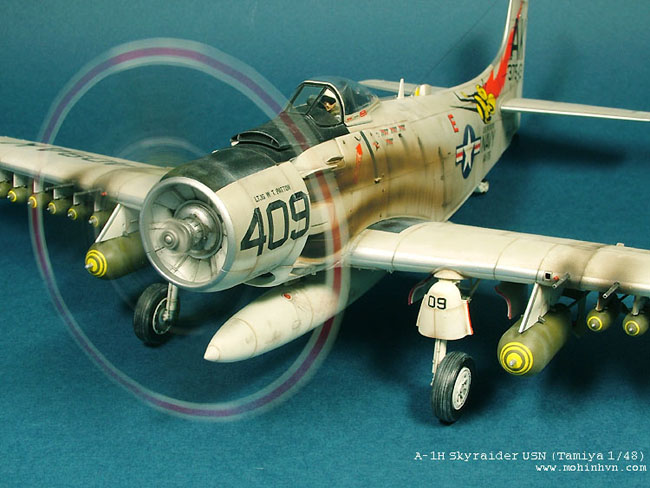
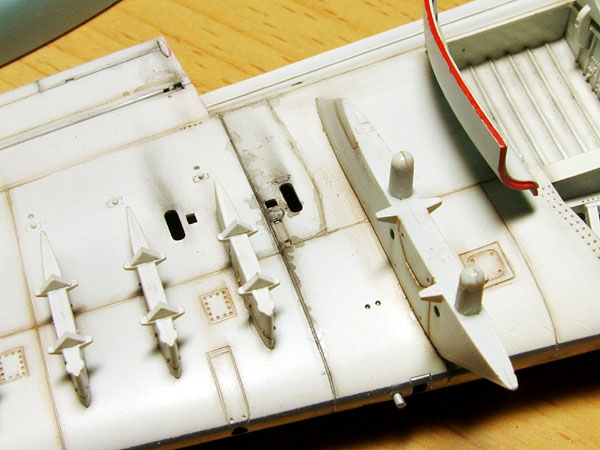
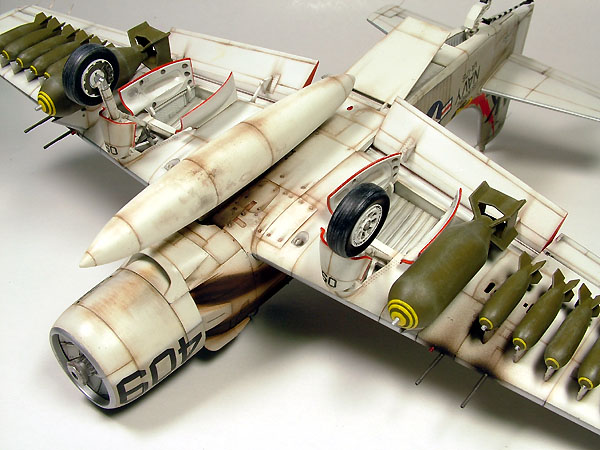
Bombs were painted with Olive Drab of Model Master by airbrush
and the yellow circles were with Flat Yellow (XF-3) of Tamiya by
brush because Tamiya did not provide decal for those circles and
they were too small for airbrush and masking tape. Therefore,
painting by hand is the only and last resort.
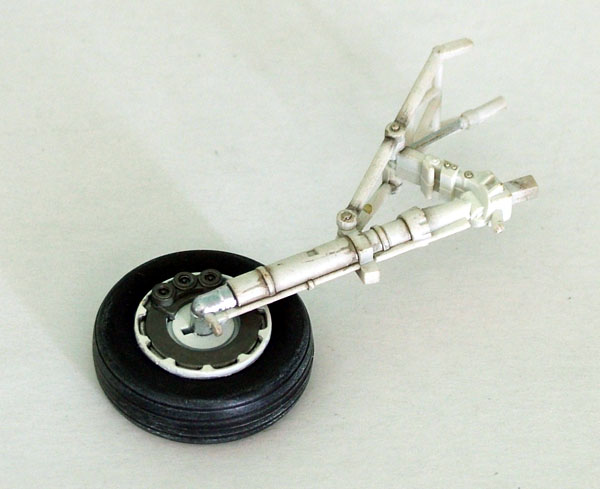
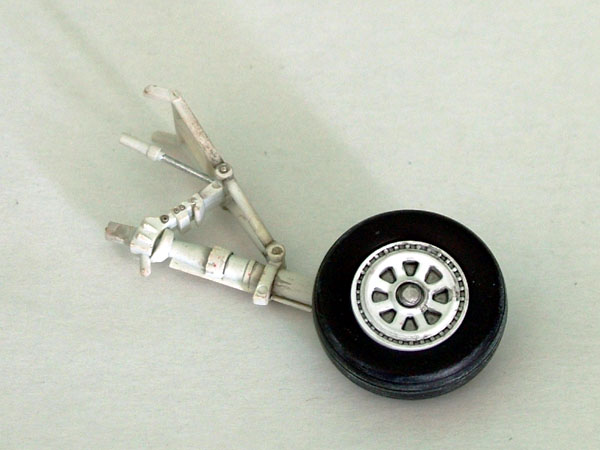
Oil leaks on landing gears, external fuel tank, wings and engine are
simulated by thinned Clear Smoke (X-19) of Tamiya.
Click the thumbnails
below to view larger images:
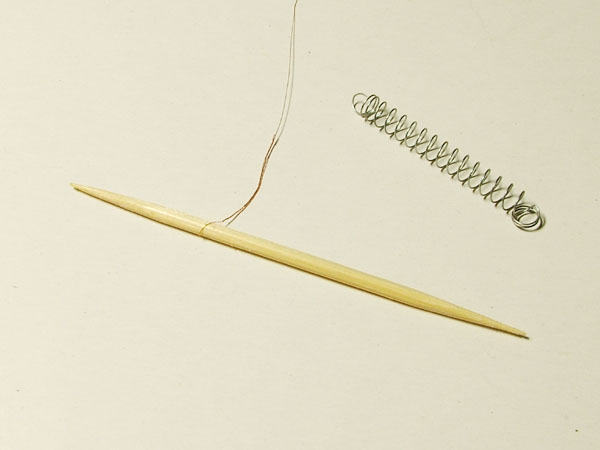
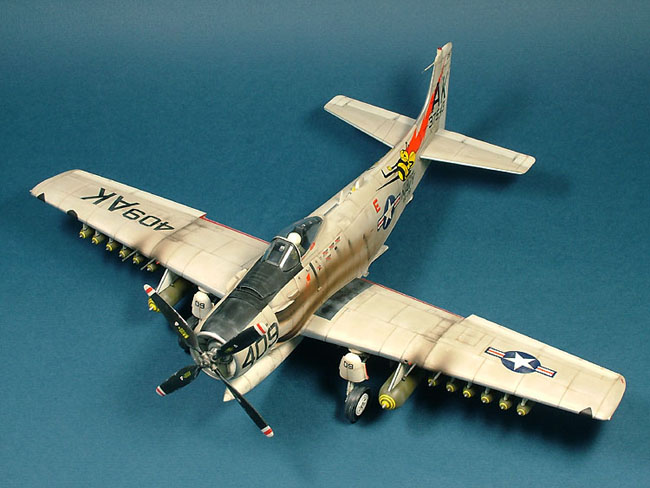
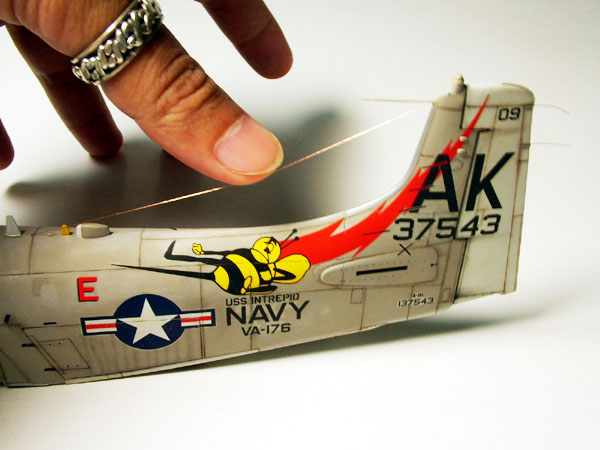
As for a antenna wire from vertical tail to fuselage, I used a
very small brass wire from a motor of kid RC toy.
First, I twisted to make a small ring, glued it with superglue
and secured with toothpick. I took a spring from ball-pen and chose
the one which have lowest resiliency to make sure it would not break
off the thin brass wire. Then I cut a paper-clip for a desire length
and glued it in the inside of upper fuselage. The best way is to
glue it into the two holes of airbrakes details from both side. I
drilled a 0.3mm hole on the back of upper fuselage then thread
cooper wire through that.

Note that the ring of a wire must be in the inside. Well, this is
the hardest part - you have to measure the length of a wire from
vertical tail to a ring and save a short distance from a ring to a
metal paper-clip bar because that distance will be for a spring. I
glued the wire into vertical tail first and left overnight for
completely dry. Last to do is connect a spring to wire and a small
bar. This treatment is to give extremely extensive wire.
Click the thumbnails
below to view larger images:
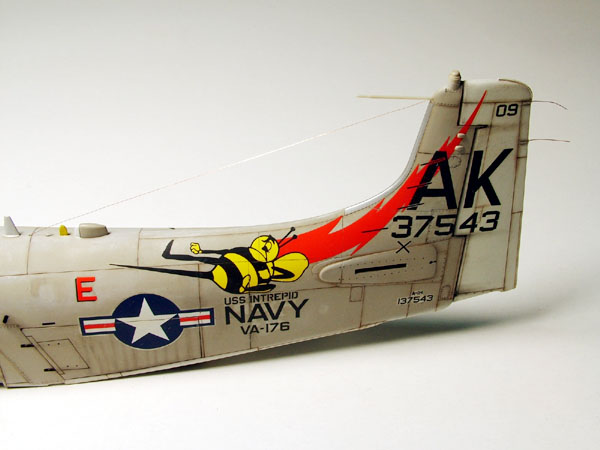
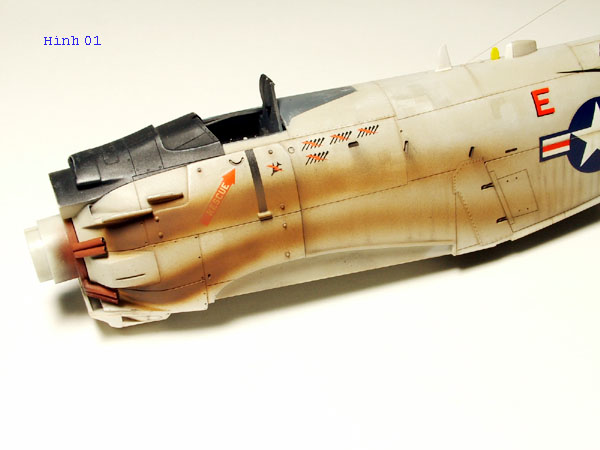
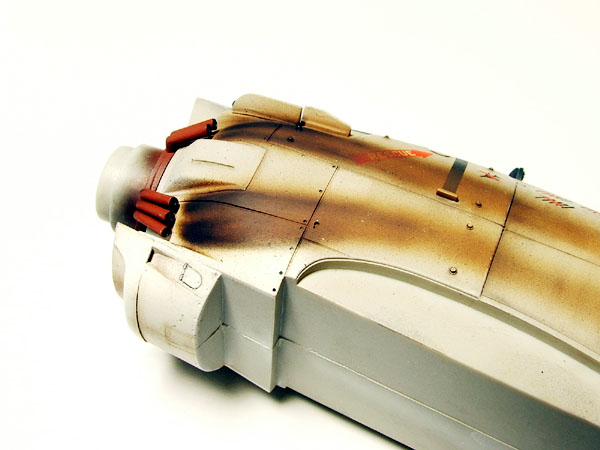
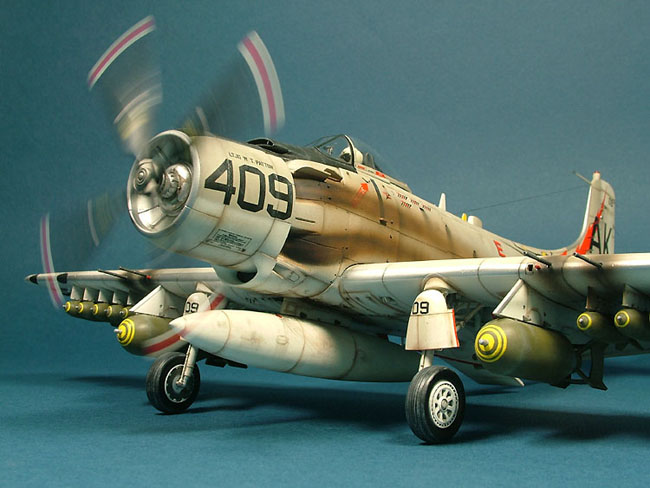
Smoke lines on both sides of fuselage were painted with Red Brown
and Flat Black of Tamiya then applied black pastel right from the
exhaust pipes and faded downward to the rear.
Click the thumbnails
below to view larger images:
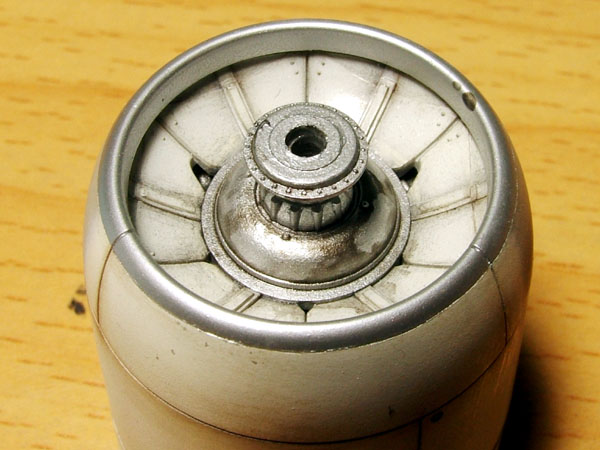
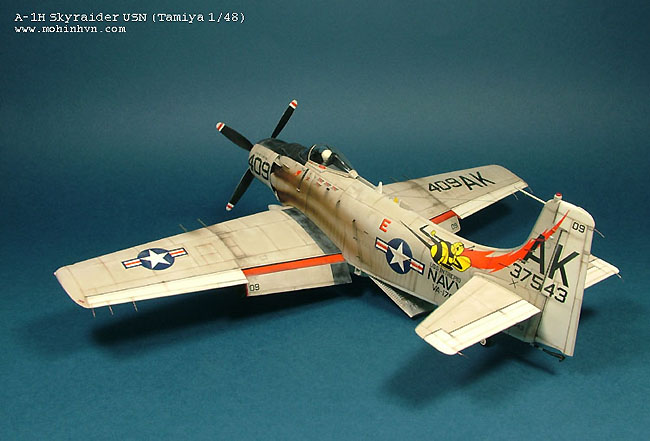
Brown pastel and Flat white drybrushing are applied for
weathering on upper and also lower fuselage. With this bird, lower
fuselage can be seen very clear on display so I had to weather every
details.
Click the thumbnails below to view larger images:
Modelling the
F4U Corsair
Osprey Modelling
24 |
|
| |
|
|
Author: Brett Green
US Price: $17.99
UK Price: £12.99
Publisher:
Osprey Publishing
Publish Date: October 10, 2005
Details: 80 pages; ISBN: 1841768804 |
|
|
Model, Images and Text Copyright ©
2005 by Le Thanh Tung
Page Created 20 October, 2005
Last Updated
20 October, 2005
Back to
HyperScale Main Page |
 Home
| What's New |
Features |
Gallery |
Reviews |
Reference |
Forum |
Search
Home
| What's New |
Features |
Gallery |
Reviews |
Reference |
Forum |
Search