|
Italeri's new 1/72
scale
B-26K Counter
Invader
by Phil Hale
|
 |
|
B-26K Counter
Invader |

Italeri's 1/72 scale B-26K Counter Invader is available from
Squadron
For a detailed examination of the
contents of
Italeri's 1/72 scale B-26K Counter Invader kit, see the
review elsewhere on HyperScale
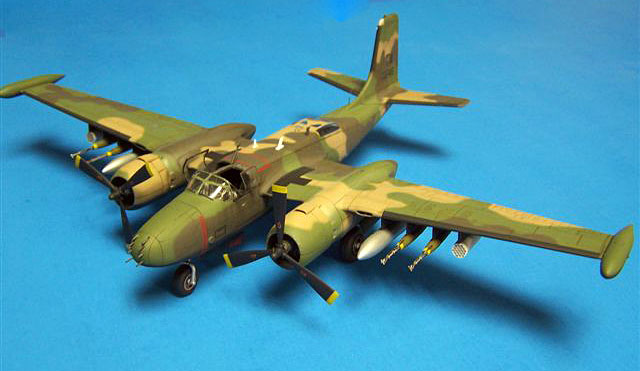
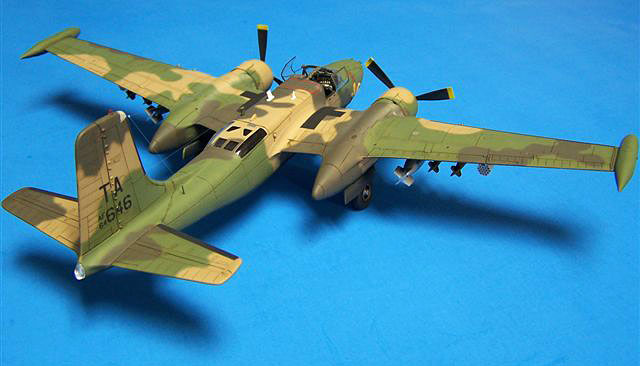
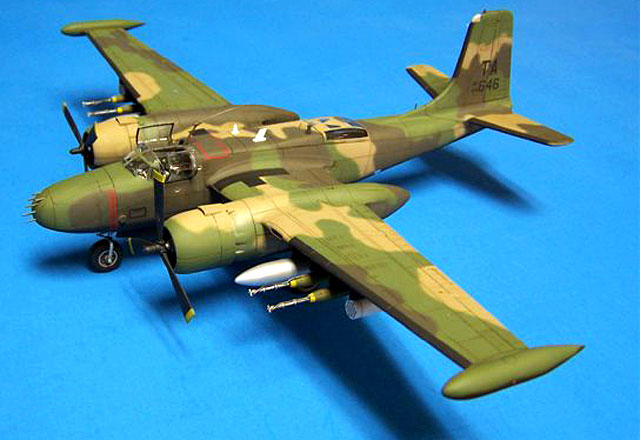
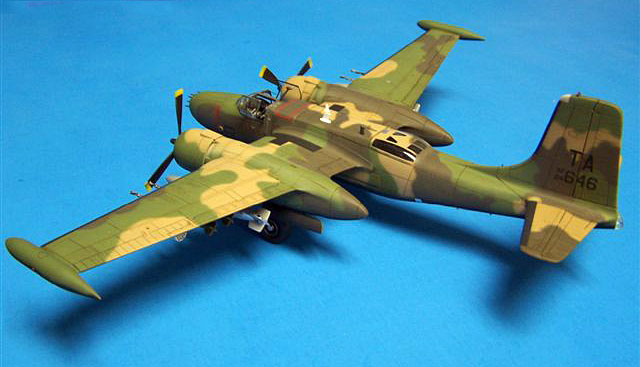
Here is my build of Italeri's new 1/72 scale B-26K Counter
Invader.
I need to start by saying that I’m not one to measure models to
make sure that they are ”spot on” dimension wise. To me if it looks
like an Invader then it is close enough. I will try to alter shapes
if they are absolutely wrong but otherwise I try to enjoy the model
for what it is. I love Mustangs and I’ve never measured any Mustang
kit to make sure it was perfect.
Now on to the Invader.
The kit is molded in a medium gray and clear plastic.
There are only 4 clear parts but they are beautifully clear. You
would not have polish them but I did just to create a barrier
between the paint and the plastic. The framework on the clear parts
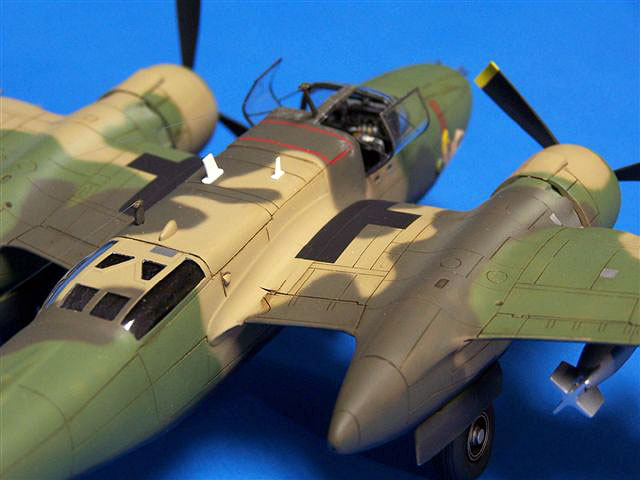
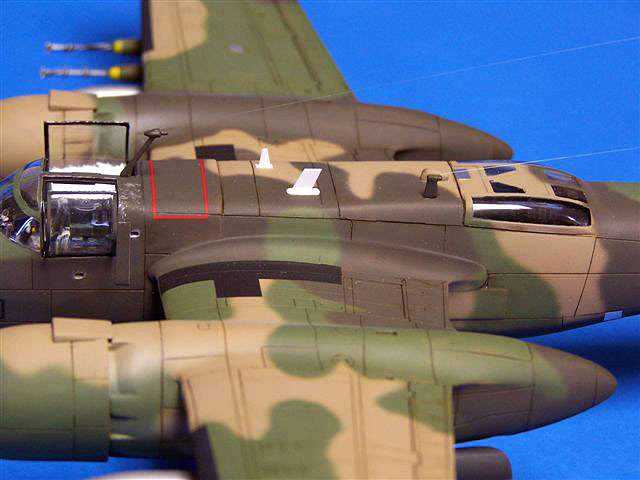
is slightly frosted to aid in masking. I did cut open the panel over
the pilot and navigator/co pilot position. The parts were thick and
this made cutting them open a little harder but I used Dyno Label
maker tape to guide my cuts. This also served to protect the
surrounding areas from stray cuts. Once I had scribed a deep line
where I wanted to cut, I used a micro saw from Hasegawa to finish it
up. I vacuum formed these panels and set them aside for later.

I added some details to the cockpit and scratched two new control
columns. The kit column is nice but a bit too thick. Italeri only
gives you one column and my photos show two. The right side
instrument panel had to be scratch built as well. I added throttles,
seat belts and buckles, and various boxes in the cockpit.
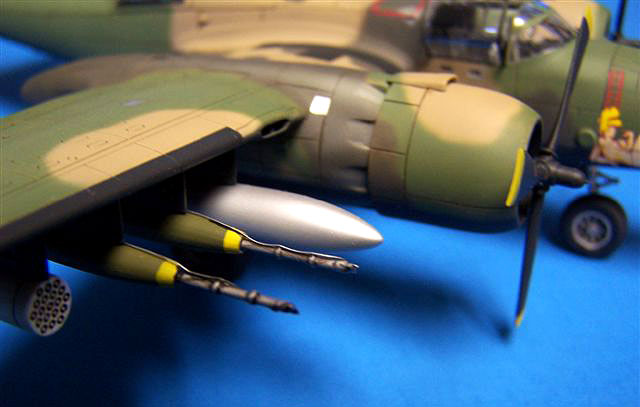
I wired and detailed the engines. Purists will notice that Italeri
does not supply the correct housing for the reduction gear on the
front of the engine. It should be the later smaller more rounded
front instead of the bullet shape given. It is hard to see in the
cowling anyway with the bid paddle blade props in the way. My
propeller hubs were badly molded and I cut the blades off and
replaced the hubs with ones from a 1/72nd scale Hasegawa Corsair.
Italeri allows you the options to open or close the bomb bay and I
opted to close it. It does not fit well and you’ll have to fill and
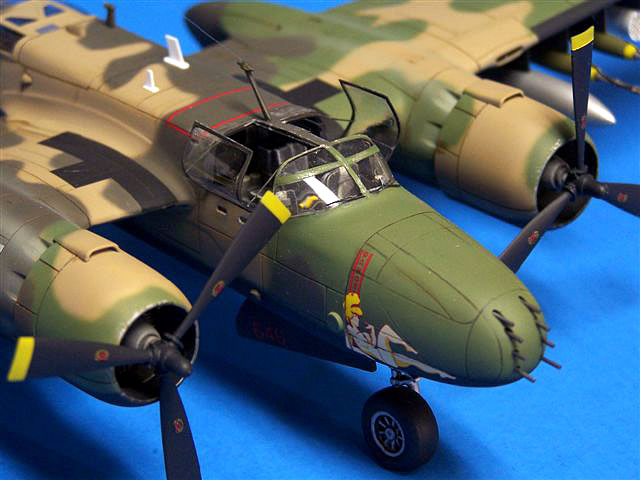
sand here. I faired in the windscreen and the canopy over the
gunner’s station. Overall the model fit well and the nose fit almost
perfect. The gun holes in the nose were misshaped so I filled them
in and drilled new ones. The nose guns were replaced with plastic
rod. I must say that this was a little more difficult than drilling
the holes in the wings for my recent Classic Airframes Bf 109D!
The engine nacelles fit very well.
I did use True Details wheels for the main gear and found the
True Details nose wheel was too big the nose gear. I used the kit
wheel instead. Most of the antennas were scratch built and since I
have misplaced most of my reference material on the B-26 I could not
verify the antenna fit. I went by the instructions in this area.
I know that the Invaders were withdrawn from combat for a while due
to wing failure and they were strengthened and the had various other
refits during there service life. There were at least two different
types of engine cowlings used as well. You will have to collect your
references to make sure of the one you are building.
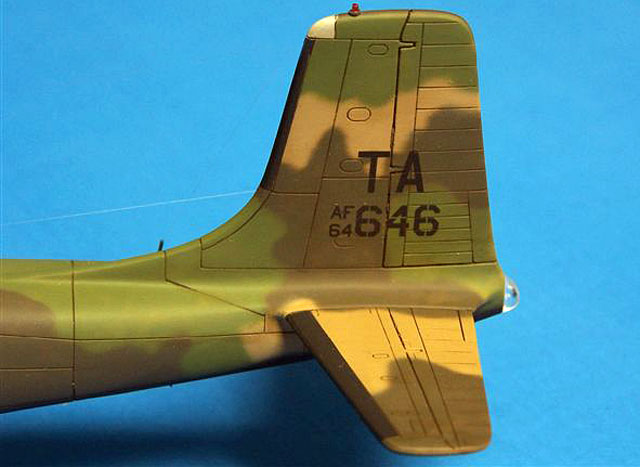
The model was painted with Tamiya paints mixed to the appropriate
South East Asia colors. I used an oil wash of burnt umber, black and
white to highlight the panel lines. I used the kit decals and they
were wonderful. I only had to use a little Solvaset setting solution
around the vortex generators on the tail.
I would highly recommend this kit to the novice and the advanced
modeler as well. It looks good out of the box and yet there is room
for the super detailer to excel.
Dr Phil
Click
the thumbnails below to view larger images:
Model and Images Copyright © 2006
by Phil Hale
Page Created 04 April, 2006
Last Updated
04 April, 2006
Back to
HyperScale Main Page |
 Home
| What's New |
Features |
Gallery |
Reviews |
Reference |
Forum |
Search
Home
| What's New |
Features |
Gallery |
Reviews |
Reference |
Forum |
Search