|
Classic
Airframes new 1/48 scale
Supermarine Attacker
by Fotios Rouch
|
 |
|
Supermarine Attacker |

Classic
Airframes' 1/48 scale Supermarine Attacker may be ordered online
from Squadron
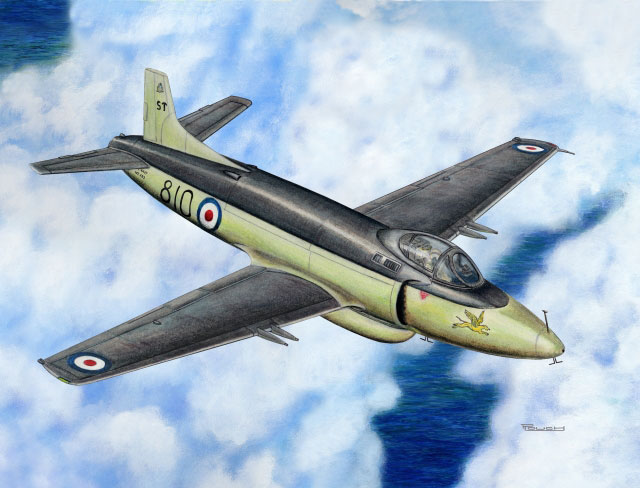
The Supermarine Attacker was the first jet fighter of the Fleet Air
Arm.
It was a straight wing jet fighter that used the wing of the Spiteful
on a new fuselage.
The Attacker was developed as an interim fighter for the RAF to fill
an immediate need for a jet fighter. The solution was rejected since the
straight wing Attacker was not any better than the Meteor and in
response Supermarine offered a navalised version of the Attacker for the
consideration of the FAA. The RAF went on with choosing the Meteor and
the Vampire as its first two operational jets.
The first navalised prototype first flew in June 1947 with the first
production aircraft entering service in 1951. Armament consisted of four
Hispano 20 mm cannons and was powered by a Rolls-Royce Nene.
The FAA used 182 Attackers and 36 were sold to Pakistan.
The Supermarine Attacker was superseded quickly by other Supermarine
jets like the Scimitar and Swift. The contemporaries of the Attacker
were the MiG-15 and F-86 Sabre making it look very unsophisticated with
its tail wheel and straight wings!
Up until now modelers have had two choices in 1/48 scale for the
Attacker - the Falcon vacform kit and the resin Magna offering.
Obviously both have been eclipsed by the Classic Airframes kit.
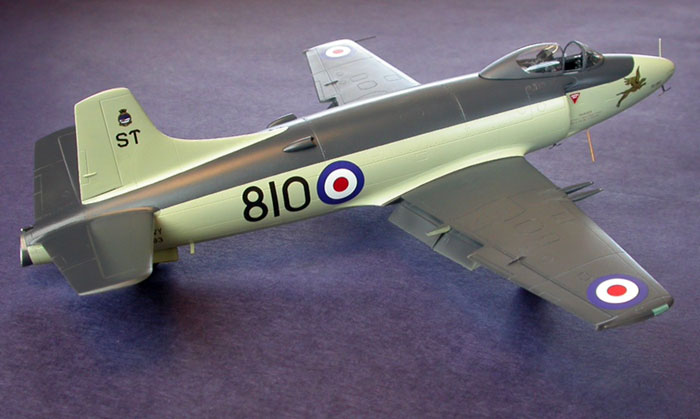
This kit arrived to my "lab" as an early production test shot and as
such there were no instructions or photoetched parts included in the
brown container box. The parts have the quality polished look that
Classic Airframes sometimes exhibit in the past few years. No flash was
present around the parts. The sprue gates, although somewhat thick, were
easy to clean up in most areas and only the landing gear doors and clear
canopy required a little more skill in cleaning up.
Some general notes about the engineering of the kit. First of all the
master maker engineered it with ease of construction in mind. The
fuselage is broken down into four parts. The front portion of the
fuselage inserts itself inside the main fuselage body and thus creates a
very accurate look with full depth intakes leading to the Nene fan. The
internal bracing that contains the fan also includes two spars that
extend out of the fuselage and are used to locate and support the wings.
Also notable is that the front of the wing butt-joints include little
locator pins. The model looks like it was done using the very nice
Granger scale plans and pretty much every single panel line is present
on the model.
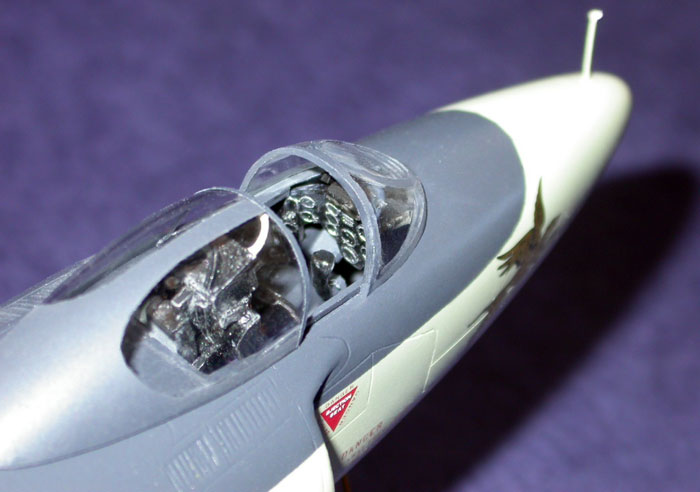
The resin parts included are very well molded with no defects and
completely pin-hole free. The ejection seat is very well done and can
even slide up and down its rail! Too bad all has to be painted black and
be lost in a black hole (note: dark grey shades can be used to give some
depth to the cockpit). Another part I really enjoyed was the resin tail
pipe and how it integrates to the resin tail wheel well. Nicely detailed
area and fun to build. A belly tank is also included in the kit but I
did not use it since it does little to improve the aircraft's looks.
One comment I would like to made is that I really wish Classic
Airframes would consider giving us back our nice vacuformed canopies.
They do so much for the look of a model.
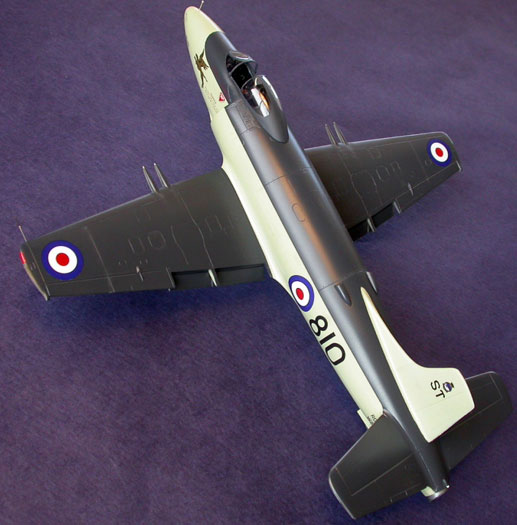
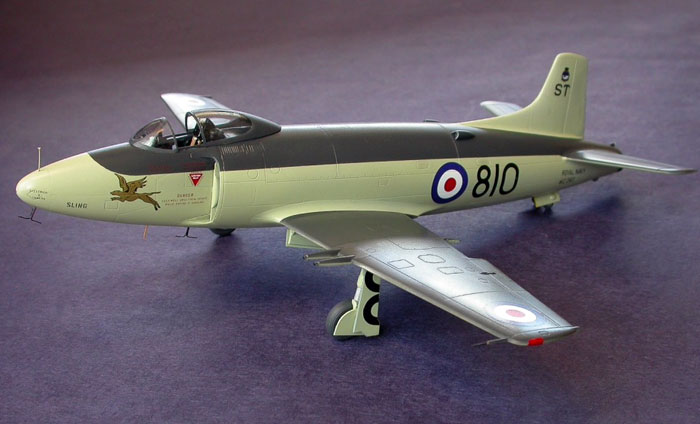
I decided to cut the canopy open to show the nicely detailed interior
a bit better.
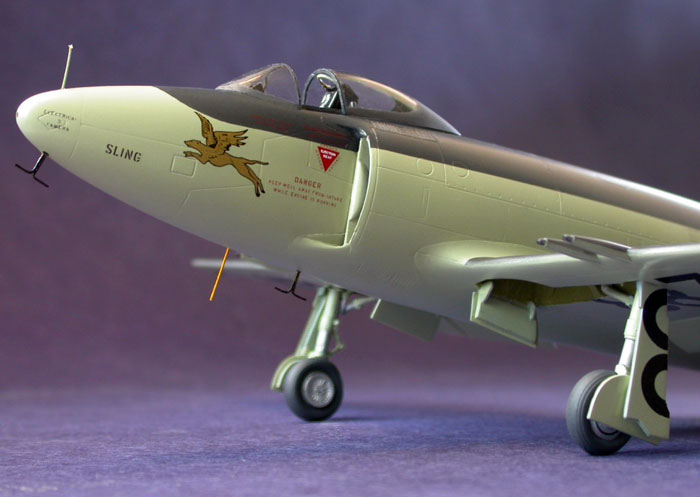
I also fabricated the pitot tubes and various antennas as well as the
fuel dump since the photoetch parts were not produced yet.
The decals were nicely printed (the winged greyhounds are actually
printed with gold pigment) and went down very well. Remember to trace
and cut the bottom wing numbers before you glue the landing gear since
the numbers go over a portion of the landing gear doors.
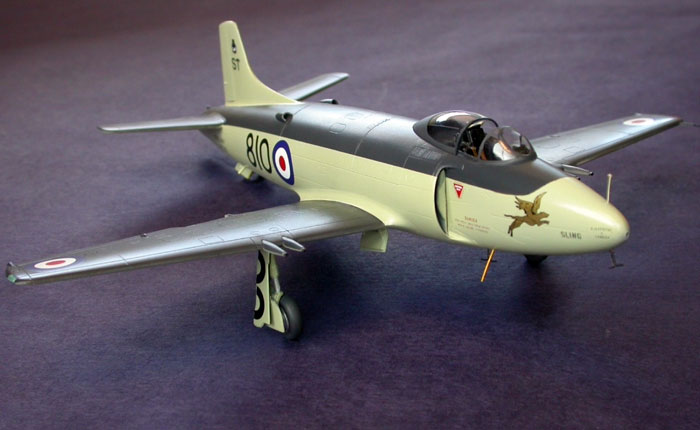
I used White Ensign enamel paints for the Attacker which went on very
smoothly and produced a nice satin sheen. They take a while to dry but
experimenting showed that they dry much faster if thinned with Xtracolor
thinner.
I cannot say that this model is the prettiest jet in my collection
but it is a very well done kit and plenty important to all the early jet
collections.
My sincere thanks to Classic Airframes for this preview sample.
Click the thumbnails below to view larger images:
Model, Images and Text Copyright © 2005
by Fotios Rouch
Page Created 08 September, 2005
Last Updated
07 September, 2005
Back to
HyperScale Main Page
|
 Home
| What's New |
Features |
Gallery |
Reviews |
Reference |
Forum |
Search
Home
| What's New |
Features |
Gallery |
Reviews |
Reference |
Forum |
Search