|
Tamiya's 1/48 scale
Bristol Beaufighter
Mk.VI
by Paul Marshall-Potter
|
 |
|
Bristol Beaufighter Mk.VI |

Tamiya's
1/48 scale Beaufighter Mk.VI is available online from Squadron.com
This is my 1/48 scale Tamiya Mk.VI Beaufighter in 1/48
scale.
I mainly model in 4mm scale in railway modelling,
however I cut my teeth as a kid, as did my brother, buying Airfix Series
1 kits for the small amount of pocket money I got.
Over the years I have occasionally built both aircraft
and car kits, and followed the use of different mediums and materials
from these sides of the kit building hobby. These I have then used in my
railway modelling and also used railway techniques in the plastic kit
mediums.
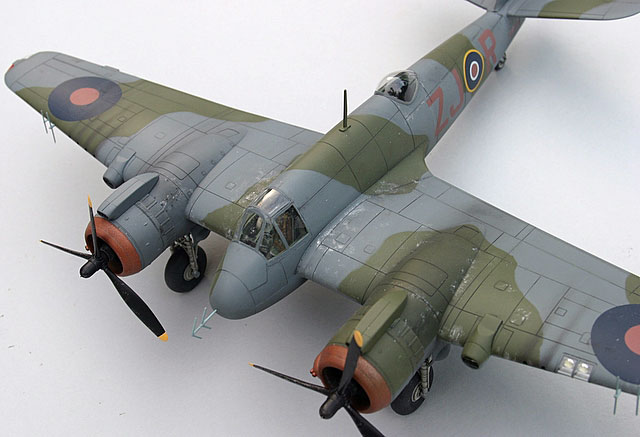
There is very little done to this kit apart from the
addition of a Cutting Edge cockpit detailing kit and a Vac-formed rear
canopy.
The kit goes together very well. There is nothing I find
more frustrating than trying to put together a poorly designed kit, be
it an aircraft, car or model railway locomotive.
The Cutting Edge cockpit is very good quality, but is a
little difficult to get to ‘sit’ correctly, but it does make a
significant improvement over the Tamiya items.
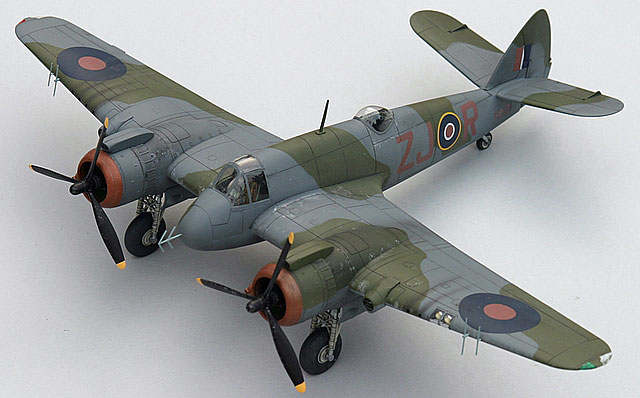
The instructions and illustrations are good too, if a
little sparse on painting information, so I followed the Tamiya
information on that. I can’t recall the Vac-form canopy manufacturers
name but the navigator/radar operator position replacement really worked
well yet the cockpit one was not so good. I retained the Tamiya cockpit
canopy and used the Vac-form mid upper position.
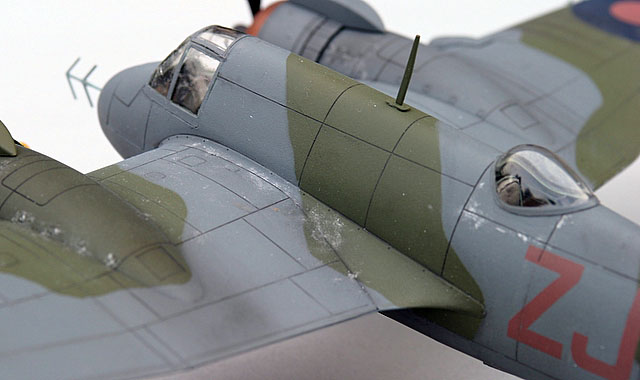
The only other work I did was to add new landing lights
from a 1/43 Model car kit I had spare and to file flats on the main
tyres. Filing the flats gives a better look to the model as the model
looks like it has real mass when viewed from the side.
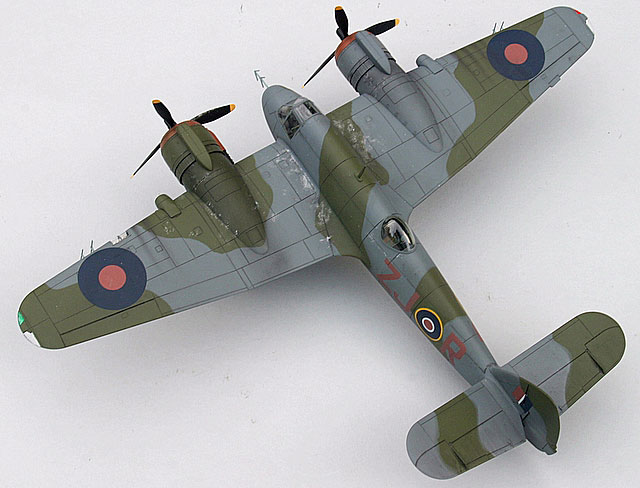
The paint work is primarily from Tamiya aerosols. The
camouflage masking was done with rolled up Blue-Tak and Tamiya masking
tape.
Once the main colours were sprayed I used the Tamiya
transfers and unfortunately trashed the serial numbers, so used the
other numbers left on the sheets. I then dry brushed silver around
panels that would have got scuffed, and used an ink wash in the panel
lines to highlight them.
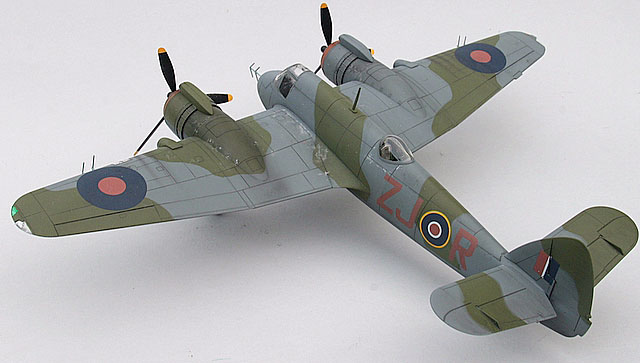
The model was finished with a coat of Vallejo Matt
varnish airbrush applied, and used ground up artist pastels for the
gunsmoke and exhaust staining.
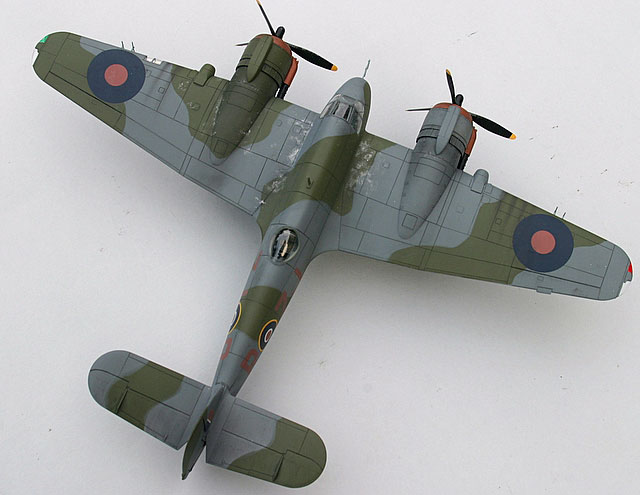
Feeling very pleased with myself I subsequently realised
that I had transposed the wing tip navigation light’s. So I had to
change them round, unfortunately that came to light after taking these
images.
For those that are interested the camera was an EOS10D
with a 28-70mm 2.8f lens, taken in available light on an overcast day.
Click on the thumbnails
below to view larger images:
Images and Text Copyright ©
2005 by Paul
Marshall-Potter
Page Created 16 November, 2005
Last Updated
15 November, 2005
Back to
HyperScale Main Page |
 Home
| What's New |
Features |
Gallery |
Reviews |
Reference |
Forum |
Search
Home
| What's New |
Features |
Gallery |
Reviews |
Reference |
Forum |
Search