|
ProModeler's 1/32 Scale
Messerschmitt Bf
109G-4
by Brian Geiger
|
 |
|
Messerschmitt Bf 109G-4/Trop |
Images by Ian Robertson and
Brian Geiger

ProModeler's
1/32 scale Messerschmitt Bf 109G-4
is available online from Squadron.com
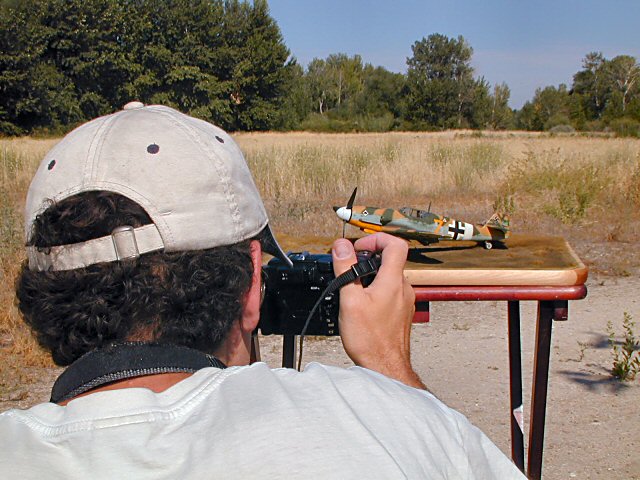
Don't be fooled by the photos! This is not another kit from the
prolific Ian Robertson. Ian was nice enough to share his model base,
time, and photo expertise to take some pictures of my tropical Bf109.
After settling into 1/48 scale for years, I sat on the side lines and
watched the parade of new 1/32 kits come out. Ian came forward, along
with a couple local modelers, and issued an informal Bf109 challenge. We
all set out to simultaneously build 1/32 Bf109 kits to be entered as a
group entry in an upcoming contest. If you've never participated in a
group build, I highly recommend that you do. Modeling can be such a
solitary activity. We kept close track of our progress by exchanging
emails with photos on nearly a daily basis. I received a lot of tips to
get through the problem spots and seeing other kits take shape kept me
enthused and on schedule.
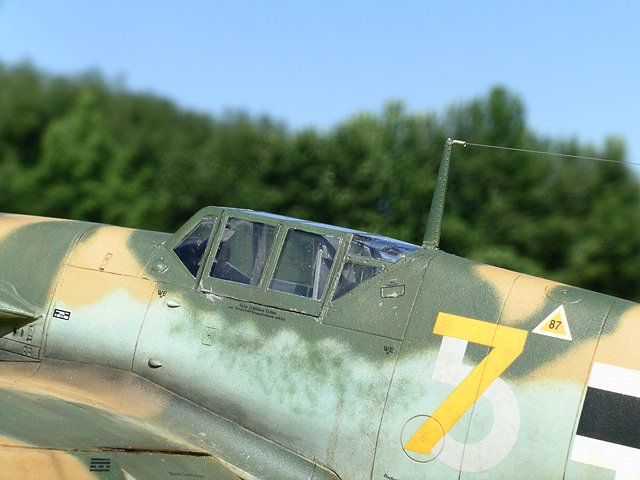
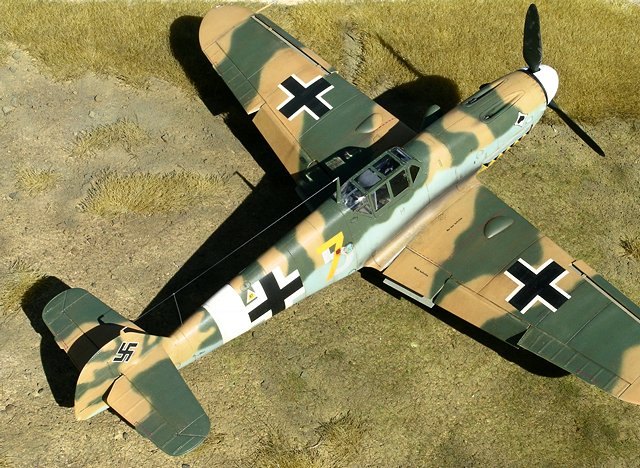
I chose one of the four available schemes from ProModeler's excellent
kit, Wolfgang Tonne's “Yellow 7”.
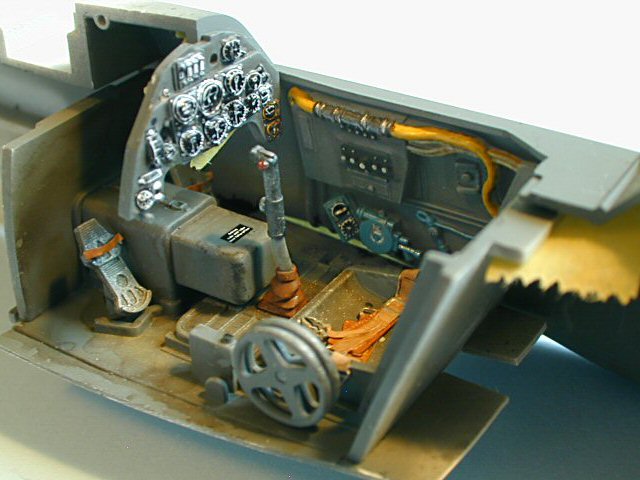
The only additions to the kit cockpit are foil pedal straps and photo
etch seatbelts from MDC.
Light weathering was added with a wash of Dr. Ph.Martin's sepia
concentrated water color ink followed by light drybrushing. The
instructions recommend either painting the raised instrument panel
detail, or sanding it down to apply the supplied decal. I applied the
instrument panel decal over the raised detail with liberal amounts of
Micro Sol decal solution. The only draw back was that I got some
distortion of the dials as they stretched to cover the entire surface.
Cutting apart the dials into sections would have helped. Next time I'd
like to try painting it since the raised detail looks very good.
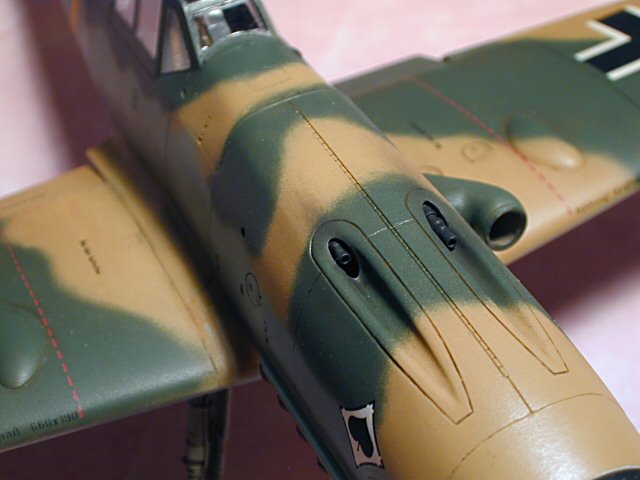
Others have mentioned the need to thin down the cross spars that align
the wings into the fuselage so I was prepared. However, I managed to
commit new boo-boo's of my own by gluing the grills on the trailing end
of the wings in the wrong place, which prevented the wheel wells from
sealing and interfered with mating the fuselage spars. Look carefully at
those instructions! An evening of tearing things apart and reworking the
wings fixed it.
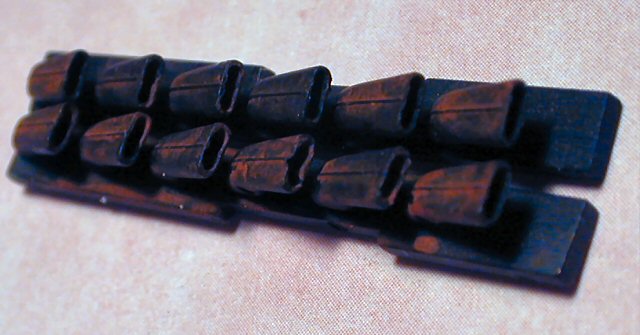
Another question spot for me was the position of the machine guns. I had
some references that seemed to indicate that the gun barrels should
protrude farther forward than the kit indicated. After scooting them
forward and gluing everything in, I came across more references that
showed them recessed back. The kit position may be correct, but I like
to think that my modification is a happy medium.
ProModeler includes a nice set of resin wheels that were a little tricky
to get aligned right. After breaking them off a couple times during
construction, I ended up reinforcing the mating axles with wire pins.
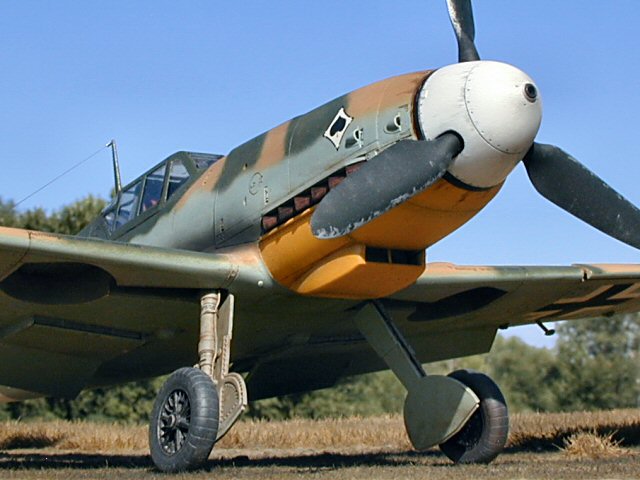
I replaced the prop spinner with The Eagle Editions resin spinner and
attached it with brass tubing. The antenna is elastic “E-Z line” with a
strand of monofilament for the vertical fuselage antenna lead-in. The
"tension springs" were made by wrapping thin wire around a pin vise
drill.
Even though the exhaust stacks are not very visible, I drilled them out
with a pin vise and finished them with Model Master Burnt Iron Metalizer
and RUSTALL.
Click on the thumbnails
below to view larger images:
Decals,
Painting and Weathering
|
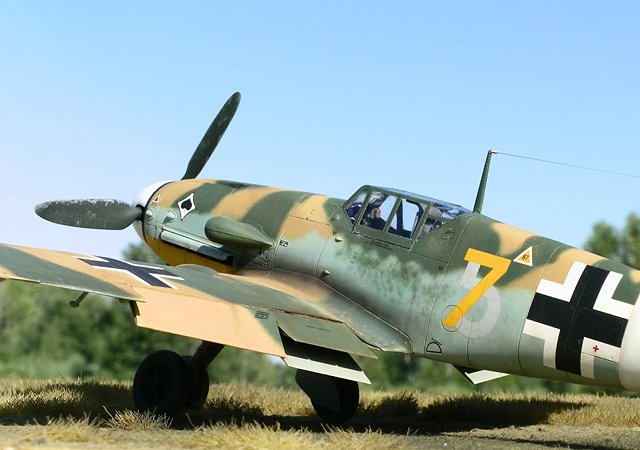
The model was primed with Tamiya fine white.
Next, Model Master Enamels of RLM 78/79/70 were sprayed
using a Badger Sotar 20/20 airbrush. The kit decals were used except for
the addition of the tire pressure data, which were from an EagleCals
sheet. I airbrushed a coat of Future floor wax to seal the decals and
protect them from the subsequent weathering.
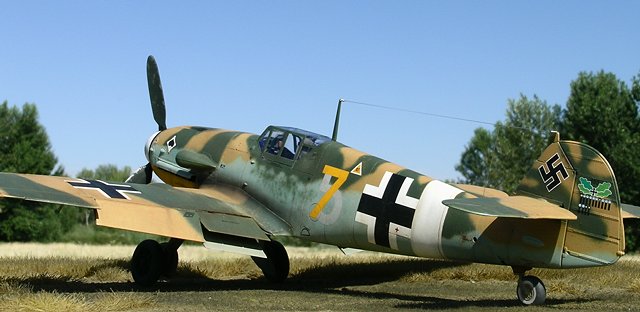
I washed the model with umber and sienna artist oils thinned with
turpenoid. This layer was later sealed with Humbrol Matt Cote, with a
few drops of gloss thrown in to give a slight satin sheen. Paint
chipping on the prop blades and wing walks was done with a Crayola
silver pencil. The final step was adding the exhaust streaks and various
dirty areas with pastel chalks.
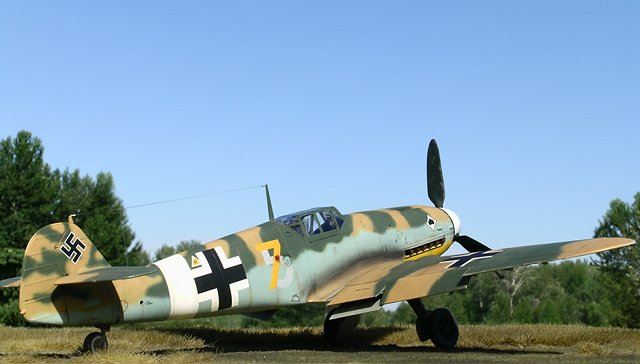
I'm very happy with how well this kit turned out. Our group entry took
second place in the collections category at the IPMS Seattle Spring Show
2004.
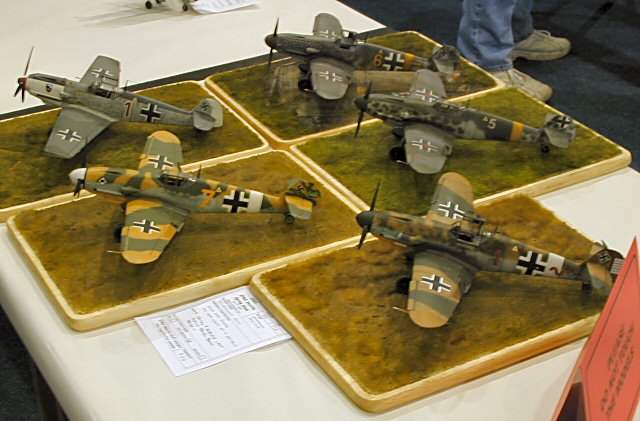
I love the broad spectrum of available subjects and
aftermarket parts in 1/48 scale, but the high level of detail and
quality found in the newer 1/32 kit is very welcome. The larger size
makes complex camo schemes even more attainable, and it still fits in my
display case. I've since bought a handful of these kits so this won't be
my last.
Photography
Images were taken with a Nikon Coolpix 5400 digital
camera. The "sharpen edges" tool of Adobe Photoshop was used to restore
some of the clarity and crispness lost during image compression.
Additional images were taken with a Nikon Coolpix 800 digital camera
using Jasc Paint Shop Pro to sharpen and clarify.
-
Bf 109 Aces of North Africa and the Mediterranean,
Osprey Publishing
-
Jagdwaffe vol 4 section 2 The Mediterranean, Classic
Publications
-
Me 109 Volume II from 1942 to 1945, Histoire &
Collections
Click on the thumbnails
below to view larger images:
Bf 109 Aces of North
Africa and the Mediterranean
Aircraft of the Aces 2 |
|
|
|
|
Author: Jerry Scutts
Illustrator: Chris Davey
US Price: $19.95
UK Price: £12.99
Publisher:
Osprey Publishing
Publish Date:
October 17, 1997
Details: 96 pages; ISBN: 1855324482 |
|
|
Model, Images and Text Copyright ©
2004 by Brian Geiger
Selected Images Copyright ©
2004 by Ian Robertson
Page Created 14 September, 2004
Last Updated 15 September, 2004
Back to HyperScale
Main Page
|
 Home
| What's New |
Features |
Gallery |
Reviews |
Reference |
Forum |
Search
Home
| What's New |
Features |
Gallery |
Reviews |
Reference |
Forum |
Search