|
ESCI 1/12 scale
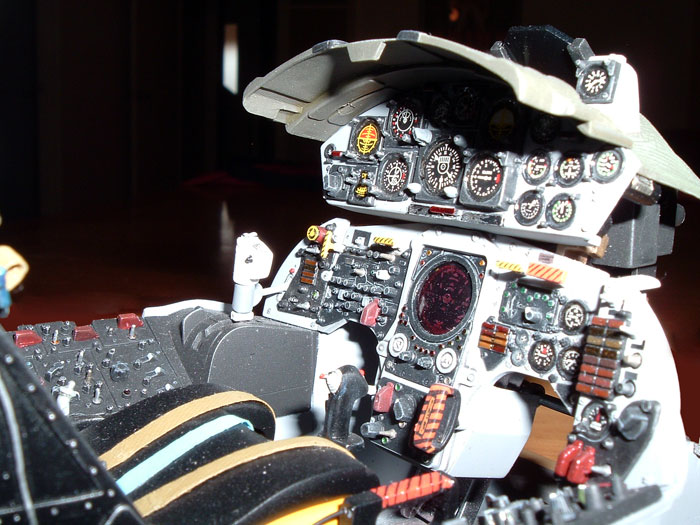
F-104 Starfighter Cockpit
|
 |
|
F-104 Starfighter
Cockpit |
by Anthony Papadis

HyperScale is proudly supported by Squadron.com
Although Esci no longer exists
as a company, many of their moulds live on, thanks to Italeri who are
presently re-releasing many old Esci kits. Two kits that Italeri have
recently re-issued (under their own moniker) are the 1/12 “Cockpit
Series” kits. These consisted of an F-16A and the F-104 Starfighter
cockpits, the subject of this feature.
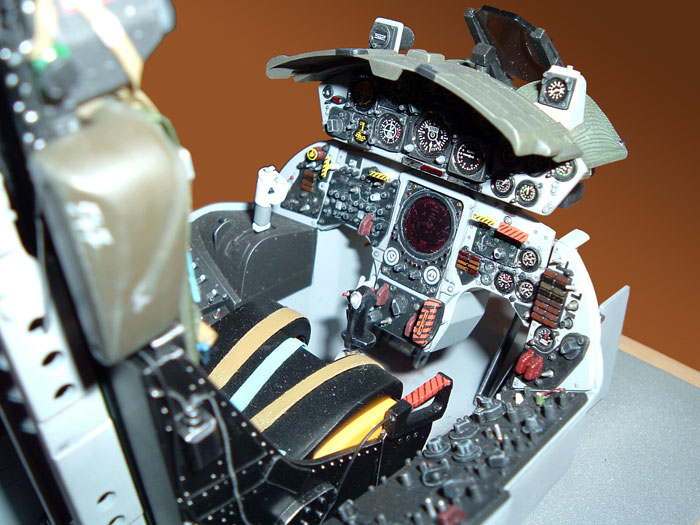
As I have already mentioned,
Italeri have re-issued these kits, however this kit is actually an
original Esci kit which I bought some time ago. The kits feature a
wealth of detail which can be readily appreciated in this scale. I used
the excellent Verlinden “Lock-On No.1” as my main reference, in addition
to the ejection seat site (www.ejectionseatsite.com)
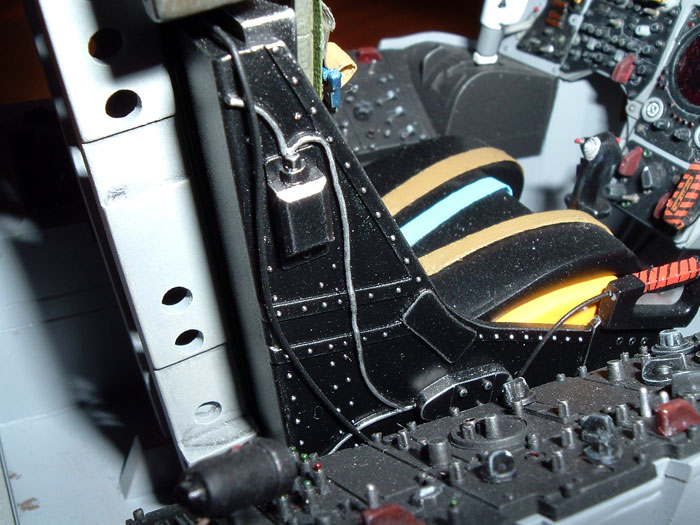
The seat in the kit was more
representative of European operators who used the Martin Baker GQ-7
series seats (these ejected upwards rather than downwards) rather than
the original Lockheed designed C-2 seat.
Also included is a piece of self
adhesive material which has the pre-printed seatbelts. The instructions
require that you simply cut the required belt and stick them onto the
seat after threading them through the appropriate buckles.
Unfortunately, the pattern
suggested in the instructions is greatly oversimplified compared to the
‘spaghetti’ like arrangement of the real item. The seat is also a little
simplistic and lacks some detail.
Additions
and Improvements
|
I added and/or improved the
following items:
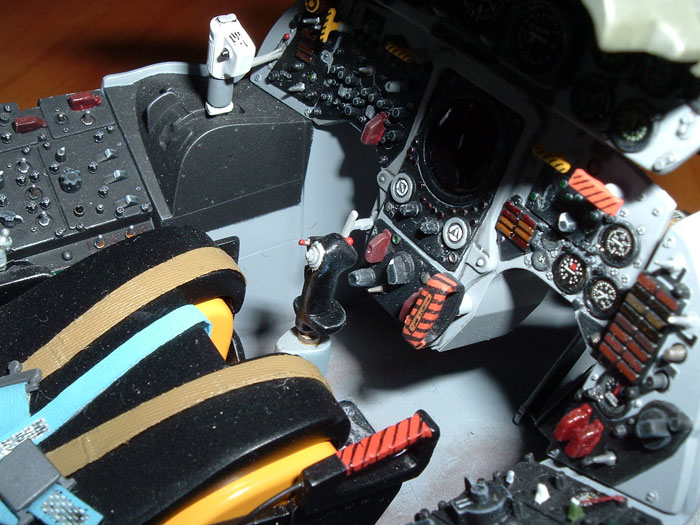
-
 Face
curtain and seat pan firing handles replaced by copper wire in order
to eliminate the need to remove the moulding seam. The cross section
of the kit handles was also elliptical rather than round Face
curtain and seat pan firing handles replaced by copper wire in order
to eliminate the need to remove the moulding seam. The cross section
of the kit handles was also elliptical rather than round
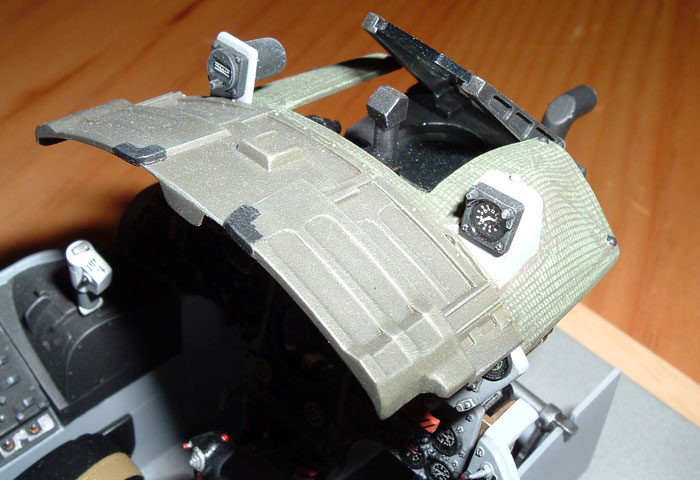
-
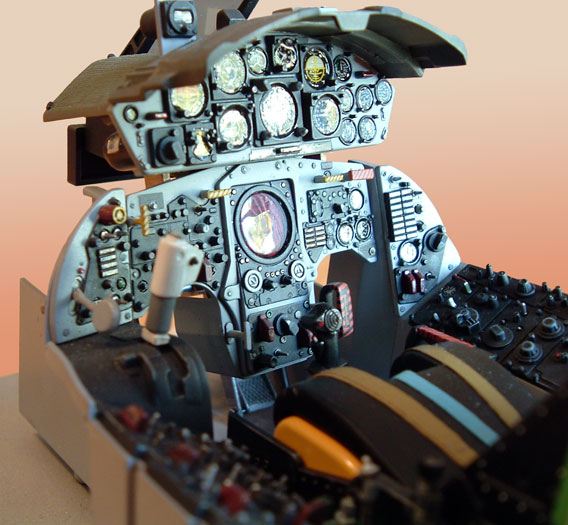
The
instrument bodies were scratchbuilt and added to the rear of the
instrument panel
-
The
dust boot for the base of the control column was made from some lead
foil
-
The
various hoses for the PEC (Personal Equipment Connector) were
fabricated by wrapping 8Amp fuse wire around a core of 16Amp fuse
wire to simulate ribbed oxy hoses
-
The
pilots ‘wander leads’ (portable spotlights) were drilled out and a
clear MV lens installed. The electrical leads were made by wrapping
8Amp fuse wire a round a needle and then stretching the wire
slightly after removing it from the needle
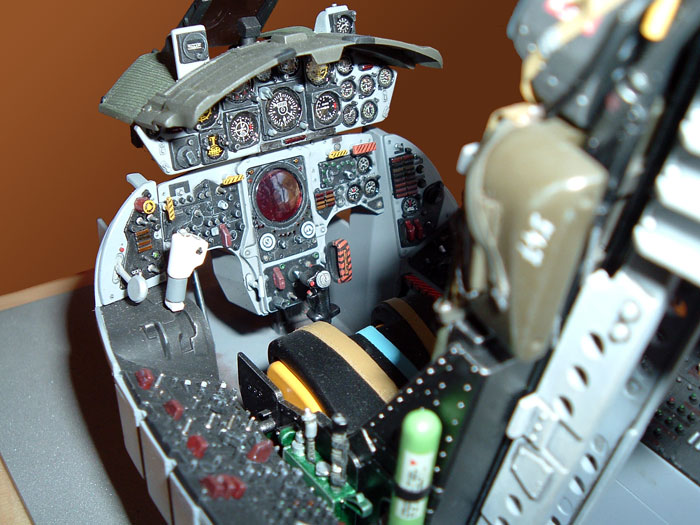
-
The
belt material was cut to suitable length and added to the seat to
represent the proper belt arrangement. Esci’s belts were all printed
in a horrible red brown colour (the original colour is visible on
the seat as the horizontal brown belt to which the Sutton type
harness is attached. The various belts were then painted in an
appropriate colour
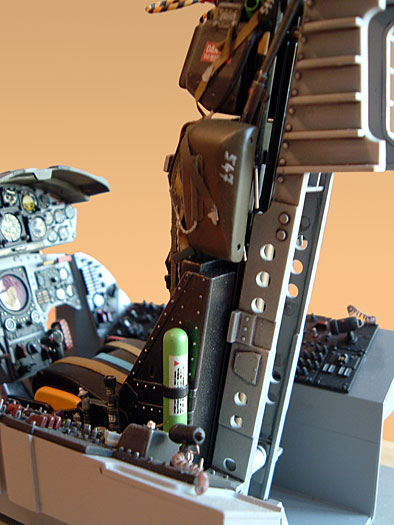
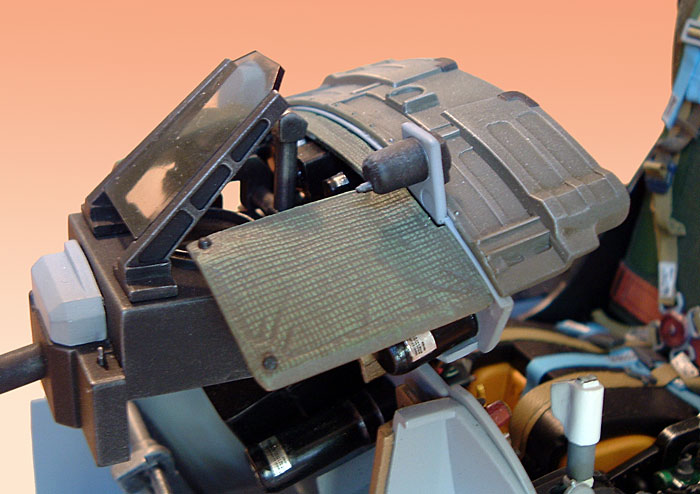
-
The
scissor shackle on top of the drogue chute housing (head box) was
made from plastic sheet and the drogue gun and guillotine housing
were fabricated from various bits of undercarriage leg taken from my
spares box. The barostat and timing mechanism was also embellished
with bits of wire and plastic to better represent the real item.
-
The
‘bowyangs’ or leg restraints were made from thin lead foil. These
items attach at the base of the seat and their purpose is to
restrain the pilot’s legs during the ejection sequence. After they
draw the pilots legs back to the seat they lock the in place, as the
flailing legs could be broken and even amputated during ejection. On
the original C-2 seat, the pilot actually wore little ‘spurs’ that
would lock into the foot troughs Shades of the Old West?
I love these kits. Like many
aircraft modellers, one of my favourite parts of any build is the
cockpit, so these kits are like an aircraft modellers dream! The kits
also feature a nifty little helmet. Unfortunately, I managed to lose
mine in one of my moves. Moving really sucks!
There is tremendous scope for
the detail nut with these kits, especially if you decide to build the
side walls and fuselage sides etc. I really enjoyed building my ‘pit. It
has since been to many model shows and been placed first at both state
and national modelling competitions. I rarely look at any of my built
models after they re completed, however, this kit continues to occupy a
prime position in my study.
Click
the thumbnails below to view larger images:
Model, Images and Text Copyright ©
2004 by Anthony Papadis
Page Created 20 May, 2004
Last Updated
19 May, 2004
Back to
HyperScale Main Page |
 Home
| What's New |
Features |
Gallery |
Reviews |
Reference |
Forum |
Search
Home
| What's New |
Features |
Gallery |
Reviews |
Reference |
Forum |
Search