| One day, a friend showed
me a 1/72nd scale F-16N he was working on. I have never been a big
fan of the F-16, but I found I liked the look of the camouflage. So,
I started working on a Hasegawa 1/48th
scale F-16N of my own that I could put on my display shelves. A
month later, I was done. Yes, it was that simple. The Hasegawa
kit builds up very easily.
As mentioned above, this is the Hasegawa F-16N Fighting
Falcon (stock#V007). It is one of the first flurry of F-16 kit
releases from Hasegawa back when they first started to
release F-16 kits. The kit is basically the original block 30 F-16C
kit with the addition of a small tree of parts that are unique to
the aggressor F-16s. This new tree includes the ACMI pod and the
RHAW antennae mounted on the intake sides.
I built the model "almost out of the box". Yeah, I know. I hate
reading reviews that say this, too. But in this case, it is true. I
made three, and only three, very minor changes to the construction
of the kit. The changes are only barely enough to remove the model
from IPMS Out-of-the-Box judging. They are as follows.
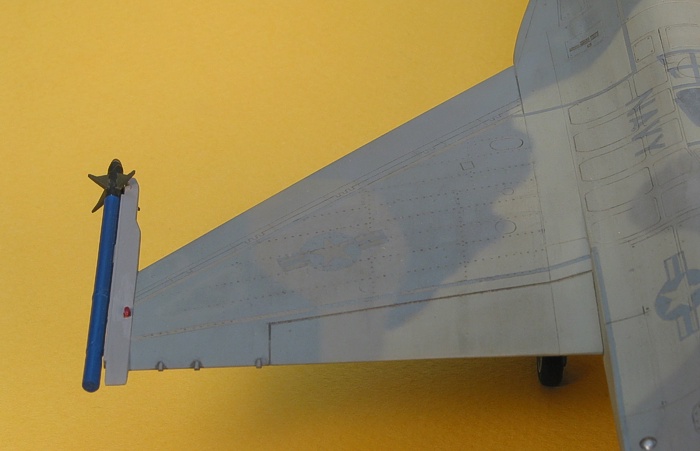
- I added the AIM-9L practise Sidewinder missile on the left
wing tip rail. This looked proper to me on the model because it
satisfied my need to balance the ACMI pod that was mounted to
the right wing tip rail.
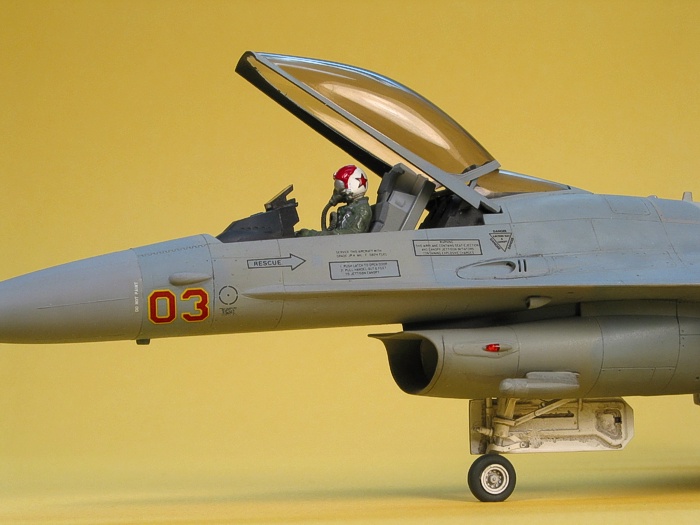
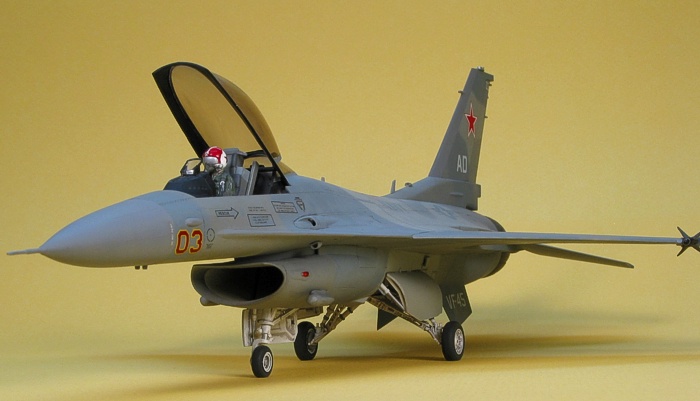
- I replaced the pilot's plastic molded oxygen hose with
Waldron's vinyl oxygen hose.
- I cut off the control stick from its base on the right side
console and inserted it into the pilot's hand. I could not get
the pilot's hand to fit over the stick without removing the
pilot's fingers. Also, the pilot's hand was bigger than the
stick height. This left a gap at the base of the stick, but it
is covered by the pilot's hand, so the modification works.
None of these changes really significantly changed the outcome of
the model or altered the way Hasegawa molded the kit, thus I
feel OK in saying "almost out of the box".
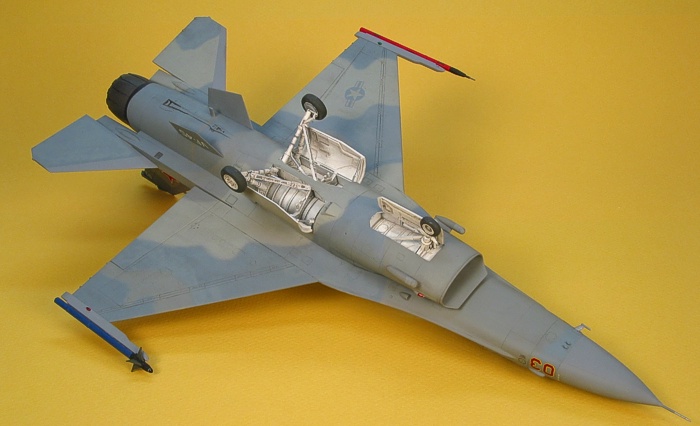
The kit accidentally is correct for an F-16N. When I built the
kit, I was dismayed to find the intake was the original style, not
the "wide-mouth" style used on the GE engined aircraft. None of the
early Hasegawa F-16 kits had the proper "wide-mouth" intakes
that are pretty much standard on the GE-powered machines. It took
until the "Block 50" F-16 releases for Hasegawa to fix this
short-coming. Anyway, research I did much later, long after I
finished the model, showed that the F-16N aircraft did not get the
wide-mouth intake. Hence, the kit (and my model) is correct without
the wide-mouth intake.
This particular release of the Hasegawa F-16 kit deletes
all the under wing stores parts (fuel tanks and weapons pylons) from
the kit. Hence, I built the model without any stores. This is how
most F-16N aircraft looked, anyway. The only thing I regularly saw
mounted on the F-16Ns was the centerline fuel tank. Having no stores
meant that I had to fill all the locator holes on the wing
undersides.
As I mentioned in the beginning of this writing, the camouflage
was the reason for building this model. This simple fact is the
driving force behind so many of my model projects...
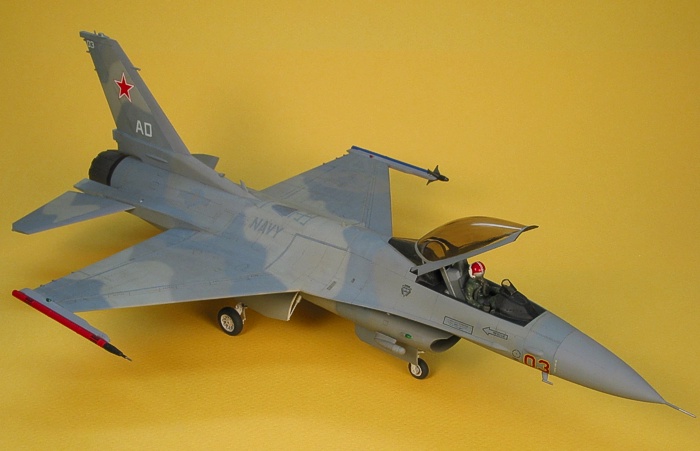
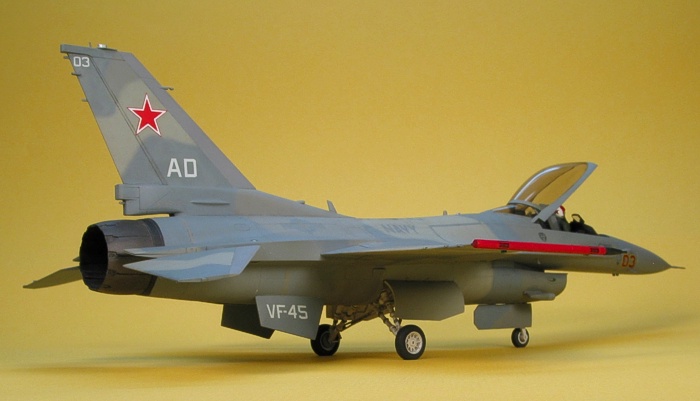
 The camouflage is the standard F-16N camouflage in which most all
the US Navy F-16N's were delivered - Graish Blue (F.S.35237),
Aggressor Gray (F.S.36251), and Light Sea Gray (F.S.36307). After
looking closely at photographs, I found that Testors Model
Master Light Sea Gray was looking too dark, so I cut it with 40% of
flat white paint. This lightened it enough to look more like what I
was seeing in the pictures. The camouflage is the standard F-16N camouflage in which most all
the US Navy F-16N's were delivered - Graish Blue (F.S.35237),
Aggressor Gray (F.S.36251), and Light Sea Gray (F.S.36307). After
looking closely at photographs, I found that Testors Model
Master Light Sea Gray was looking too dark, so I cut it with 40% of
flat white paint. This lightened it enough to look more like what I
was seeing in the pictures.
This was the first attempt I made at doing positive / negative
markings. The national insignia and the wing walk stripes were
masked and painted using contrasting colors of the camouflage. While
time consuming, it was not as difficult as I thought it would be,
paving the way for me to do other positive / negative subjects.
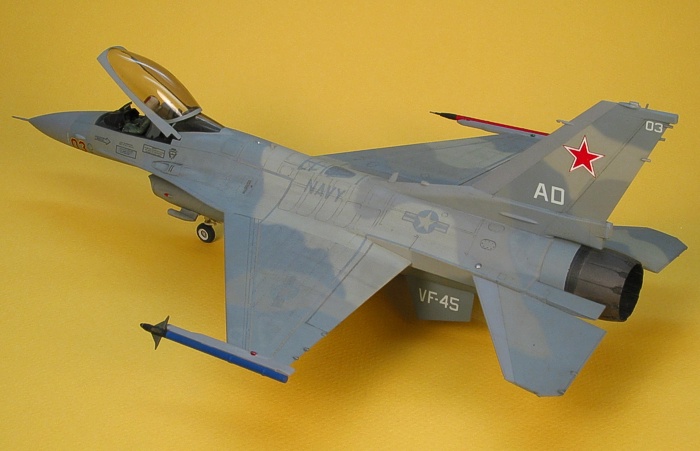
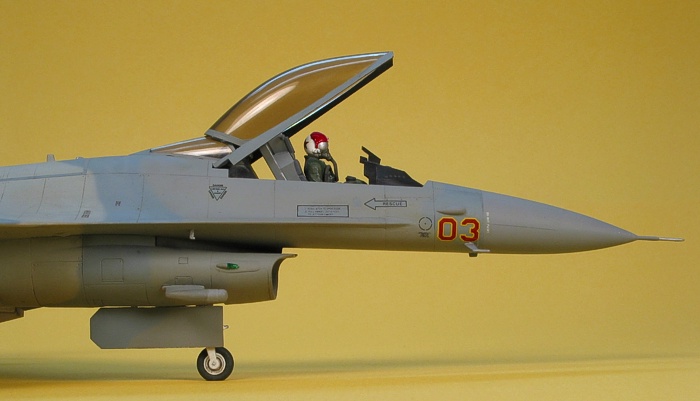
The decals come from various decal sheets, mostly SuperScale
decals. The star on the tail comes from a Russian armor decal sheet.
The data on the nose area is from an A-10 "Warthog" sheet. The tail
code, nose numbers, and unit identification come from generic
lettering and numbering sheets.
I have to own up to the fact that the model is somewhat
fictional. When I built the model, VA-45 had only just gotten F-16N
aircraft. I had only one picture to base the model on. Not knowing
too much about the markings other than the star on the tail and
VA-45 writing on the ventral strakes, I decided to wing it and just
build the model. The data markings in particular are incorrect as I
was just improvising to get something close that looked low-vis.
SuperScale released some true F-16N data markings a few years
after I finished this model, but I never returned to change the
markings you are seeing in these pictures.
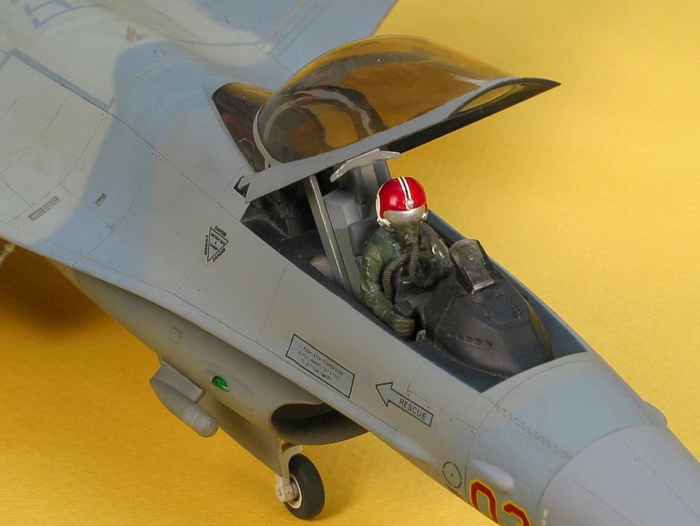
Another inaccuracy involves the nose number. Right after I
finished the model, I learned that VA-45 used numbers in the
twenties for all the F-16N aircraft (20, 21, 22, etc...). The lower
numbers were used on A-4 and F-5 aircraft. Hence "AD-03" was
actually an A-4E Skyhawk in VA-45, not an F-16N as on my model. Oh
well...
For weathering, I used my typical style of thinned down enamel
paint washes and air brush shading. I finished the weathering with
some dry brushing to pop out the surface details. For a more
complete discussion of what I do to weather my models, see my
posting on
"Weathering Aircraft".
It is a Hasegawa F-16 model -- what more can be said? It
is easy, simple, accurate, and (for me on this build) lots of fun.
|
 Home
| What's New |
Features |
Gallery |
Reviews |
Reference |
Forum |
Search
Home
| What's New |
Features |
Gallery |
Reviews |
Reference |
Forum |
Search