|
F-5E Aggressor
by Steven St James
|
 |
|
F-5E Aggressor |

HyperScale is proudly supported by Squadron.com
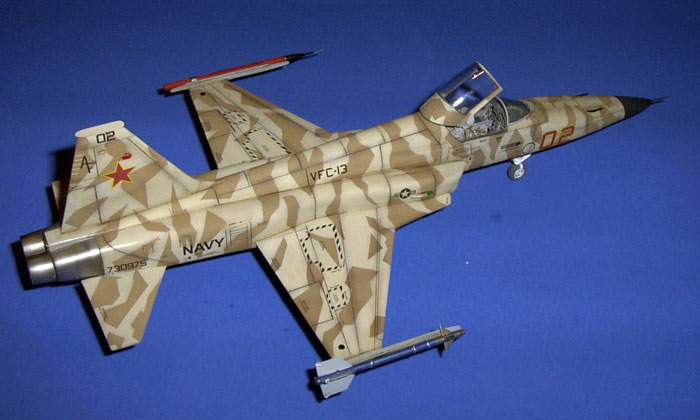
This is the Monogram F-5E High Tech!) version of the kit in 1/48
scale.
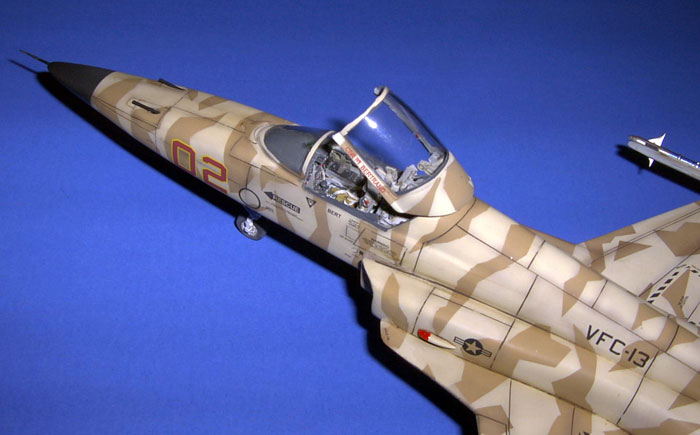
Additions to the kit were the Black Box cockpit, which in itself is a
kit. The Two Bobs Decal sheet, a Cutting Edge radome and lex conversion
and some photo etch.
I started by scribing the kit. The method I prefer is label-matic
tape, varying templates from Hasegawa and Verlinden. A tritool scriber
for straight lines and for circles and shapes, the trusty needle in a
pinvise.

The hot section of the aircraft is sort of wide open for
possibilities, so I took 'em. I found 2 plastic tubes, fitted them into
the burner cans and used the photo etch burner parts in the back to give
the cans some depth. I don't know if it's accurate (when do I ever
know??) but I liked the look.
After attaching the radome and wing extensions, I noticed that they
didn't match up exact, so I over-built the areas with magi-sculpt and
then sanded until everything matched up. Once I was satisfied with this,
I re-scribed the area.
I'd taken the tailplanes off of the kit so that I could make sure all of
the seams were sanded away and drilled little holes in the fuselage to
accept brass rods I'd put into the tails. I wasn't sure if these are
moving surfaces on the real aircraft so I glued them back to the kit in
the same position I'd removed them.
The painting started with flat black overall (again) and then I
followed up with Gunze colors.
To begin with, I shot the entire aircraft again, this time with gloss
brown, then, I went over it with the same browns used on the Israeli
fighters (the numbers escape me now). First I used the dark brown, but
since it was lighter than the gloss brown, I was able to get the
pre-shaded look that I like.

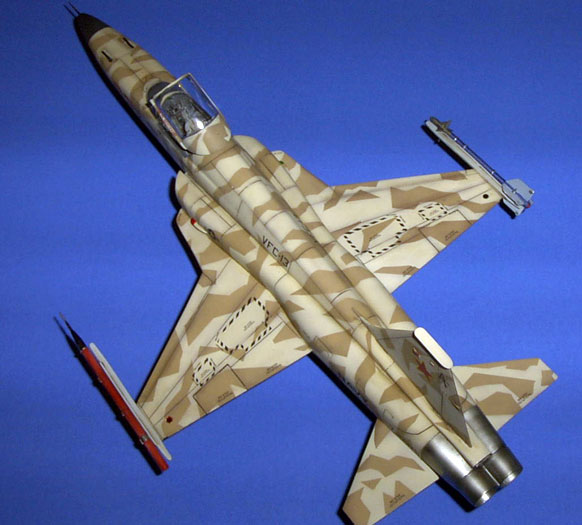
Then, I used Tamiya masking tape to cover the areas I wanted dark,
then I shot the lighter sand color. Once finished, I removed the tape
and got the results that you see.
The rest is pretty simple. The lights were Tamiya clear red and green
over gloss white and the two lights on the wings were chrome sequins
that I used and puched out little disks for the top and the bottoms of
the wings. Once glued on with some white glue, I painted them red and
green as well.
I'm sure I left plenty out, but this is about all my tired brain can
remember.
Enjoy the shots!!
Click the thumbnails below
to view larger images:
Model and Images Copyright 2004 by
Steven St James
Page Created 26 August, 2004
Last Updated 26 August, 2004
Back to
HyperScale Main Page
|
Home
| What's New |
Features |
Gallery |
Reviews |
Reference |
Forum |
Search