|
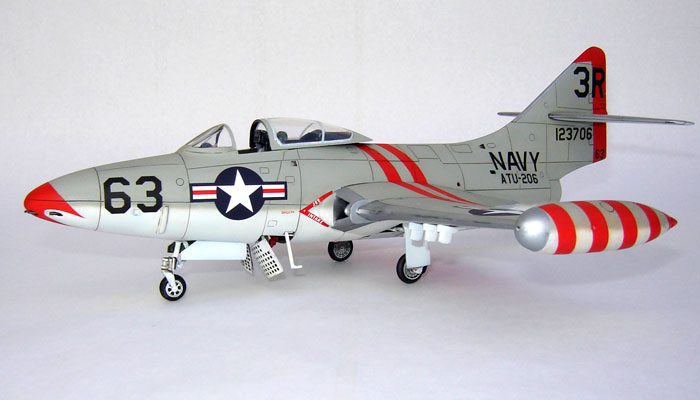
Monogram's 1/48 scale
F9F-2 Panther
by
Jerry Creager
|
 |
|
F9F-2 Panther |

Revell's 1/48 scale F9F-5P Panther is available online from
Squadron
Not long ago I had an
opportunity to buy an old Monogram kit of the F9F Panther. I believe
Monogram issued this kit back on the 90’s. I have always wanted to build
this kit but by the time got interested enough to do it the kit was out
of production. Finally I found one and promptly added it to my stack of
un-built models.
I like colorful airplanes
and I just couldn’t get inspired about a glossy sea blue airplane so it
sat around for several months until one evening I was looking at an old
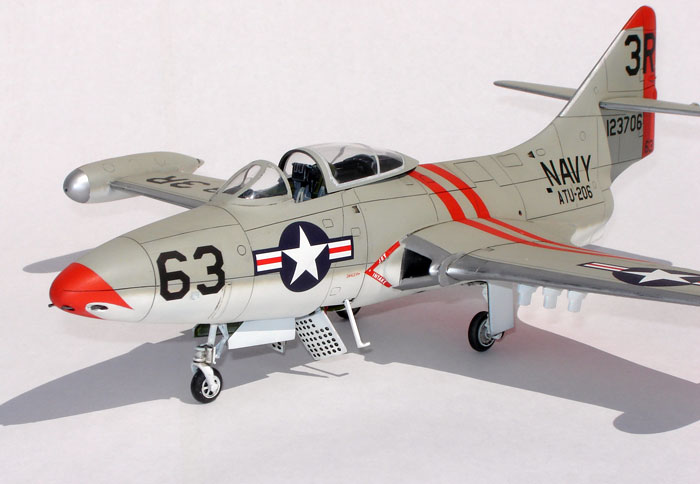
Squadron F9F Panther / Cougar book and there on page 21 was the scheme I
wanted to do. It is an aircraft that was assigned to the Advanced
Training Unit 206 based at Sherman Field at NAS Pensacola, Florida in
the mid 60’s. I cleared off the work table and started work.
I searched around the net
but couldn’t find any after market parts for the Panther so almost
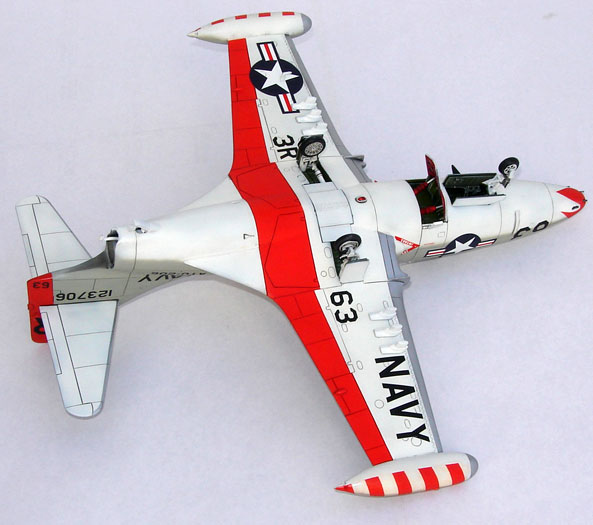
everything is out of the box. The only major modification is I re
scribed all of the panel lines. For the most part, the kit went together
pretty well with only a few minor fit problems. Since I have the air
brakes in the lowered position I did not encounter the air brake fit
problem that I have read about in other articles.
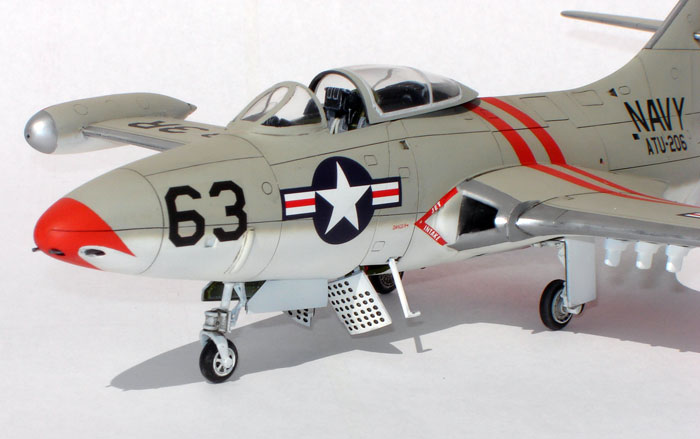
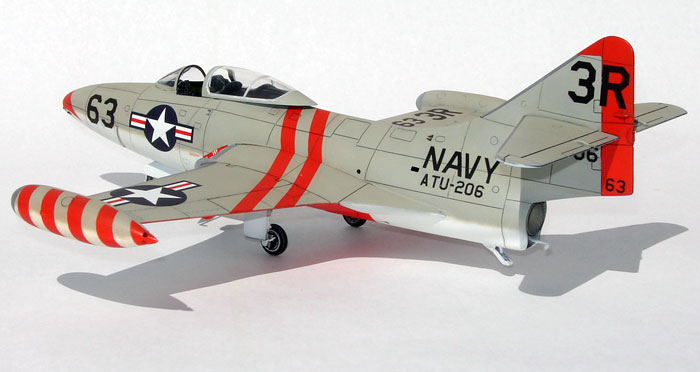
 The challenging part of
the project is that nobody makes decals for this aircraft, so I decided
to make my own. My local hobby shop had a decal kit designed for ink jet
printers made by Testor that contained clear decal paper and a can of
decal bonder. The challenging part of
the project is that nobody makes decals for this aircraft, so I decided
to make my own. My local hobby shop had a decal kit designed for ink jet
printers made by Testor that contained clear decal paper and a can of
decal bonder.
The next problem was I didn’t have a font in any of my programs that
matched the military stile lettering found on aircraft.
After about an
hour of surfing the net I found a free download of a military stile
font. It is called “AMARILLOUSAF” but I didn’t write down where I found
it so I can’t pass that info along.
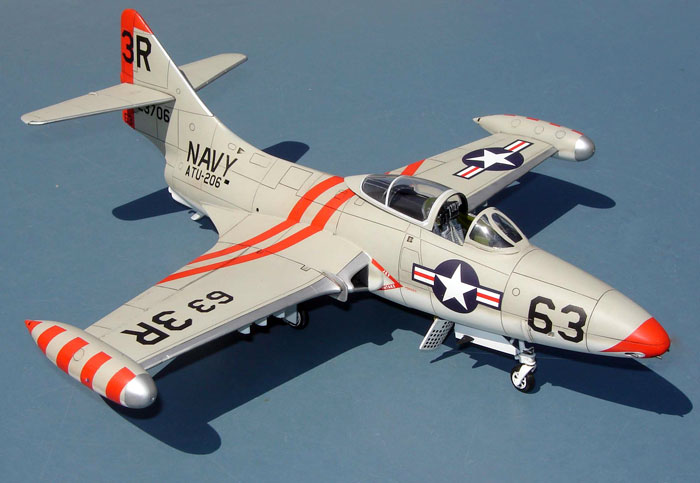
Next, I started laying out my letters and used the size of the kit
decals as a gauge to get the right height. This was trial and error and
I did this on regular paper until I was satisfied with the size and
arrangement of the letters.
The decal paper was advertised as compatible with ink jet printers but I
had trouble with the ink “rolling” up within the printed areas of the
letters and leaving a “cracked” appearance when dry. I solved the
problem by first spraying a light coat of the decal bonder on the decal
paper before I ran it through the printer. This worked perfectly, the
ink laid down solid and even.
The next thing I discovered is to wait a
good 24 hours before over coating the decal with the bonder. If the ink
is not completely dry, and I mean completely dry, the ink will blur
around the edges.
All of my letters were black so I don’t know how it
will work on colors, but I think if one were to use the same procedures
as described above, it should work
Click the thumbnails below to view larger
images:
Model, Text and Images Copyright ©
2006 by Jerry Creager
Page Created 07 July, 2006
Last Updated
13 July, 2006
Back to
HyperScale Main Page |
 Home
| What's New |
Features |
Gallery |
Reviews |
Reference |
Forum |
Search
Home
| What's New |
Features |
Gallery |
Reviews |
Reference |
Forum |
Search