|
Building Revell's new
1/48 scale
F/A-18E Super
Hornet
Part Three
by
John Chung

Revell's 1/48 scale F/A-18E Super Hornet is available online
from Squadron
For more information about the new
1/48 scale Revell
F/A-18E Super Hornet, please visit my
in-box review here on Hyperscale.
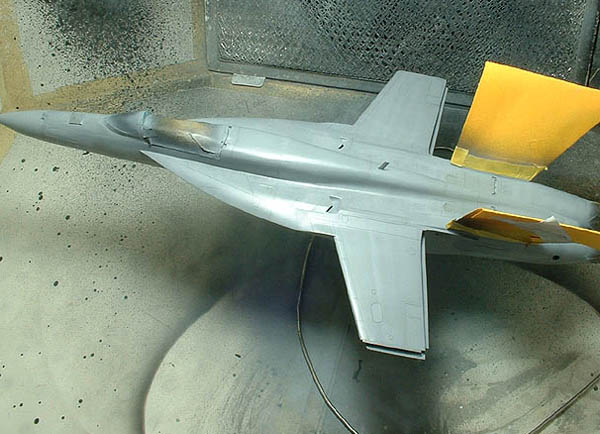
Painting
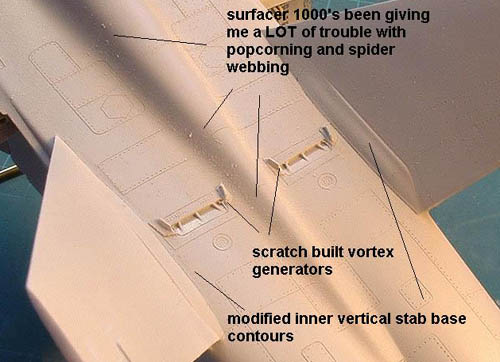
The model was primed with Surfacer 1000 thinned with lacquer thinner
to check for surface flaws.
Much to my dismay, the primer produced some severe orange peeling on
the model, a problem I’ve never encountered previously with the brand.
The issue was resolved after further thinning the primer and holding the
airbrush a bit farther from the model. The orange peeling was sanded
smooth and lost surface details restored. Once the surface preparations
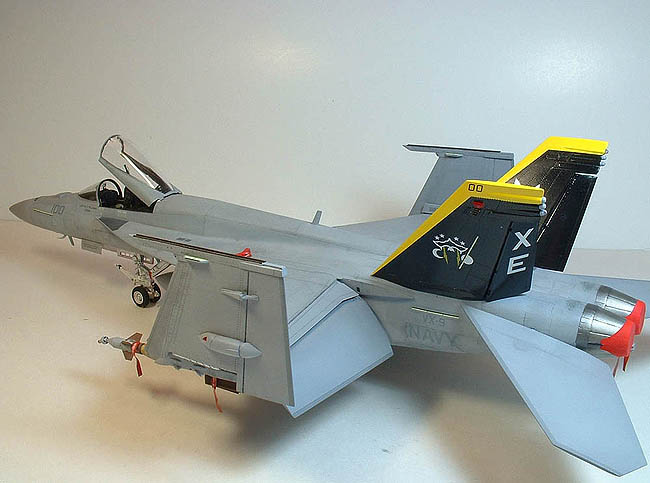
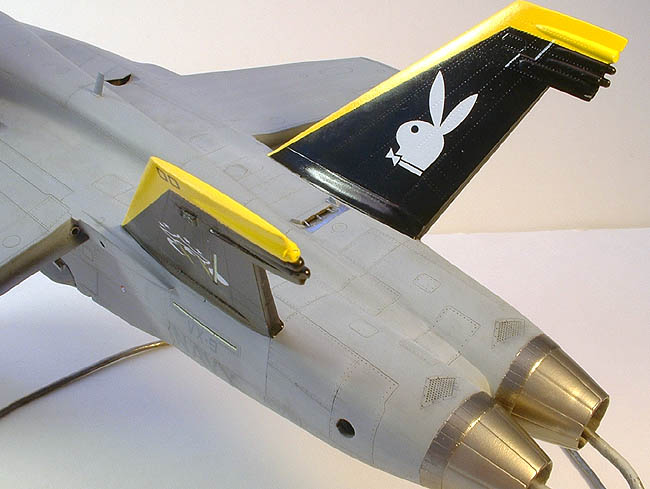
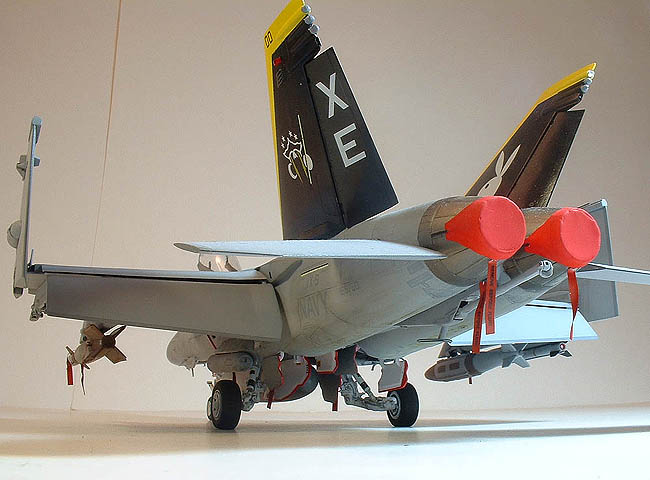
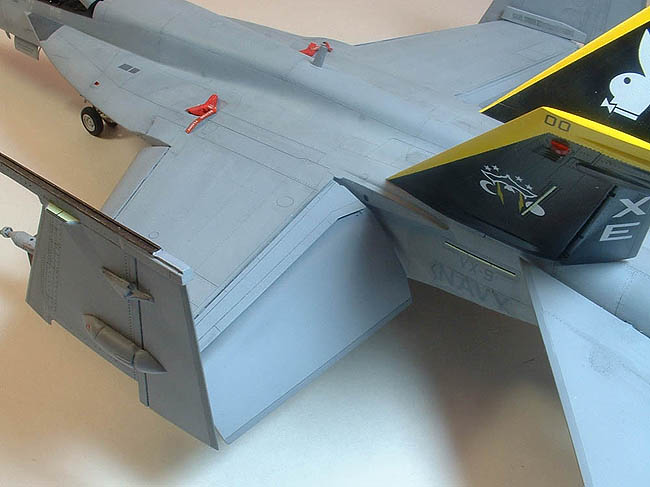
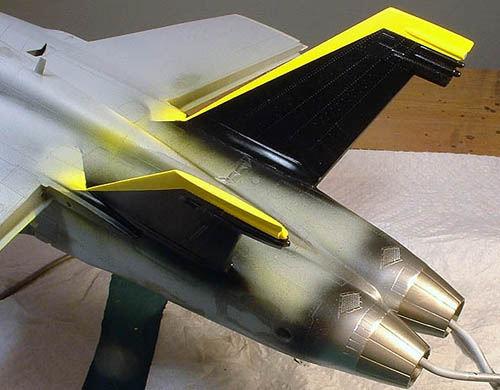
were complete, the exhausts were painted with Alclad II and the vertical
stabilizers painted blue-black with a yellow trim. For some reason the
custom mixed blue-black all but lost its subtle blue shade once applied
to the model.
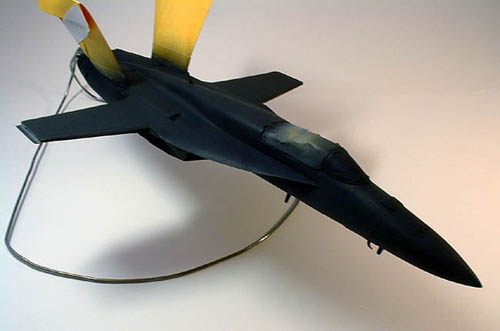
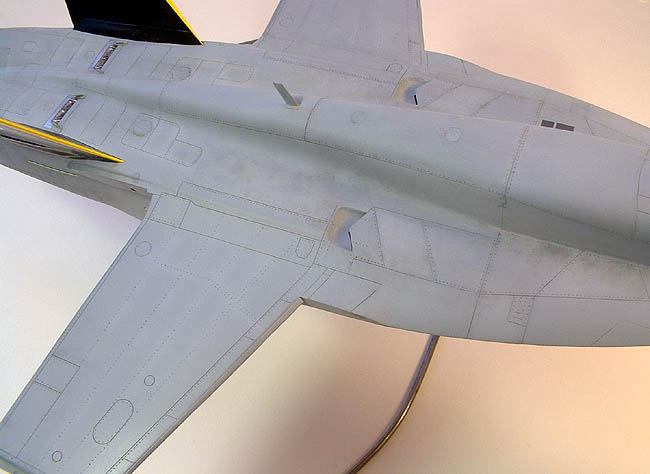
The model was given a thorough flat black undercoat, a
variation on pre-shading learned from hyperscale regular Steve St James.
This method allows very subtle shade variations without the tendency of
being too dramatic as pre-shadings often do. It is perfect for
weathering and ‘livening’ up boring, monotone aircrafts, i.e. most
modern jets. The model was then painted with FS 36320 and FS36375 for
the top and bottom grey, respectively, with thinner than normal paint to
take maximum effect of the black undercoat.
Click the thumbnails below
to view larger images:
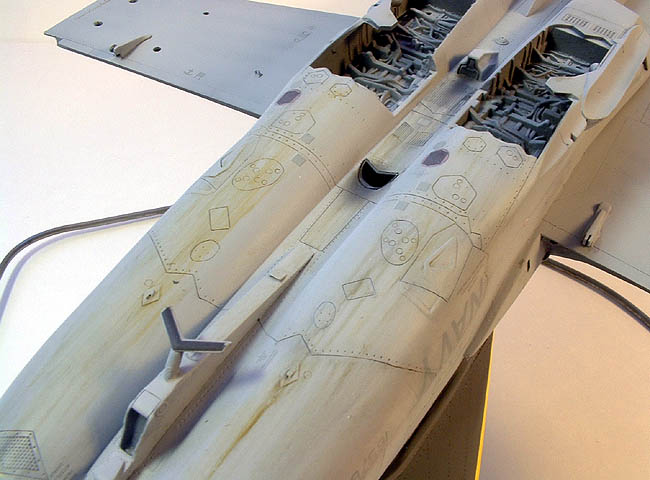
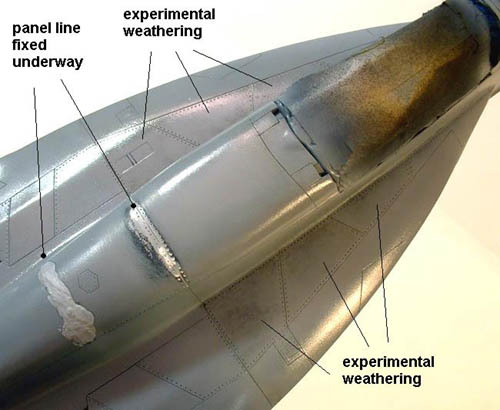
Weathering
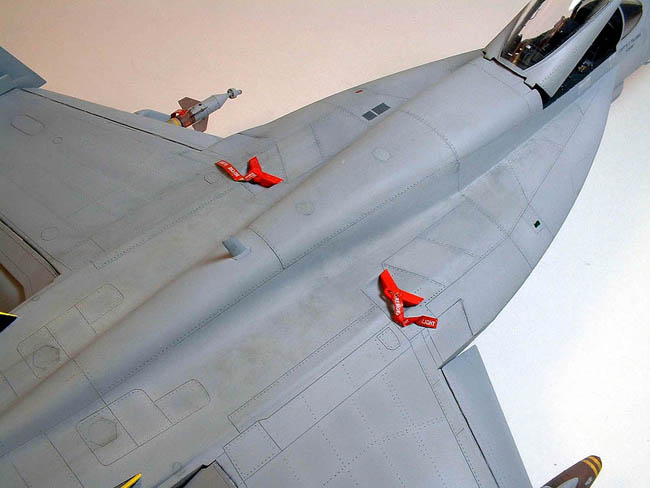
Weathering was primarily done with randomly applied, heavily thinned
artist’s oil paints comprised of arbitrarily mixes of black, white and
raw sienna. This was concentrated largely to the upper fuselage/LEX area
and the lower aft fuselage where foot prints contribute to the dirt and
grind. Panel line wash was very restrained or unnecessary thanks largely
to the initial black undercoat. Overall weathering was kept minimal as
most Super Hornets don’t appear very dirty, particularly ‘Vampire 100’
and other land-based jets.
The model was glossed coated with future prior to decal applications.
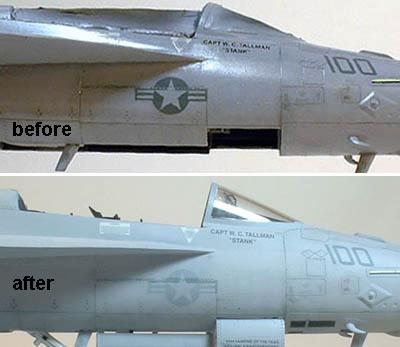
The Superscale decal sheet went on beautifully, however it was plagued
with colours issues with the insignia and stencil shades. The grey on
these were supposed to be much lighter on ‘Vampire 100’ than typical
line jets. A few light coats of heavily thinned down fuselage grey over
the decals were necessary to tone them down..
Click the thumbnails below
to view larger images:
The decals on the vertical tail had slight bleed through and the walk
way on the left LEX tip was misshaped and needed correction. It was also
over sprayed with a more appropriate colour. Remaining stencils were a
mix and match with the kit decal sheet, which was rather comprehensive.
A second future coat was given to the model after decaling before it was
sealed with Gunze acrylic flat clear accentuated with a bit of Tamiya
flat base.
Click the thumbnails below
to view larger images:
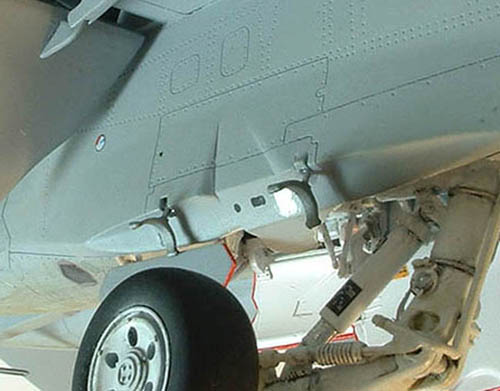
Finishing
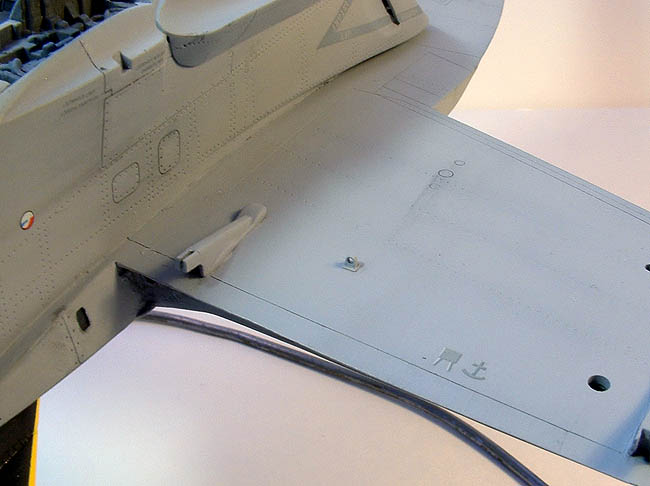
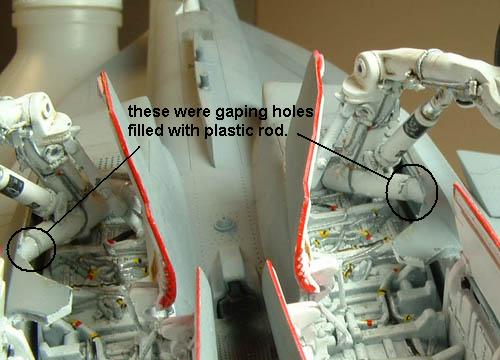
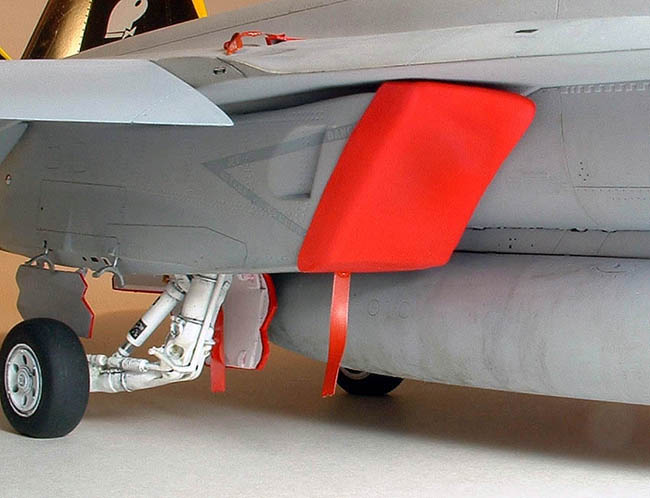
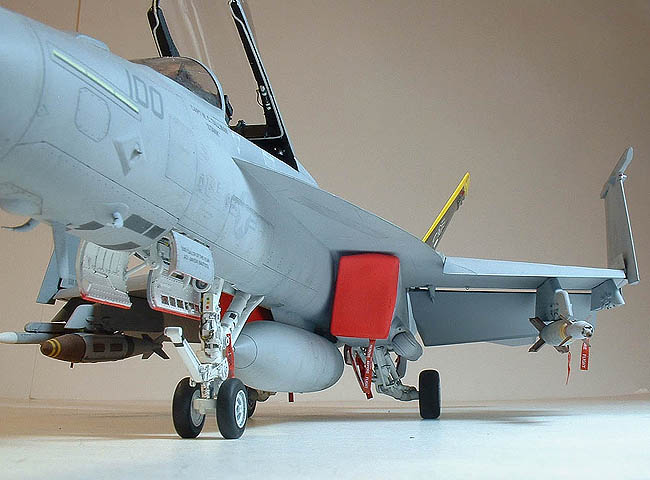
A number of items still needed to be attached and finished after the
model was out of the paint booth. The landing gears and gear doors were
attached to allow the model to sit on its own legs. The main landing
gears lack a solid, positive attachment, and plastic rods were used to
build up where a significant gap existed between the leg support and the
corresponding sidewall. The main landing gears were finicky, especially
the door retraction arms.
Click the thumbnails below
to view larger images:
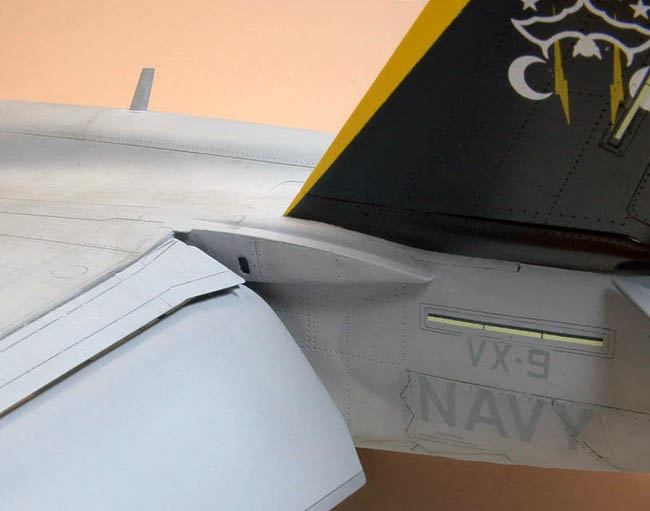
The flight control surfaces were permanently fixed in place,
including the rudders, horizontal stabilizers, outer wings, and inner
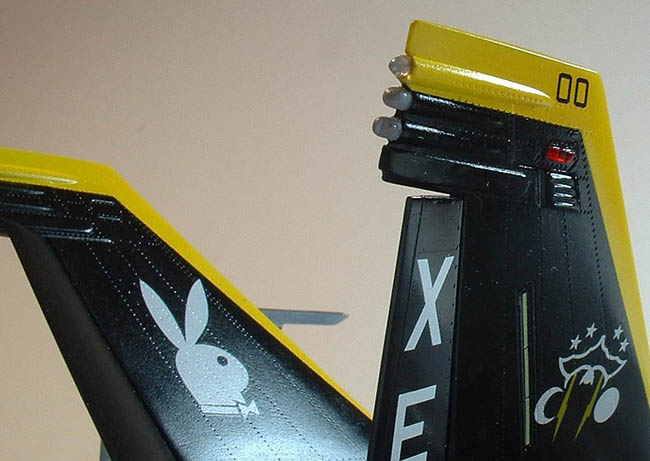
wing leading and trailing edge flaps. Scratch built lights atop of the
vertical stabs were attached with Humbrol clearfix, then futured and
painted as appropriate.
Click the thumbnails below
to view larger images:
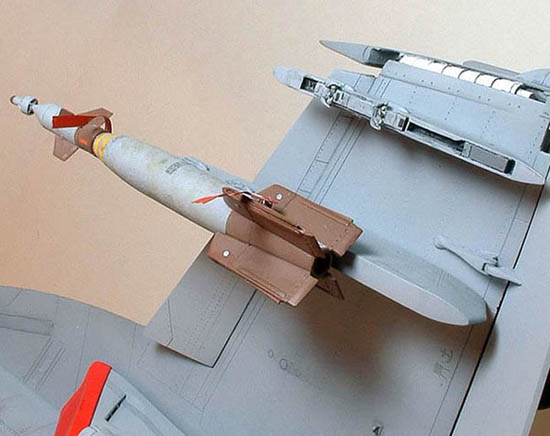
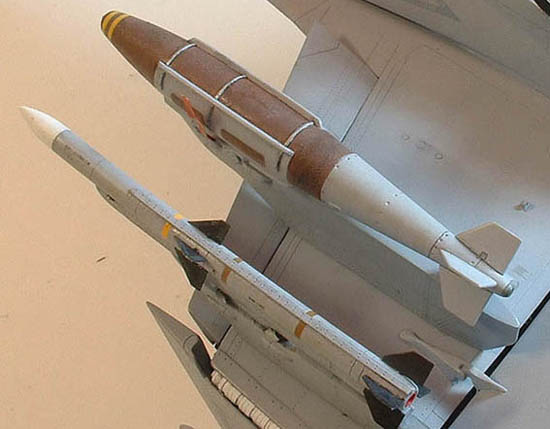
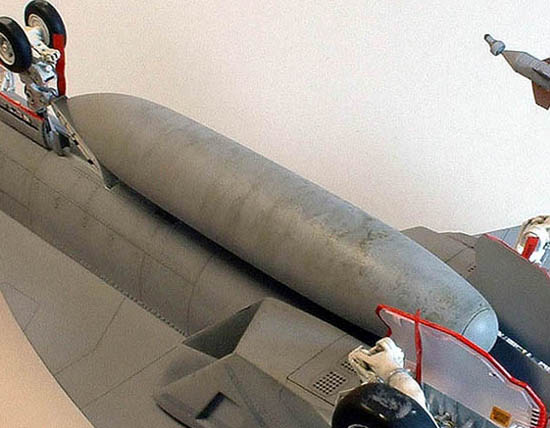
Also attached at this point were the pylons and ordinances.
Click the thumbnails below
to view larger images:
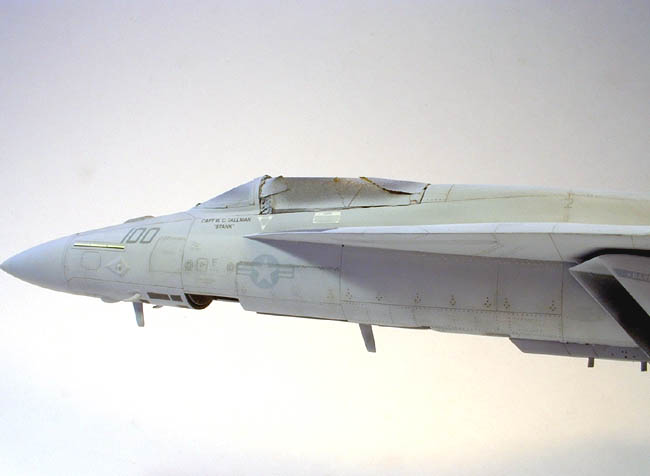
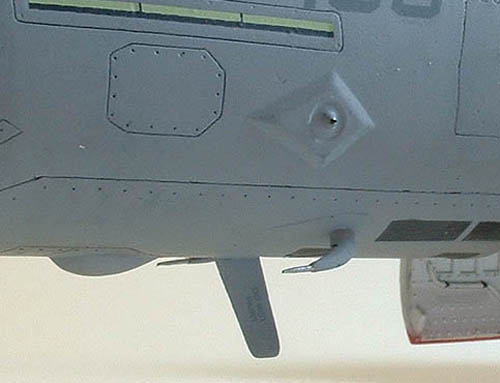
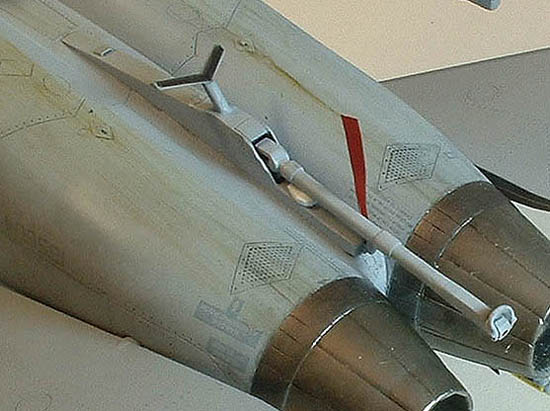
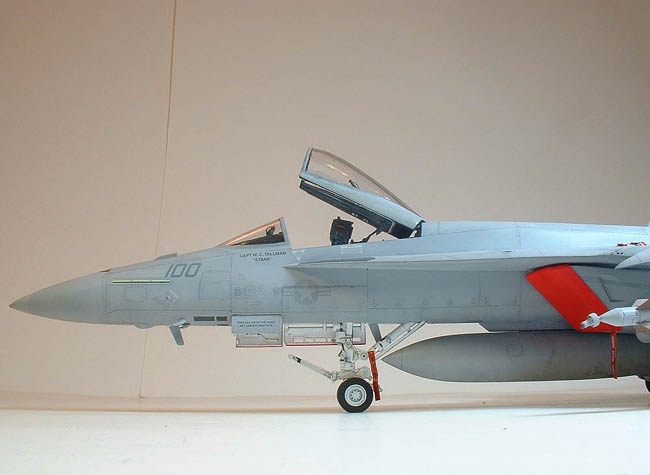
The pitot static tubes and AOA sensor were scratch built from thin
stretched sprue to give a more scaled look. The finished arresting hook
was also attached onto the model.
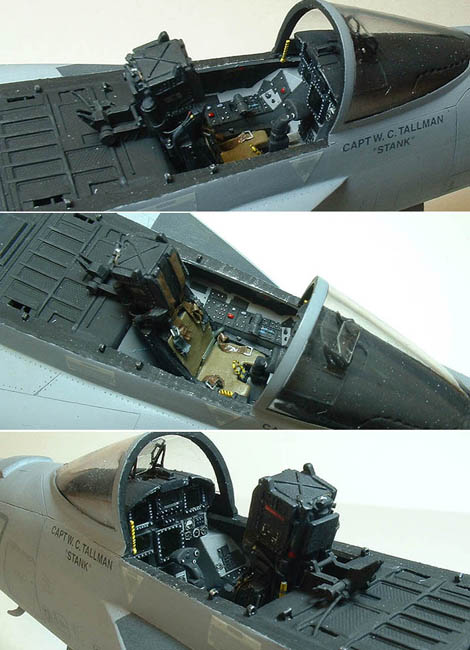
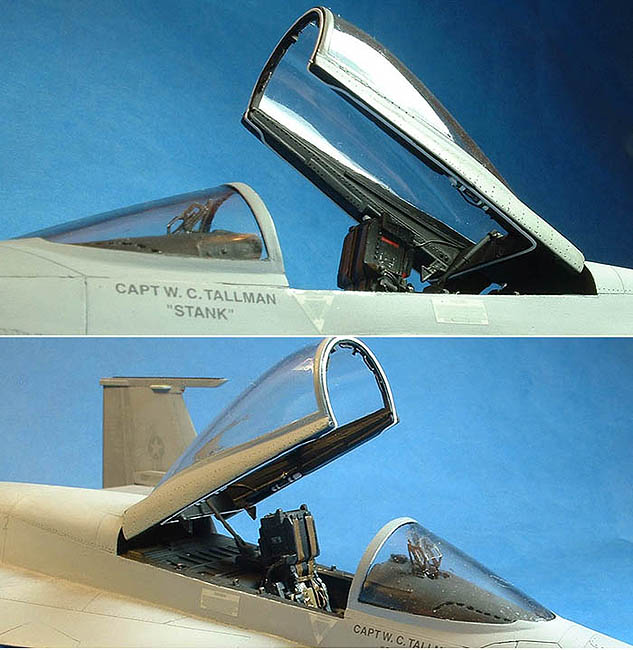
The ejection seat was inserted into the cockpit and the canopy and
associating actuating mechanisms were attached in place. I also
attempted to simulate the heat exchanger protective layers between the
vertical stabs by building up with scrap decals, and then painted
appropriately according to reference photos.
Click the thumbnails below
to view larger images:
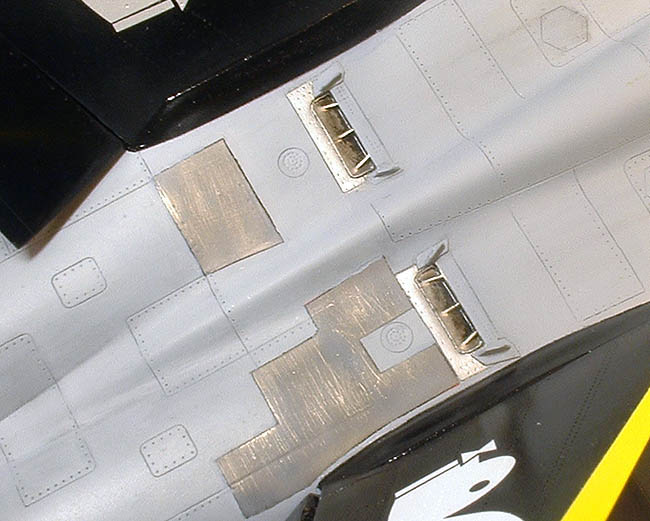
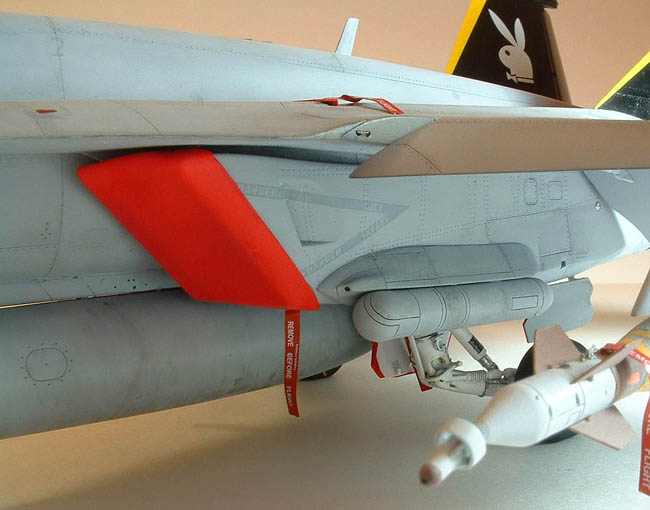
Lastly, scratch built intake and exhaust covers, as well as the RBF
covers for the upper LEX boundary layer flow vents, were painted and
affixed in place. The Remove Before Flight tags were taken from Eduard’s
pre-painted photo etch set, which were brilliant except the paints chips
when the RBF tags are bent.
Click the thumbnails below
to view larger images:
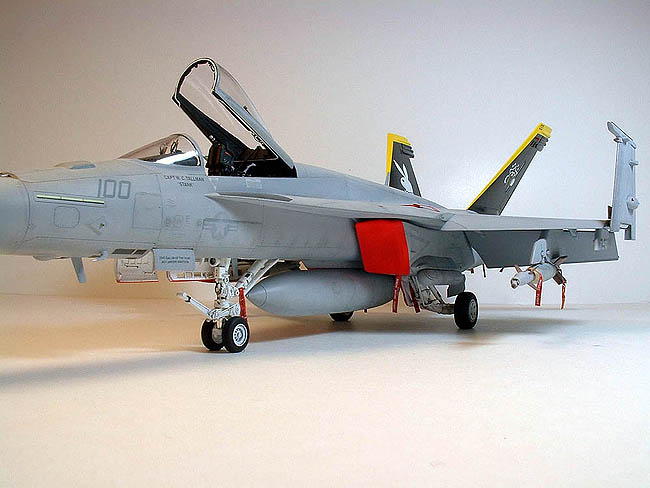
I’m very glad to finally have built the Revell 1/48 Super Hornet. While
it is definitely not up to their other recent offerings in terms of
molding and detail fidelity or the easy of construction, it does have
tremendous potential as a basis of a decent model at a very affordable
price. Whether this is justifiable enough to for kit is up for grabs,
but I can say that it has been one of the most challenging, edifying and
definitely satisfying models I’ve had the opportunity to build.
Acknowledgements
I would like to take this opportunity to thank the following
individuals whose tremendous assistance on researching the Super Hornet,
the Revell kit and ‘Vampire 100’ became indispensable through out this
project: Mike Valdez, Dave Roof, Kurt Plummer, Larry McCarley, Ron
Cline.
Click the thumbnails below to view larger images:
Model, Images and Text by Copyright ©
2006 by John Chung
Page Created 06 March, 2006
Last Updated
21 February, 2007
Back to
HyperScale Main Page |
 Home
| What's New |
Features |
Gallery |
Reviews |
Reference |
Forum |
Search
Home
| What's New |
Features |
Gallery |
Reviews |
Reference |
Forum |
Search