|
Roden's 1/72 scale
Felixstowe F.2A
by
Andrew Eaton
|
 |
|
Felixstowe F.2A |

Rioden's
1/72 scale Felixtowe F.2A Late Version
is available online from
Squadron
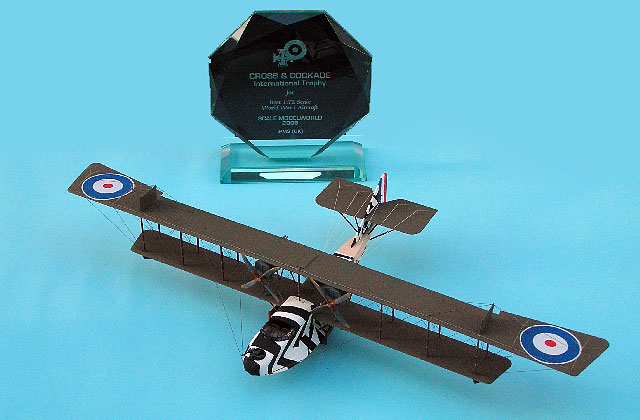
This is recently completed
Roden Felixstowe F.2A. I built it over a period of about 8 months
alongside a number of other projects. There were times I thought I would
never get it finished, particularly when trying to attach the top wing
and do the rigging.
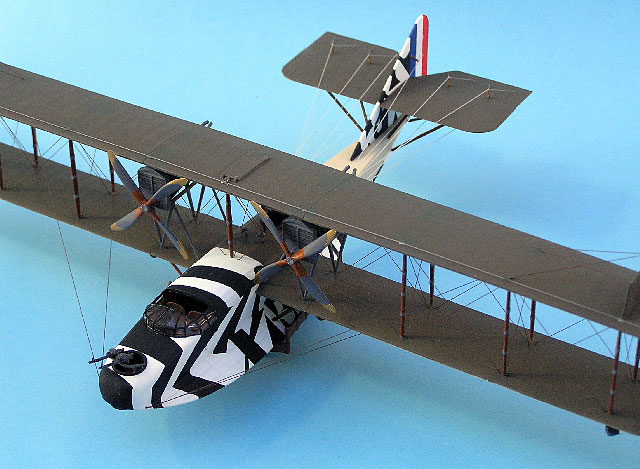
With the exception of the rigging and control wires the kit is made
straight from the box. For the rigging I used brown 0.14mm fishing line
and for the control wires I used stretched sprue. The decals are from
the box and went on with no problems and I also made use of the AIMS
decal set for this aircraft which gives the black dazzle pattern for the
fuselage. Despite the rather complicated nature of the pattern these
decals went on without any problem and fitted very well with the
exception of the black section coming up around the nose. This section
was sprayed black following the suggestion on the AIMS sheet.
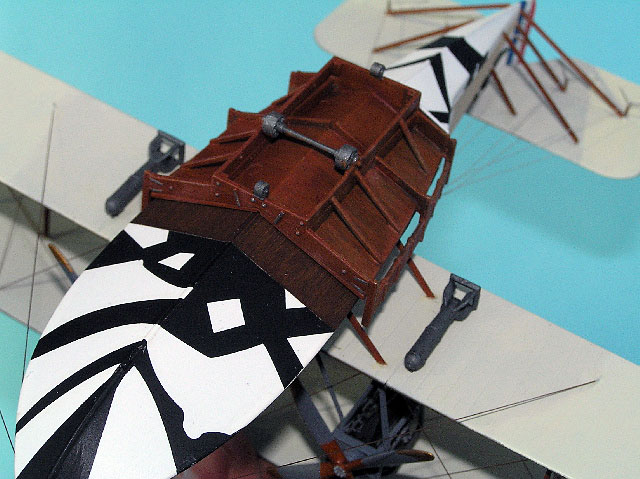
There are a fair number of small and fiddly parts to this kit but it
went together without too many problems. Construction wise the main
problem is getting the wings installed and correctly aligned. Here I
followed a different construction sequence to the instructions by
installing the fuselage roof before attaching the wings. This enabled
the entire fuselage to be painted and decaled without the wings getting
in the way. The lower wing was installed using this brass rods pushed
right through the fuselage as supports. After much trial and error the
top wing was installed by first attaching the engines to the lower wing
which can then act as reasonably stable attachment points for the upper
wing. The individual struts were then attached one by one afterwards.
One thing to look out for here is to make sure that the top wing remains
flat. Unfortunately the outer struts on the left wing were slightly
short and as a result the top wing has a slight dip at one end.
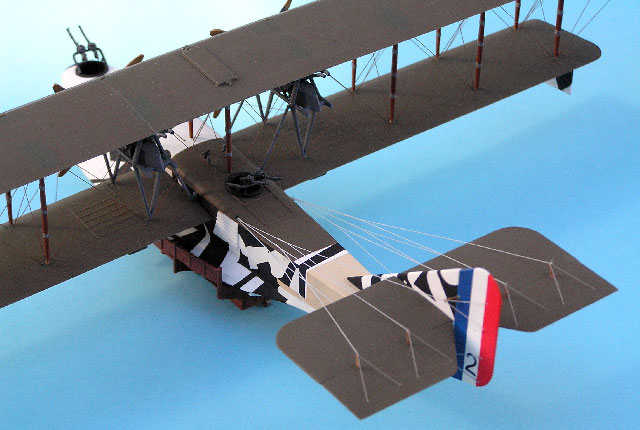
The rigging was mostly straightforward if rather time consuming, I used
predrilled holes in the top and bottom wing to almost sew the two wings
together. The holes in the top of the upper wing and bottom of the lower
wing were then filled in with milliput. The control wires made from
stretched sprue were the last things installed as I felt they would be
most prone to damage. The control lines for the tail plane were fist
glued together with superglue in a Y shape before attaching to the
model. They were then tightened using a heated scalpel blade. It took
several attempts to get everything aligned but the result was worth all
the effort.
I entered the model into the recent IPMS Scale Modelworld at Telford and
much to my surprise won a bronze award in class 6 and the Cross &
Cockade trophy for the best 1/72 scale WW1 Aircraft.
You can see a
a
detailed review of this kit from when it was first released in August,
2003 elsewhere on HyperScale.
Click the thumbnails below to view larger
images:
Model, Text and
Images Copyright ©
2006 by Andrew Eaton
Page Created 27 December, 2006
Last Updated
26 December, 2006
Back to
HyperScale Main Page |
 Home
| What's New |
Features |
Gallery |
Reviews |
Reference |
Forum |
Search
Home
| What's New |
Features |
Gallery |
Reviews |
Reference |
Forum |
Search