|
Airframe's 1/72 scale
vacform
Canadian
Fleet Fort
by
Simon Wolff
|
 |
|
Canadian Fleet
Fort |

HyperScale is proudly supported by
Squadron
Background
Fleet Aircraft of Fort Erie,
Canada designed the Fleet Fort, in 1938-39; first flight took place in
March of 1940. The Fort was selected for the RCAF as an intermediate
trainer however the Fort was found to have little value in this role as
pilots were having no difficulty in converting from basic trainers such
as the Tiger Moth or Fleet Finch to the Harvard.
Instead it was decided to use
the Fort as a wireless trainer, the rear cockpit being fitted with radio
equipment. Albeit for not to long as the type was withdrawn from service
in 1944!
(Information taken form the Canadian Warplane Heritage Museum booklet
www.warplane.com)
The Airframe kit:
A
good mate (Ed May http://members.tripod.com/~SirTenzan/modeling/index.html)
from Minnesota in the US offered to swap with me his cherished long out
of production Airframe Fleet Fort vacform kit, as he knew of my love for
things Canadian. In return I sent Ed an Airfix Boomerang, but Ed added
one long impacting proviso and that was I build the kit he was sending
me. Oh how blindly one agrees to these things. Had I known what extra
effort this kit would demand (over a two year period) I would probably
have said.. ‘Not this lifetime sunshine!’
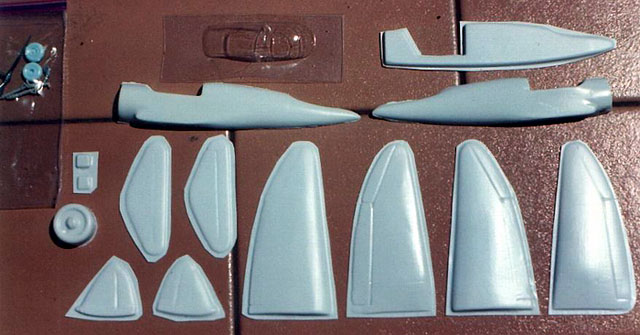
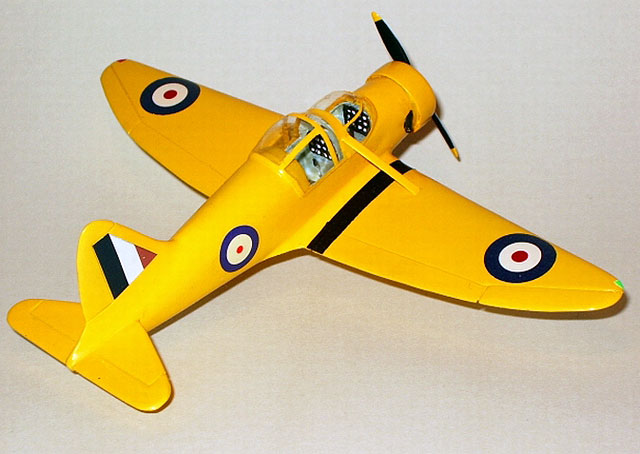
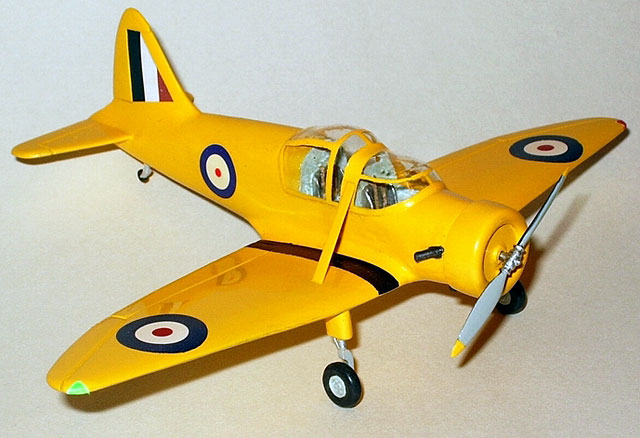
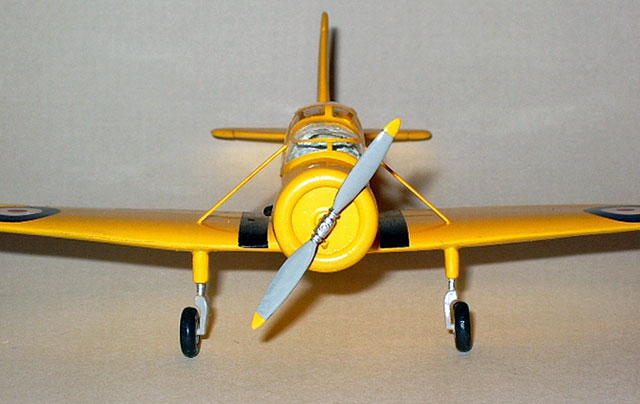
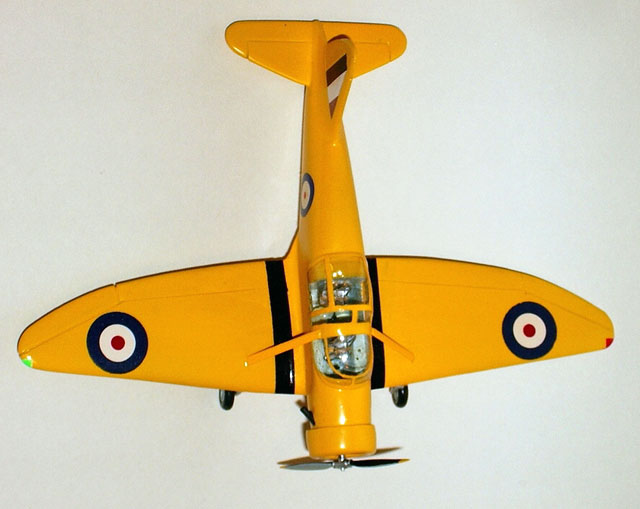
The
Airframe (of Burnaby Canada) kit is a vacform product, which might be
best described as alarmingly rudimentary, what you have is the starting
point to be able to build a model. To quote from the kit instruction
sheet “This kit is for model makers with experience”, fortunately I fall
in to this trap.. er category. To start with the plastic is too thin and
the basic mouldings only cover the bare basic parts; wings, fuselage
halves, cowling etc. Items such as wheels; undercarriage legs; propeller
had to be obtained from another source (Ed kindly provided these items).
Of course there was no decals but being that the RCAF roundels were
similar or the same as the RAF this was not going to be a real problem.
If I
may go back a bit and explain that on two occasions I visited the CWH
Museum at Hamilton Ontario where I saw and photographed their flying
example. This good fortune was due to a good Canadian mate with whom I
was staying at the time. So part of the motivation was also having seen
this particular type in 1:1.
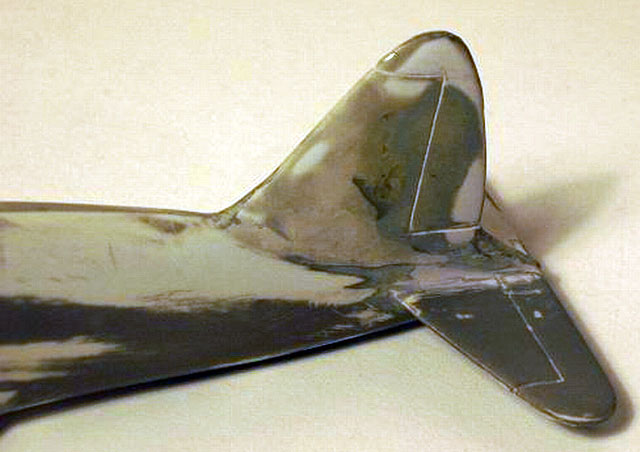
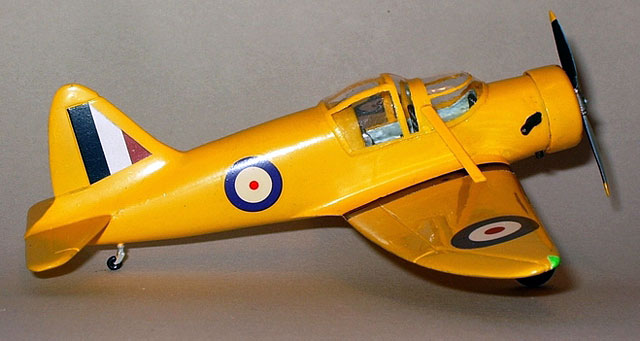
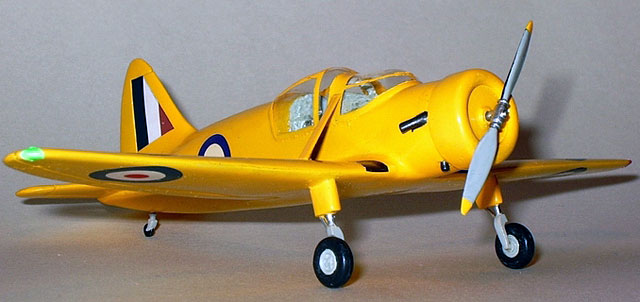
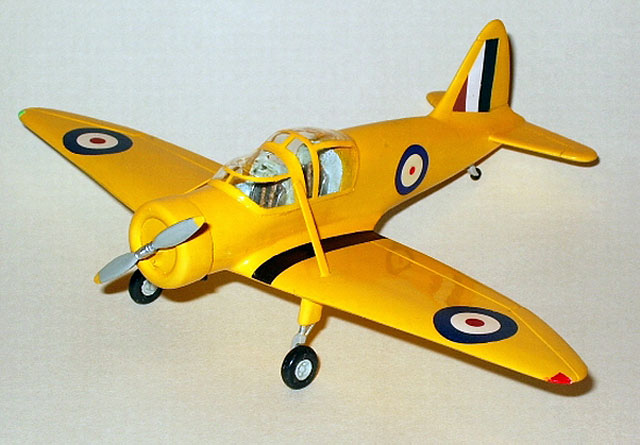
Construction and Painting
|
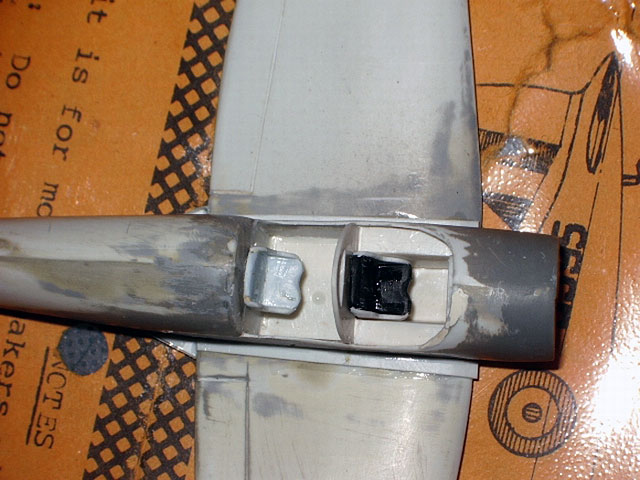
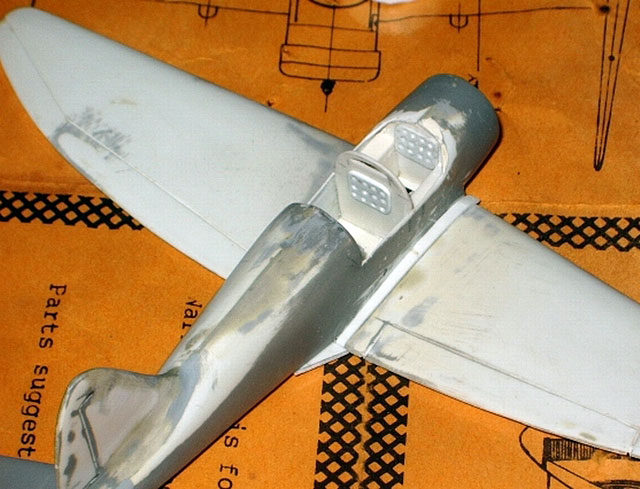
The
kit followed the usual route of a vacform kit, split fuselage and wings;
sod all interior detail and bum all detail with which to line anything
up with.
I
found that the kit parts once attached to each section left gaps the
size of the Grand Canyon, a considerable investment of time and putty
was needed to fill the large (nay! Huge) gaps left by the poor fittings.
The
cockpit contained no detail bar a single floor piece, no information was
provided in the instructions so I sort help using the HyperScale forum.
I put out a plea for information and was rewarded with a response from a
Canadian modeller who works as a volunteer at the Canadian Warplane
Heritage Museum, he very kindly photographed the museum Fort in detail
and posted these many detailed photos on the web (http://community.webshots.com/album/66362449lvwPKV).
Click on the thumbnails
below to view larger images:
Thanks to the photos I was able to various panels, cockpit wall and
modified seats plus control column. The kit canopy was damaged so this
was replaced with a plunge-moulded replacement, advice provided by a
fellow APMA club (http://apma.org.au/index.html)
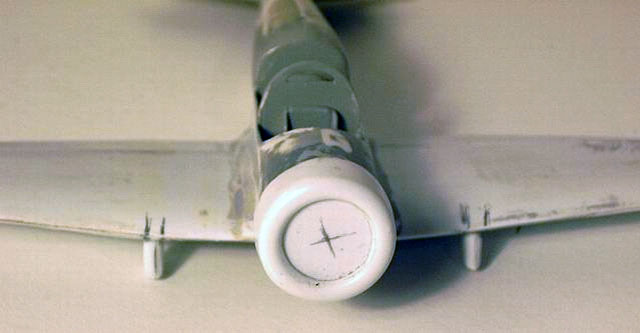
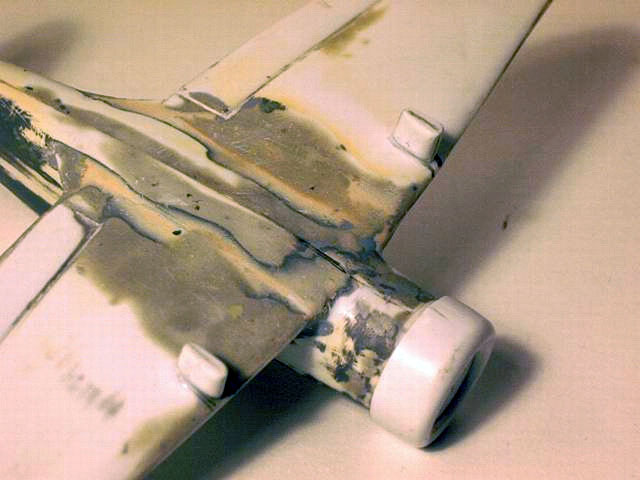
member. Various external orifices were added using stretched sprue. The
kit was sprayed with Humbrol Gloss Yellow, after an undercoat of Humbrol
light grey.
This
has to have been the most challenging (read insane) kit builds to date
BUT something that taught me a lot about techniques and getting a decent
finish when using putty (and a large dose of perseverance).
The
next subject will be something (a lot) less demanding.
Click on the thumbnails
below to view larger images:
Model, Images and Text Copyright ©
2006 by Simon Wolff
Page Created 23 February, 2006
Last Updated
23 February, 2006
Back to
HyperScale Main Page
|
 Home
| What's New |
Features |
Gallery |
Reviews |
Reference |
Forum |
Search
Home
| What's New |
Features |
Gallery |
Reviews |
Reference |
Forum |
Search