|
Tamiya's 1/48 scale
Nakajima J1N1-Sa Gekko
by Chris Wauchop
|
|
|
Nakajima J1N1-Sa Gekko Type
11 Kou
(late version) |
images by Brett Green

Tamiya's 1/48
scale J1N1Sa Gekko is available online from
Squadron.com
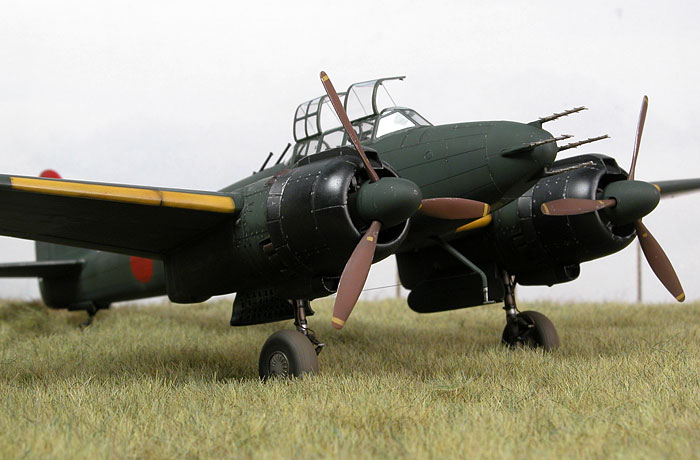
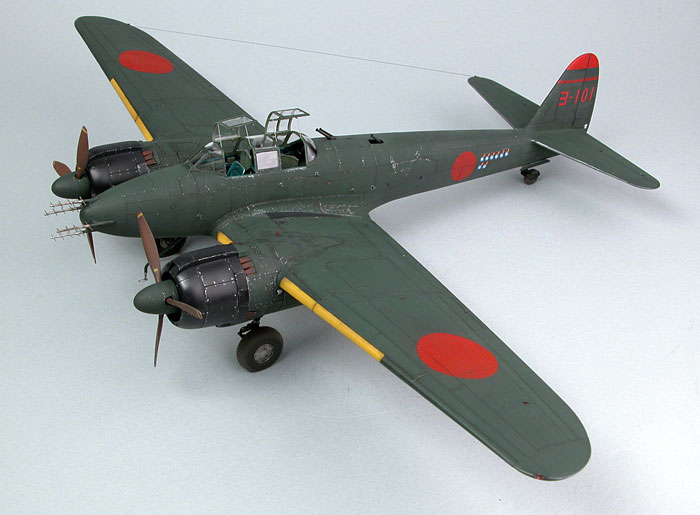
Here is Chris Wauchop's Nakajima N1J1-Sa Type 11 Kou Gekko late-version night fighter
from Tamiya in 1/48 scale.
Chris reported that this kit was beautifully engineered and that
construction presented no problems at all.
The only correction required was the position of the upward-firing
armament. The guns look great with the access hatch open, but when
closed there is no way that it could be opened past the barrel of the
rear 20mm cannon. As Chris wanted to maintain the streamlined profile of
this attractive aircraft, he decided to close this hatch.
It was not much of a challenge to correct this problem. The opening
at the front of the hatch was enlarged, and the barrel itself was
shortened to match reference photographs.
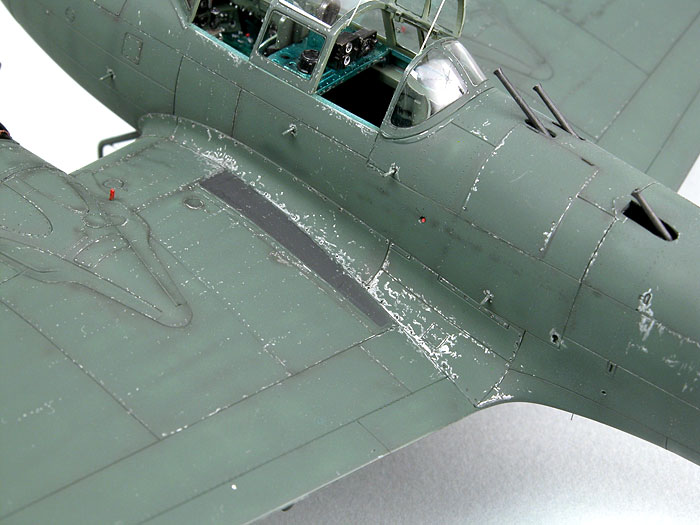
Riveting was applied to the fuselage and most of the wings using
MDC's 1/48 scale Rivet Making Tool and a small pounce wheel.
In the cockpit, harnesses were added from strips of lead foil.
The interior of the cockpit was painted per kit instructions.
The radar dipoles were cut from the mounts. Holes were drilled into
the mounts and the dipoles were replaced with very fine brass wire.
Grab handles were added to the fuselage from small pieces of
stretched sprue.
The struts holding the canopy open were added from stretched sprue.
Stretched sprue was also used to represent the small horizontal brace on
the tail wheel; the handholds protruding from the fuselage sides and the
rear guard on the tail wheel.
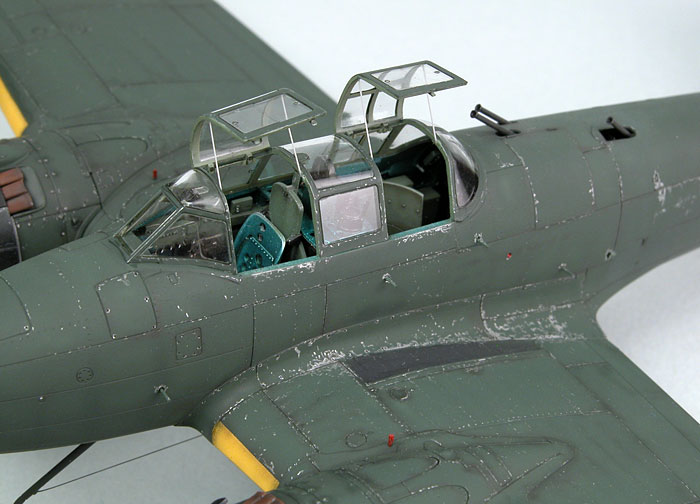
Strip plastic was used
landing gear indicators on the wings as these appeared to be flat, not
round, in cross section.
Gun barrel ends were hollowed out with a scalpel blade. The gun barrels were painted Tamiya Flat Black
then burnished with a 2B lead pencil. The ends of the many exhaust stubs
were also drilled out, this time with a motor tool.
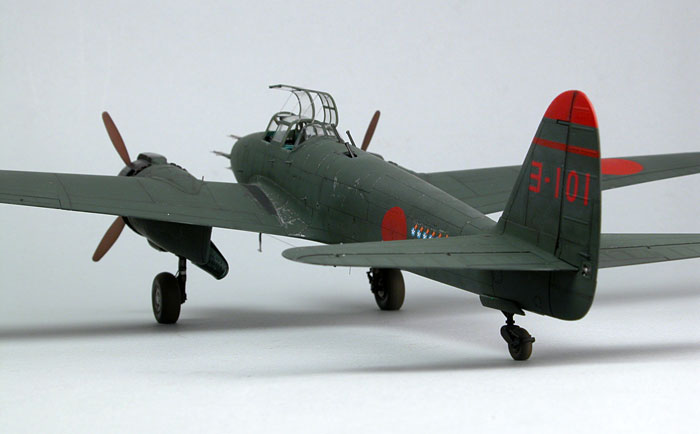
The solid clear styrene tail light enclosed within the rudder was
drilled with a pin vise to represent a light bulb. This light did not
receive any further painting.
Boots were added to the main undercarriage oleos using strips of
Tamiya tape. Tyres were flattened with a sanding stick and solder was used for the
brake lines.
After careful examination of a colour photograph of IJN aircraft at
Atsugi Air Station in August 1945, which includes at least a half-dozen
Gekkos, Chris concluded that the colour balance was roughly correct and
that most of the aircraft present were very dark - almost Black -Green.
As a result, Chris mixed his own blend of 2 parts Tamiya XF-27 Black
Green to 1 part Gunze H59 IJN Green. This mix is still not as dark as
the colour seen in the photo, but darker than in most other references.
The
engine cowls were painted with a 50:50 mix of Tamiya XF-8 Flat Dark Blue and
XF-1 Flat Black. These parts were then carefully polished with a nail buffer prior to
assembly. Gunze Rust was used for the flame dampers. The basic red
colour was weathered with Chris's thin black/brown mix.
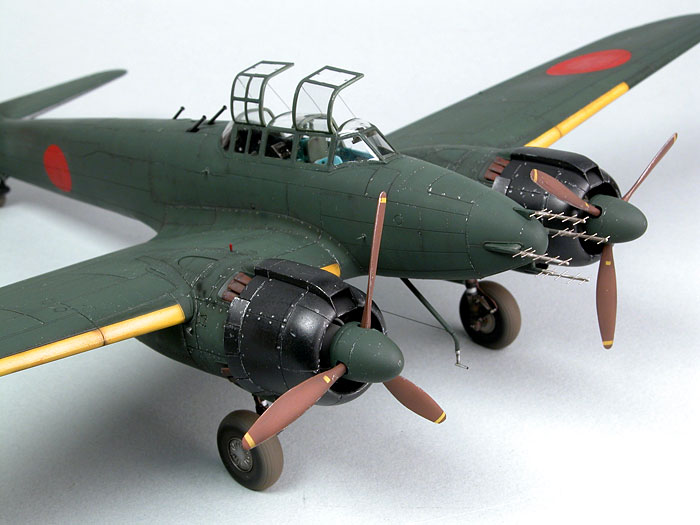
Propeller blades are Tamiya XF-64 Red Brown, subtly shaded along the
edges with black.
The interior of the canopy was masked and the frames were sprayed with
the interior colour, Tamiya XF-71 Interior Green. The outside was then
masked and sprayed and a very thin wash of Tamiya X-18 Semi-Gloss Black
was run around the framework.
All national insignia, leading edge stripes, propeller blades and tail
striping were masked and sprayed. Otherwise, kit decals were used for
the tail number and the kill marks on the fuselage, exclusively with the assistance of Gunze Mr Mark
Softer decal softening solution. Chris mentioned that, although many
people comment about Tamiya decals being thick and difficult to use, he
never has any trouble with the kit markings.
 All
paint was applied with the Testor Aztek A470 airbrush fitted with the
fine tan-coloured tip. All
paint was applied with the Testor Aztek A470 airbrush fitted with the
fine tan-coloured tip.
Smoke-coloured invisible mending thread (nylon monofilament) was
employed for the aerial wires both underneath the fuselage and also from
the starboard wingtip to the starboard aileron tip. The highly exposed
location of this wire almost guarantees that it will be snapped off by a
careless handler in the near future!
Chris employed his usual method of post-shading the panel lines for
the model. This method comprises airbrushing a very thin mix of brown
and black along the panel lines. This is followed by a thin semi-gloss
black heavily thinned with water, applied directly to all panel lines
using a 10/0 brush.
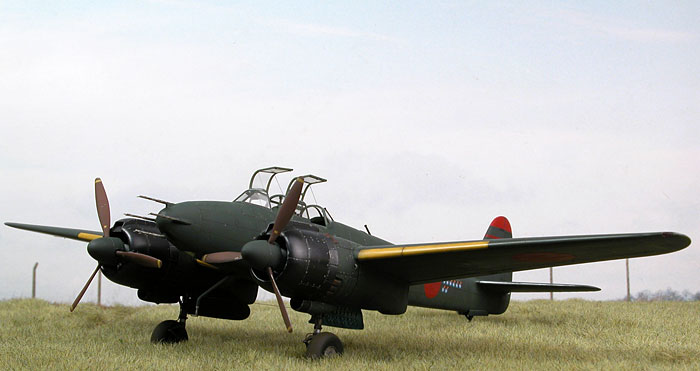
The impressive paint chipping effect was achieved exclusively with a
silver artist's pencil (Sanford Prisma-Color PC949).
Model by Chris Wauchop
Text Copyright © 2006 by Chris Wauchop and
Brett Green
Images Copyright © 2006 by
Brett Green
Page Created 07 April, 2006
Last Updated 21 February, 2007
Back to HyperScale
Main Page
|
Home
| What's New |
Features |
Gallery |
Reviews |
Reference |
Forum |
Search