|
Hasegawa's 1/48 scale
J7W1 Shinden
by
Steve Martin
|
 |
|
J7W1 Shinden |

Hasegawa's 1/48 scale J7W1 Shinden is available online from Squadron.com
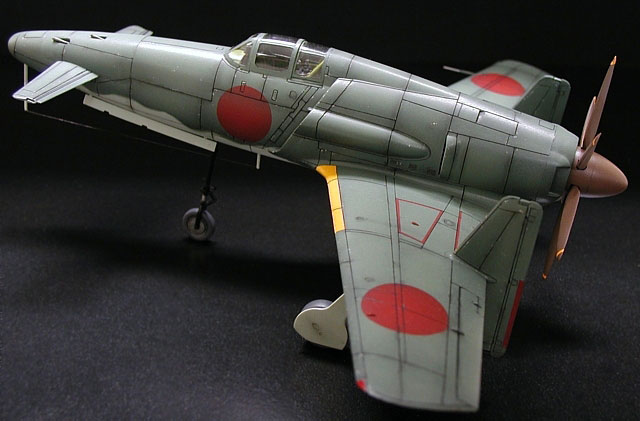
One of the last warplanes of the Rising Sun, the
Kyushu J7W1 Shinden (Magnificent Lightning) was basically ordered
straight off the drawing board by the Imperial Japanese Navy in its
desperate search for a high performance interceptor. The J7W1 was one of
the few canard (tail-first) airplanes to be developed during WWII. Along
with the aerodynamic advantages the canard design also allowed for high
caliber cannons to be concentrated in the nose of the aircraft and at a
later stage the possible installation of a jet engine to take full
advantage of the innovative design.
Only three brief test flights were completed
lasting for a total of 45 minutes. The last flight supposedly taking
place just days before the end of the war. Thankfully the B-29 bomber
crews never encountered this formidable combat interceptor with its x4
30mm cannons in the skies above Japan.
At the end of the war the aircraft was sent to the U.S. for evaluation.
It currently resides at the Paul Garber facility (NASM) slowly rotting
away. Hopefully one day it will be restored and put on exhibit.
I have always found the J7W1 Shinden to be quite
fascinating with its futuristic sleek profile, unusual wing
configuration and stalky appearance. So, a short trip to the hobby shop
to purchase the 1/48 scale Hasegawa kit was in order.
Upon opening the box I was amazed to see all the
raised panel lines. I think the majority of my time spent on this model
was rescribing all those raised panel lines with the back of my chipped
X-acto blade.
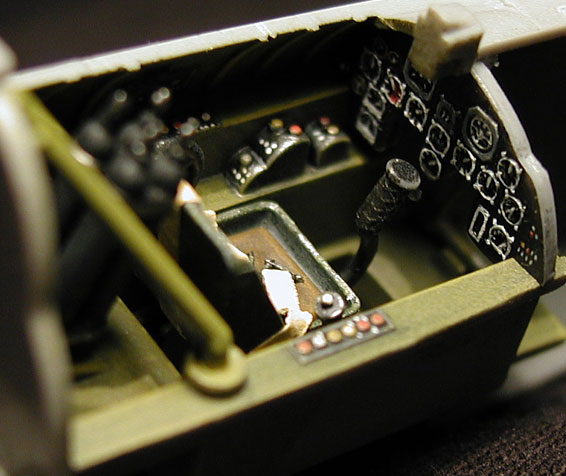
I cut masking tape to the appropriate size for the
seatbelts and fashioned buckles out of plastic mesh. I also added a
piece of clear plastic to the gunsight. The actual prototype aircraft
never had the guns installed, but I didn't feel like filling in the
openings, besides, it looks much cooler with the guns. The fit was
surprisingly good considering the age of the kit and the only filler I
used was on the nose, a bit for the fuselage seam and a little on the
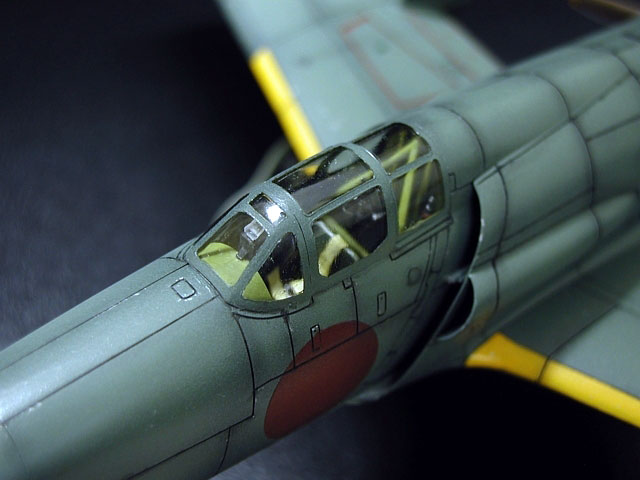
two tail fin-rudder units. The canopy was dipped in Future floor wax to
acheive that crystal clear appearance.
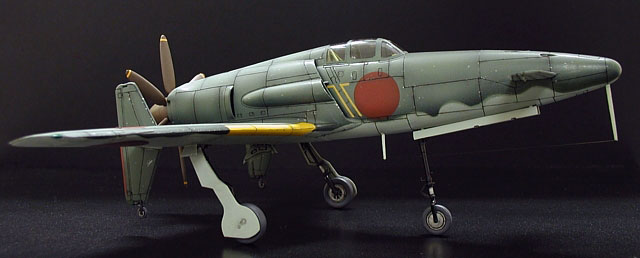
Painting
After attaching the canopy and masking it off, I
pre-shaded all the panel lines with black using my airbrush. I then
applied Tamiya XF-12 J.N. grey for the underside and Tamiya XF-11 J.N.
green for the upper portion of the model. I applied three successive
coats of these colors each mixed with a bit of white with more white
being mixed in with every additional layer. These were applied to the
center of each panel to acheive a faded weathered look.
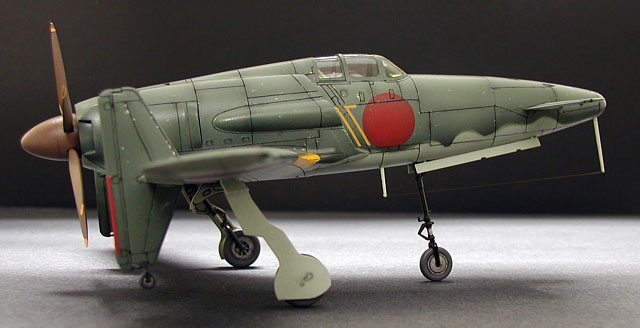
Markings and Finishing
I decided not to use the kit decals, because
markings always tend to look better painted on. After all, they are just
circles, what could be easier? So using masks, I applied Tamiya XF-7
red, mixed with black for the initial base coat. Then a second coat of
Tamiya red on its own applied to the middle of the Hinomaru to achieve
the faded look.
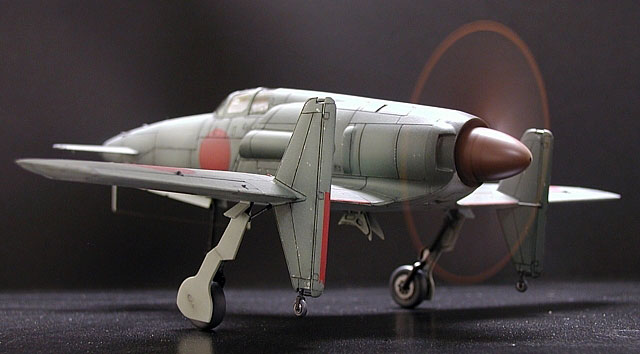
I painted the propeller with Tamiya XF-64 red
brown. The tips of the propeller as well as the identification markings
located on the wings were painted using Gunze Sangyo H24 orange yellow.
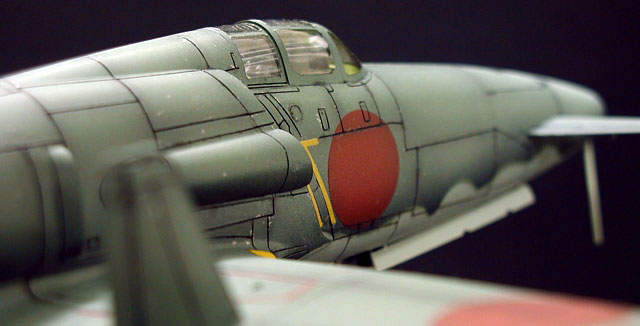
After I applied a coat of Future floor wax on the
model, I applied a wash of Winsor & Newton artist oils to all of the
panel lines, which consisted of raw umber and lamp black. Using my small
detail brush, I applied GW chainmail to create the subtle effect of
chipped paint. Finally, I applied some pastel powder here and there,
which was all sealed with a coat of Polly Scale flat. Lastly, I
attatched the landing gear, removed the masking from the canopy (after
many months of being left on). The final touch was plucking a hair from
my wife's head to make the antenna. Her response - "ouch."
All in all, I found this to be a great modelling
experience, although the rescribing of the panel lines was quite
tedious.
Click
the thumbnails below to view larger images:
Model, Images and Text Copyright ©
2005 by Steve Martin
Page Created 11 April, 2005
Last Updated
12 April, 2005
Back to
HyperScale Main Page |
 Home
| What's New |
Features |
Gallery |
Reviews |
Reference |
Forum |
Search
Home
| What's New |
Features |
Gallery |
Reviews |
Reference |
Forum |
Search