|
Dragon's 1/35 scale
Sd.Kfz.186
Henschel Jagdtiger
by Richard R. Fisher
|
 |
|
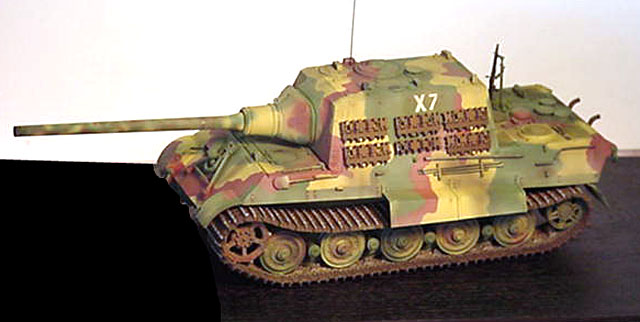
Jagdtiger Henschel (Mid-Production) |

Dragon's 1/35 scale Jagdtiger
is available online from Squadron
Having been somewhat out of the military modeling loop for the past
several years. I was overwhelmed by the selection and depth of all of
the aftermarket products. I had recently completed a Tiger II and I was
looking for something else to build. (A closet full of unbuilt kits at
home not withstanding.) I found myself at the IPMS Oklahoma City
Nationals. Therein was located a plethora of temptation. Yea verily, I
was sorely tempted.
I soon found myself with a lighter wallet, a Dragon Jagdtiger H,
complete with all sorts of stuff to make my bargain $10.00 kit with a
small crack in the hull an $80.00 investment.
A little gap filling super glue and baking soda on the inside of the
hull repaired the crack. From there on it was research and build.
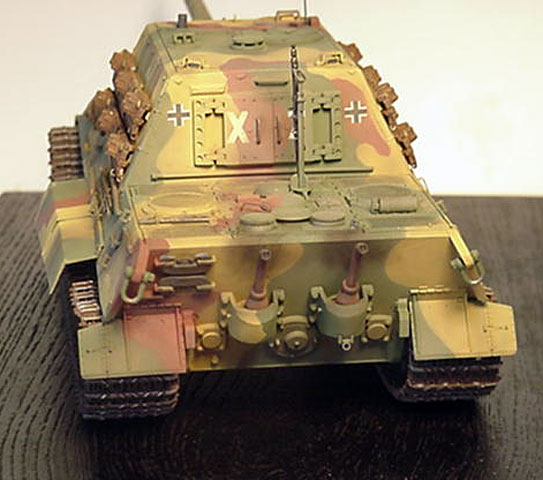
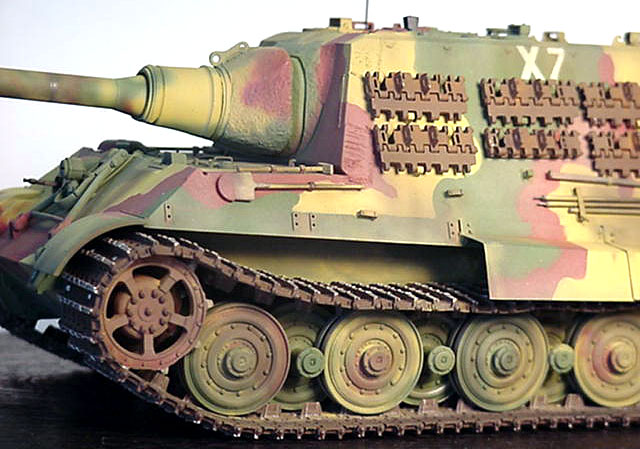
I chose to model a vehicle from Schwere Panzerjager Abteilung 512,
chassis number 305058. This was a mid production vehicle with a handle
fitted above the rear doors and following along with Tiger II production
simplification. The jack and jacking block were eliminated from the rear
plate. But the four crane mounting brackets were not included.
The vehicle was abandoned after being hit by friendly fire in town of
Obernephen. This was in fact the first intact Jagdtiger examined by U.S.
Forces.
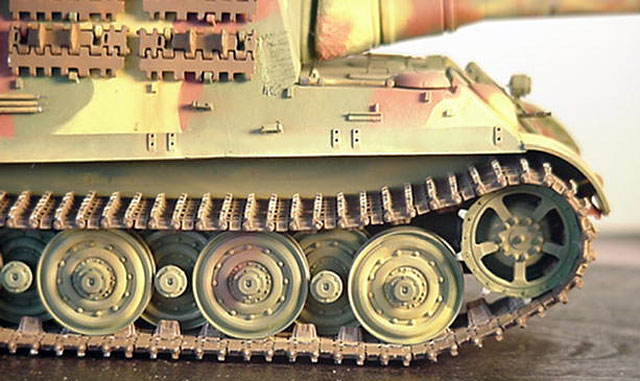
Starting with the lower hull, assembly is pretty much straight forward.
Be very careful to make sure the spindles (part A1) are properly
aligned. I noticed after the fact that I missed a problem on the left
side and the tracks tend to lean away from the hull. I left the return
idler and drive sprockets off until after painting was complete.
The upper hull was glued into place, seams checked and filled. I then
added welds to the lower and upper hulls with a small piece of stretched
sprue and tenax, textured with an old X-Acto blade. I also did the same
to the interlocking armor plate, on the sides, front and rear.
The kit photo etch parts were then added to the radiator fans and
intakes, along with parts from the Aber PE set.
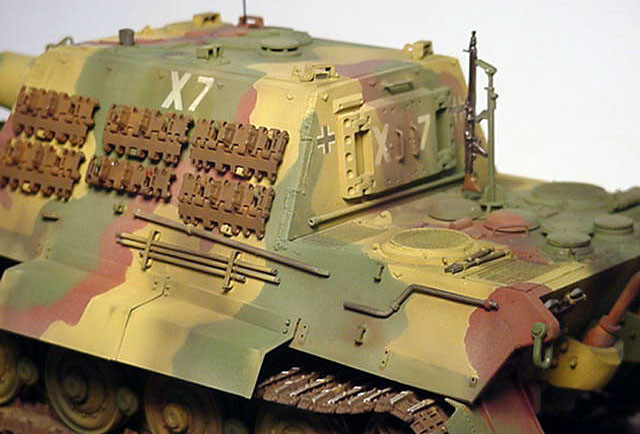
Small wire was used to make the headlight cable. A small bit of brass
wire was used to make the handle on the rear of the fighting
compartment. Two extra sets of track brackets were added to each side of
the hull. These were made from evergreen strip styrene. I then added the
small PE brackets for holding rope/wire for camouflage. These were the
most frustrating items to place. I finally developed a technique where I
place a small amount of super glue to the hull and using a toothpick
with a small amount of Elmer’s glue, picked up the part and placed in
the correct location. (I was fortunate enough to visit Aberdeen this
summer where I examined in detail the Jagdtiger located there. These
little brackets are all over everywhere.) Sad thing is you hardly even
notice them after you paint.
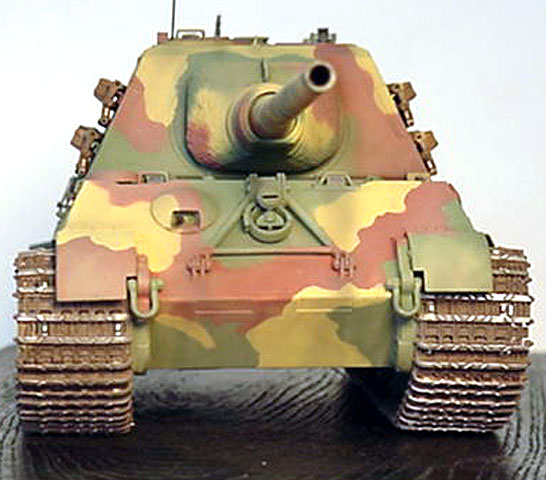
The hull MG barrel was drilled out and brass wire was used for the lift
handles on the driver/radio operators hatches.
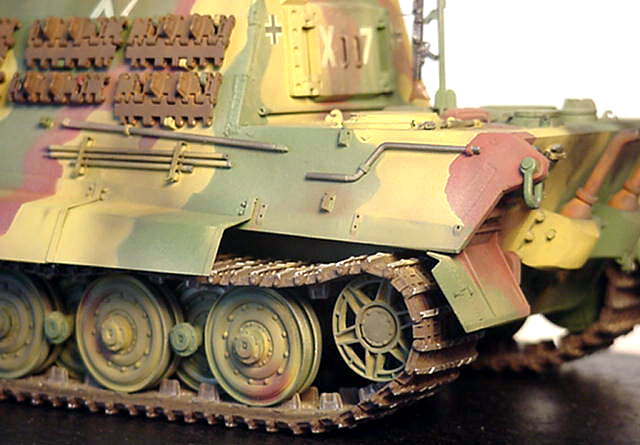
Most of the kit parts were used or modified by thinning them down. I
replaced the cleaning rods with rod styrene and wire, the ABER brackets
were used to complete this assembly. The ABER fender set was also used,
although this vehicle only had two intact on the left side of the hull.
The remaining attachment points were drilled out and bolt heads were
added to the two fenders.
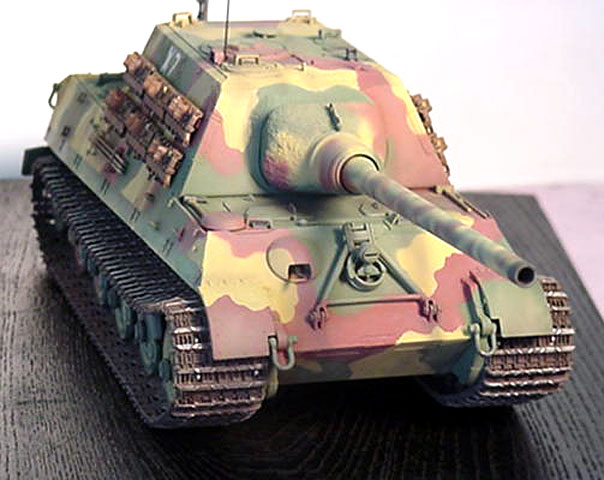
I used the kit mono-pod along with PE parts to detail the MG 42. For the
main gun I used the MKD barrel with a resin Saukopf. Tracks were
replaced with Fruimodel set #22.
After a final check and a little clean up, I started the painting
process. The vehicle was produced in February of 1945. Based on this
date I chose to use a base coat of green followed by yellow and red
brown.
I used Floquil lacquer based Hunter Green for the base coat followed by
Depot Buff for the yellow and Box Car red for the red brown. Although it
is very difficult to tell from the photos, it appears the colors were
hard edged. My guess is that the vehicle camouflage was added during the
training period at Paderborn. The markings were made with a home made
mask made from Frisket paper. The kit decals were used for national
insignia.
The tracks were painted with roof brown and weathered with Rub N Buff.
Weathering was done with lacquer clear coats of Testor’s clear flat
tinted with grimy black, earth and grime. Dry pastels were then added
and a final coat of clear sealed the finish.
Overall I found this to be a very enjoyable build.
Click the
thumbnails below to view larger images:
Text and Images Copyright ©
2004 by Richard R. Fisher
Page Created 04 December, 2004
Last Updated
03 December, 2004
Back to
HyperScale Main Page |
 Home
| What's New |
Features |
Gallery |
Reviews |
Reference |
Forum |
Search
Home
| What's New |
Features |
Gallery |
Reviews |
Reference |
Forum |
Search