|
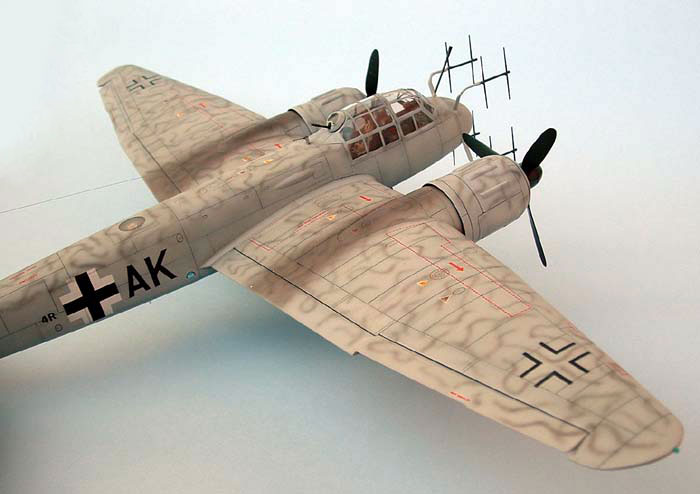
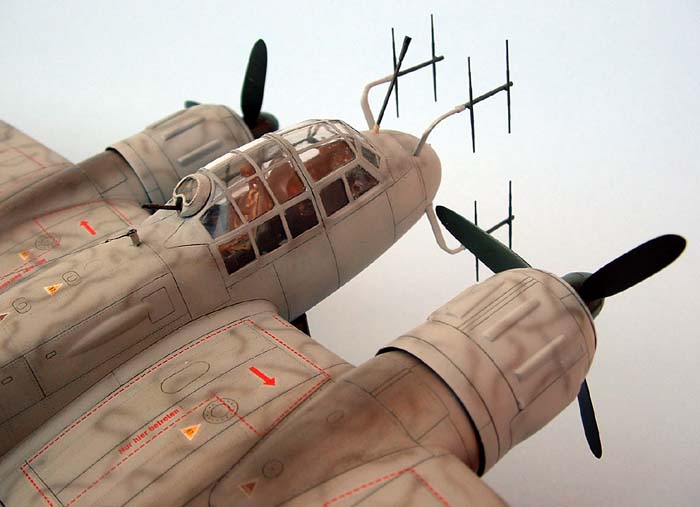
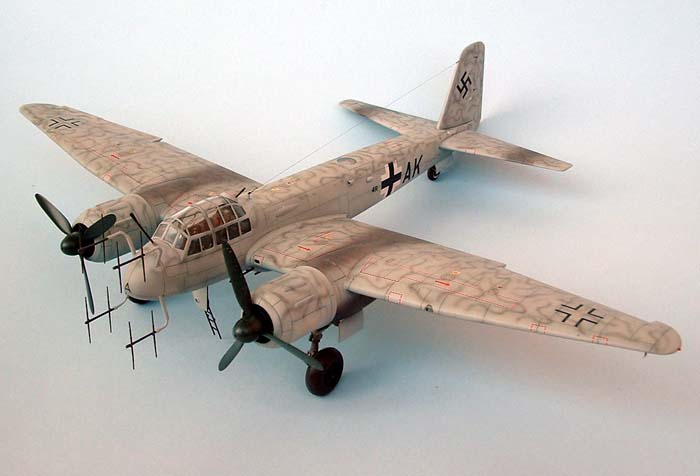
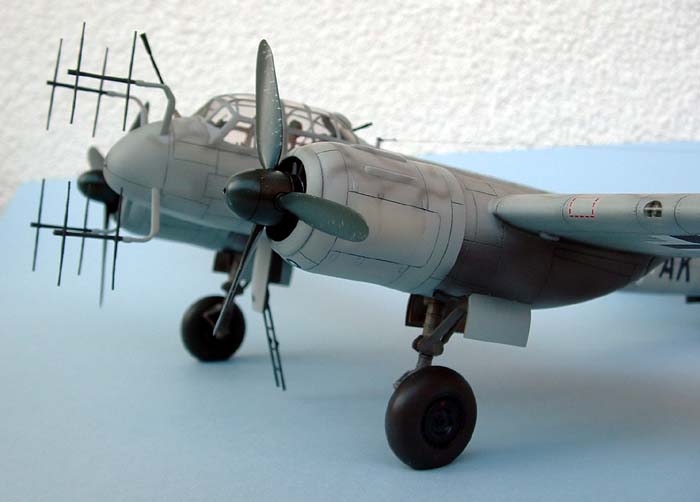
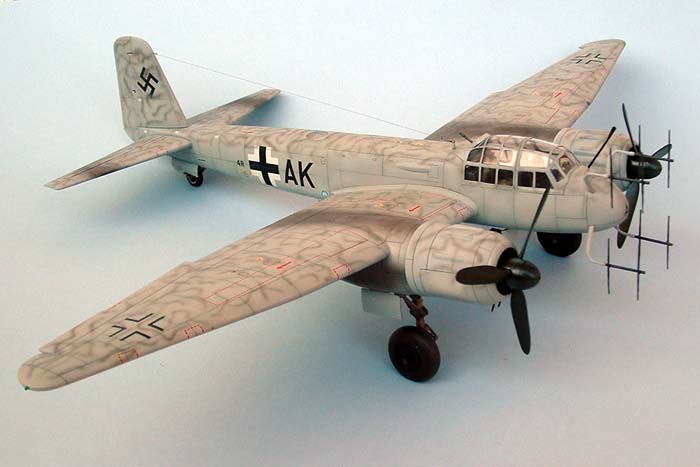
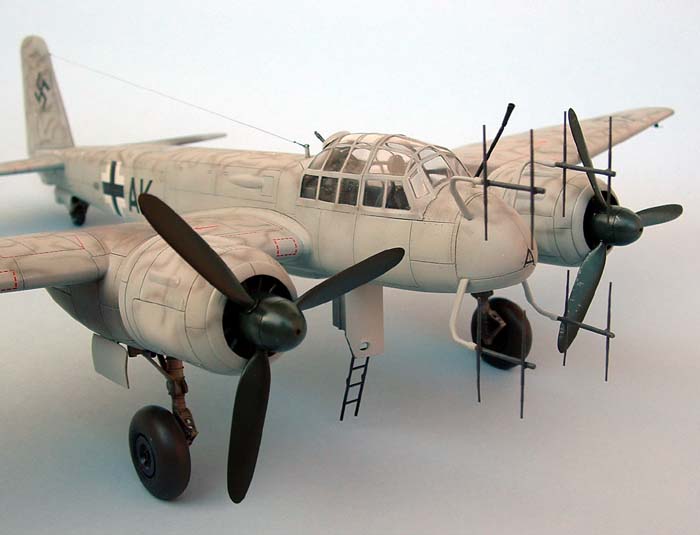
Dragon's 1/48 scale
Junkers Ju 88G-1
by Jakub Vilingr
|
 |
|
Junkers Ju 88G-1
Leutnant Johannes Strassner (8 night victories, 2 in this A/C)
code 4R+AK; 2./NJG 2; Chateaudun, August 1944 |

Dragon's 1/48 scale Ju 88G-1 is available online from Squadron
I won’t lie to you – building this model was not easy.
Parts of the surface are very coarse. I smoothed the plastic with two
layers of putty Gunze Mr. Surfacer 1000.
The wing has separate tips which are 1 mm thicker than the end of the
wing. I had to thin the wing tip parts before attaching them to the
wing.
The engraved detail did not line up along the entire length of the
fuselage halves. I also had to engrave 5 oval covers, which are missing
from the mode. I completed the covers according to the publication
Trojca with Ju-88 A-H. The front parts of the engine gondolas, which
should be inserted in the cut in the leading edge of the wing, didn’t
fit very well. I had to file these parts a lot to make it right. The
surface of the engine nacelles is the coarsest.
The last bad news for now was securing the canopy. It just did not
fit properly. Milliput was used to fill the gaps after I did my best.
Firstly, I recommend gluing the wings before painting to avoid of
greasy colour from the glue.
The second step was spraying black gray RLM 66 (Gunze H416) on the
canopy, which was covered Eduard masks, and also spraying the panel
lines of the kit in the same colour.
When the black grey was dry, I airbrushed the whole surface with
light gray RLM 76 (Gunze H417) diluted with Mr. Color Levelling Thinner
in proportion roughly 1:2-3. I sprayed so that RLM 76 shouldn’t
completely cover the earlier coat of RLM 66 and obliterating the
pre-shaded lines. Immediately after spraying the colour RLM 76 I
added to the remaining colour, Gunze H74 Duck Egg Green in the
proportion 5 parts of RLM 76, 2 parts of Duck Egg Green and 7 parts of
thinner. I made the colour that way, which didn’t cover, but only tinted
the basic camouflage. This very thin mixture I sprayed carefully to
various panel lines at whole kit.
After the colours were thoroughly dry (I let the kit 1 day drying) I
begun with decals. The decals from Owl decals (Die Nachjäger W.Nr. 001")
I fixed with the help of decal solutions from Agama, because they were a
little stiff. I placed stencils from Tally Ho! with the help of
preparations Aeromaster Set+Sol.
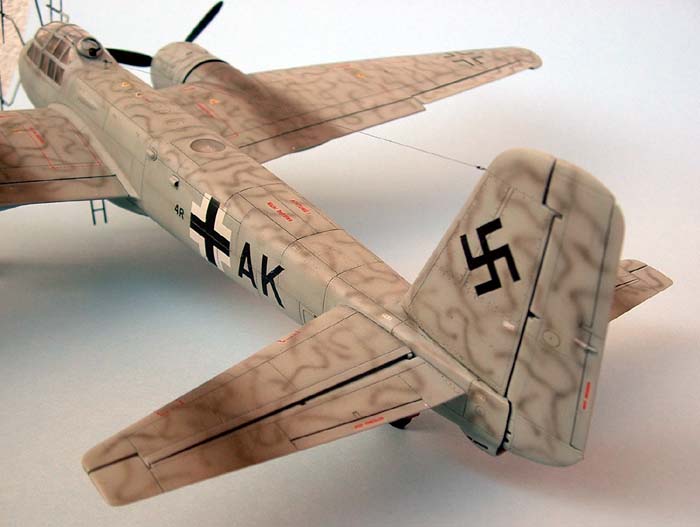
The mottles are sprayed with the colour RLM 75 (Gunze H69), diluted
with original thinner in proportion roughly 1:3. The mottles are sprayed
even over the stencils as was it done in reality.
The final phase of painting was weathering with oil colours. I used
the combination of Payne’s gray, Raw umber and white. I mixed grey-green
hue and weathered with it the whole kit. After it I sprayed exhaust
staining with the mixture of colour Model Master Aircraft Interior Black
and Rubber. I used 90% of thinner and 10% of colour.
The last thing I did was to spray the check-mate paint Vallejo
diluted with the original thinner 099.
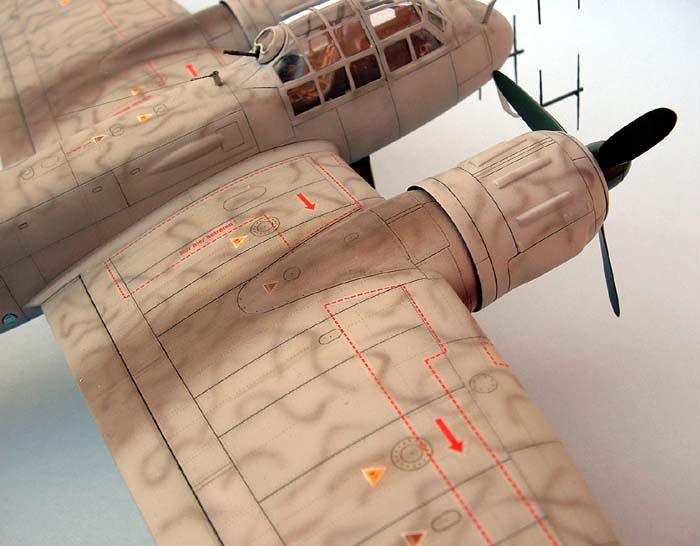
The truly final operation was making visible the stains from fuel and
oil with the help of splendid preparation Lifecolor Tensocrom. I piled
it up with thin brush and then blurred with the finger in the direction
of a flight. I used the hue Fuel and Oil and sometimes Brown as well.
Finally I drybrushed some places with white oil colour.
Jakub Vilingr (
www.modelplac.wz.cz )
Věra Vilingrová (translation)
Click the
thumbnails below to view larger images:
Model, Images and Text Copyright ©
2004 by Jakub Vilingr
Page Created 24 September, 2004
Last Updated
22 October, 2004
Back to
HyperScale Main Page |
 Home
| What's New |
Features |
Gallery |
Reviews |
Reference |
Forum |
Search
Home
| What's New |
Features |
Gallery |
Reviews |
Reference |
Forum |
Search