|
Eduard's 1/48 scale
Nakajima Ki-115
Tsurugi
by
Ian Robertson
|
 |
|
Nakajima Ki-115 Tsurugi |

Eduard's
1/48 scale Ki-115 Tsurugi Profipack is available online from Squadron
In early 1945, Nakajima company was awarded the task of designing and
building a purpose-made suicide attack plane to resist the impending
invasion of the Japanese home islands by allied forces. What resulted
was a "no frills" aircraft capable of carrying a single bomb weighing
1,764 lbs (800 kg) into its target. Because the Ki-115 Tsurugi (Saber)
was intended to be built by semi-skilled labor, the design was kept very
simple*.probably too simple. The fabric-covered tail surfaces had an
inner structure of wood, the fuselage was made of a steel structure with
a tin engine cowling and thin steel panels on the center sections, and
the wings were an all metal stressed-skin construction. The
undercarriage lacked shock absorbers and were jettisoned upon takeoff.
Returning to base was not an option.
Although the Ki-115 was easy to build, its performance was poor. The
undercarriage was incredibly crude, and the pilot's field of vision for
taxiing was completely inadequate because the pilot sat so far back from
the front of the aircraft. In the air, the Ki-115 was difficult to
handle, even for an experienced test pilot. There was no defensive
armament, so the aircraft would have been vulnerable to interception by
allied fighters.
More than 100 production examples of the Tsurugi were made, but none
were used in combat. Thus, the Ki-115 is a mere footnote in WWII
aviation.
Eduard's
1/48 scale Ki-115
|
Given the obscure nature of Ki-115, this was not an aircraft I expected
to see in 1/48 scale in anything other than a limited run kit. However,
Eduard has stepped forward and produced a high quality 1/48 injection
molding of the aircraft. Although the kit is likely to have limited
appeal because of the Ki-115's obscurity, fans of WWII Japanese
aircraft, as well as modelers looking for something a little out of the
ordinary, may want to give this model a closer look.
Although not for the rank beginner, the Eduard kit is relatively easy to
build. My particular model was built from the "profipack" version, which
included photoetch details and canopy masks. The photoetch was a nice
touch (it included engine wiring, seatbelts, fuel tank caps, bomb
details), but perhaps not as advantageous for this kit as it is for
other profipack kits because of the Ki-115's simplicity.
I really enjoyed building this model because it was a refreshing change
from the ordinary. However, I experienced two areas of difficulty.
First, the cockpit I built and installed prior to gluing the fuselage
halves together was too wide to allow for proper fitting and alignment
of the wings. I'm not sure if this was a fault of the kit or my
construction. In any case, I was forced to remove the cockpit after
installation, modify it, and then refit it before attaching the wings.
If I were to build this kit again, I would first glue the fuselage
halves together and then install the cockpit tub from beneath (I ended
up doing it this way anyway, but with more fuss than is desirable).
My second difficulty with the kit was the brittle nature of some of the
smaller pieces of styrene. Specifically, the struts for the stabilizers,
tail support, and main landing gear all snapped while cleaning molding
seams off the parts. The struts for the stabilizers, as well as the tail
support, were replaced with metal wire. The main undercarriage was more
complex so I glued the parts back together.
I replaced the kit's pitot tube with fine syringe tubing.
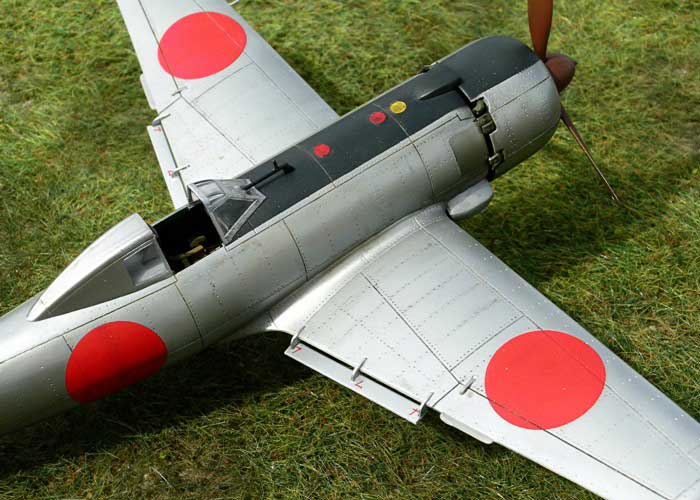
The cockpit was painted to simulate the Ki-115's simple wood
construction. Light tan Tamiya acrylic paint, followed by a wash of
reddish brown Model Master enamel, was applied to the seat and cockpit
floor. A clear coat of Polly Scale satin gave the wood surfaces a slight
sheen. Details in the cockpit were sparse, as one would expect for such
a simple aircraft design.
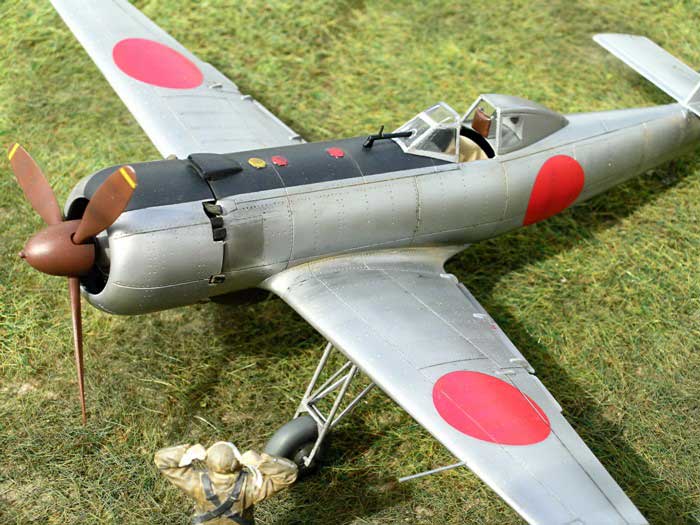
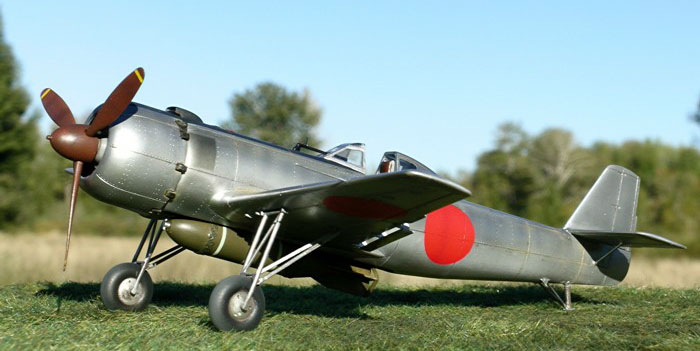
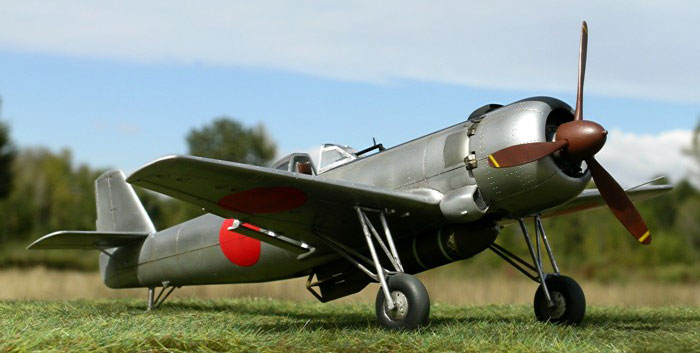
I opted to display my Ki-115 in a natural metal finish with a black
antiglare panel on the nose. The model was first primed by spraying a
thinned mixture of Mr. Surfacer 1000 over all surfaces. Mr. Surfacer
brought to light all the minor scratches and seams which needed to be
filled and sanded smooth before proceeding. Once the blemishes were
corrected I applied a second coat of Mr. Surfacer and then polished the
model to a gloss sheen using Micromesh sanding cloths. Panel line
details and rivet details were restored. The model was then sprayed with
a coat of Future floor wax and polished a second time.
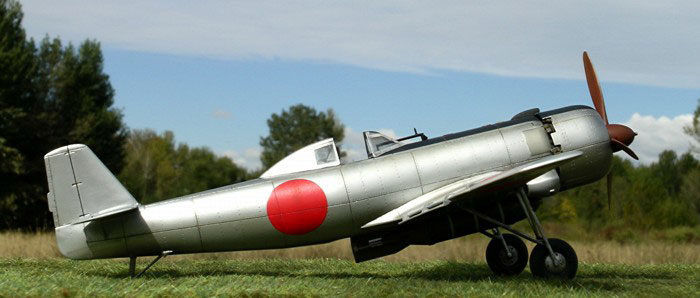
The natural metal finish was simulated using various shades of Alclad II
metalizer. I began with a uniform base coat of semi-matte aluminum,
followed by a dusting of aluminum. Centers of panels were then
highlighted with polished aluminum. My goal was to create variability in
the amount of light reflecting off the surfaces, as one would expect on
the real aircraft. I did not want the model to appear highly polished,
since this would not have been very realistic for this particular
aircraft in my opinion.
The propeller and spinner were painted with Polly Scale Japanese Army
Brown. Paint chips were avoided since the aircraft was not designed to
be flown repeatedly and thus would not have developed such wear and
tear.
Decals were added directly to the Alclad II surfaces. The kit's decals
performed superbly.
Panel lines were treated to a wash made from reddish-brown and black
Model Master enamels. Broad areas of the fuselage and wings were also
subjected to the wash in an effort to create further variation to the
model's surfaces. Finally, orange chalk pastels were applied sparingly
to the upper fuselage and wings to give a hint of rust. Photos of
Ki-115s captured after the war show significant rust accumulation over
the natural metal finish, but my model was not intended to represent an
aircraft left exposed to the elements for so long, so I kept the effect
muted.
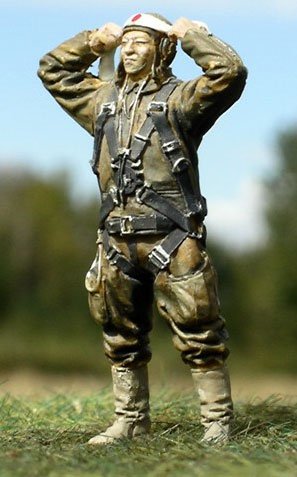
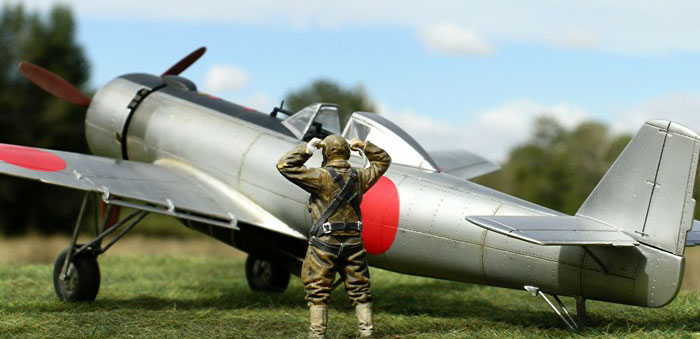
Figure
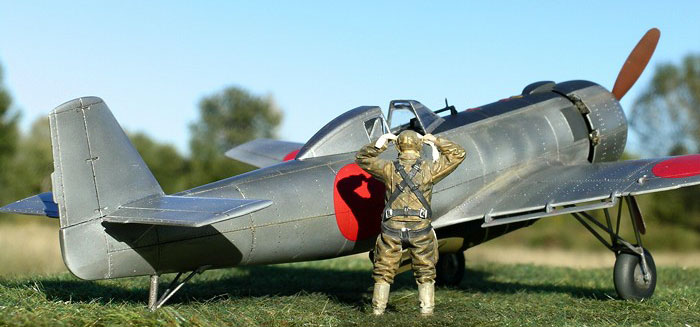
The kamikaze pilot is from Jaguar.
Images were taken with a Nikon Coolpix 5400 digital camera. The "sharpen
edges" tool of Adobe Photoshop was used to restore some of the clarity
and crispness lost during image compression.
Click on the thumbnails
below to view larger images:
Model, Images and Text Copyright ©
2004 by Ian Robertson
Page Created 09 November, 2004
Last Updated 09 November, 2004
Back to HyperScale
Main Page
|
 Home
| What's New |
Features |
Gallery |
Reviews |
Reference |
Forum |
Search
Home
| What's New |
Features |
Gallery |
Reviews |
Reference |
Forum |
Search