|
Mirage 1/72 scale British
Army
M3 Grant
by Glen Porter
|
 |
|
M3 Grant, North
Africa |

Mirage's
1/72 scale British Grant is available online from Squadron.com
images by Brett Green
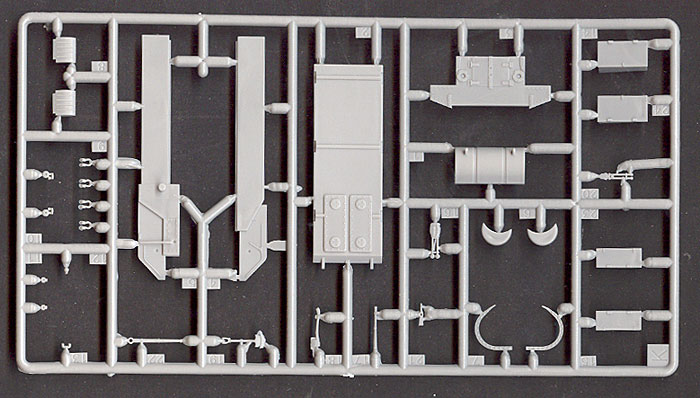
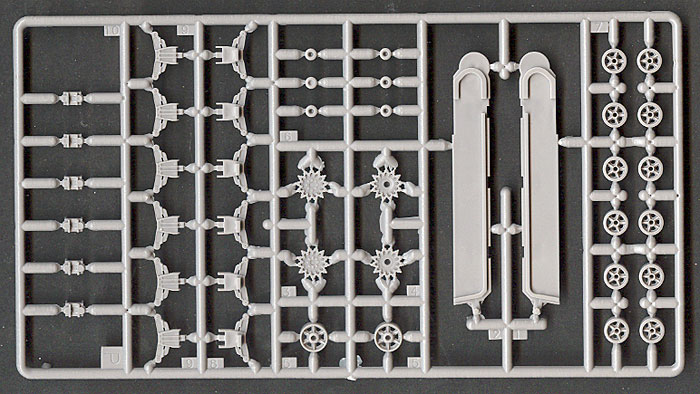
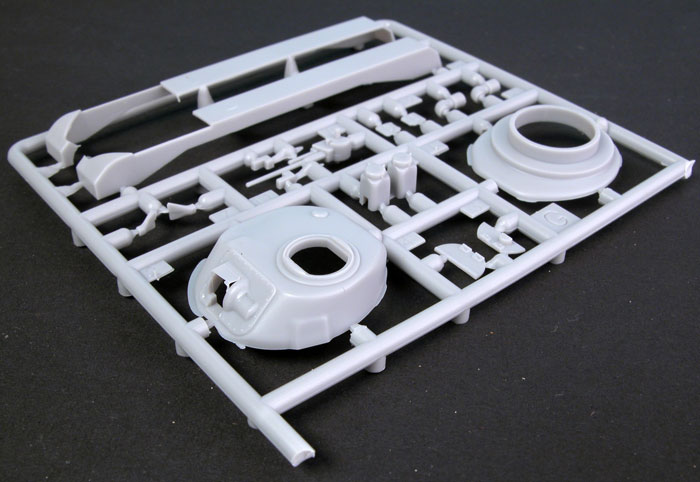
Until recently, modellers who wanted to build an M3 Grant in 1/72 scale
only had two options, Airfix or Hasegawa, neither of which were very
good and both very old. Then along came Mirage with their lovely little
Lee/Grant series and we thought all our Christmases had come at once.
With as much detail as most 1/35 scale kits and accurate as well. Sure,
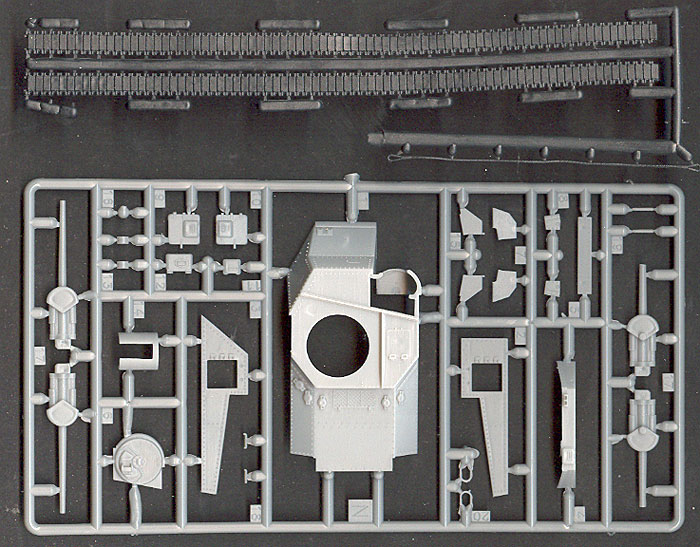
they've got rubber band tracks but as the Lee/Grants had their tracks in
tension, so that's not really a problem. Also, these tracks can be glued
with plastic cement or super glue. The plastic glue doesn't weld them
together as with normal plastic but it seems to give a reasonably strong
bond, certainly strong enough to carry their own weight.
These Mirage kits, in fact all the Mirage kits that I have seen, are
inclined to be a little over engineered in my opinion. What I mean is
that there are so many parts, especially early on in the build, that if
your not very careful to align everything, you can have fit problems
later on. So, very carefully, we start on the lower hull. Now all parts
need some cleaning up, not much mind you, but some and “fit before
gluing” is definitely the order of the day.
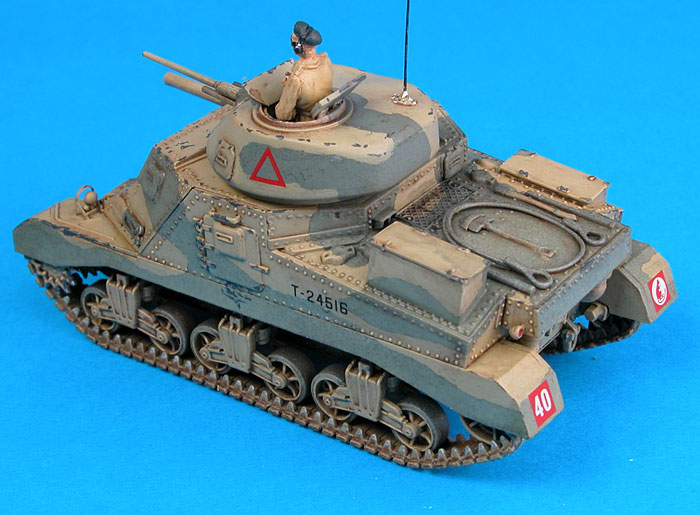
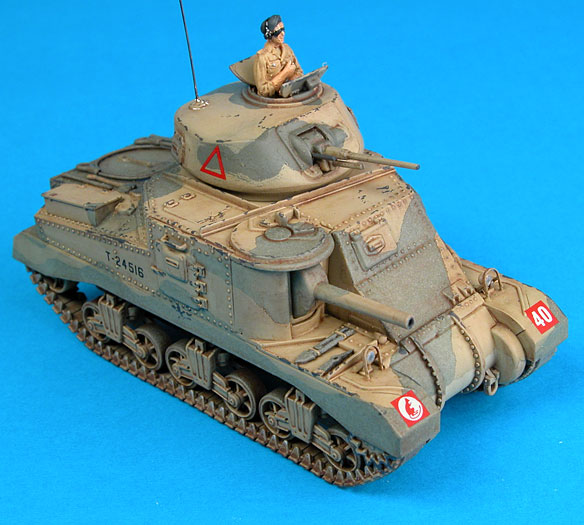
Click the thumbnails below to view larger
images:
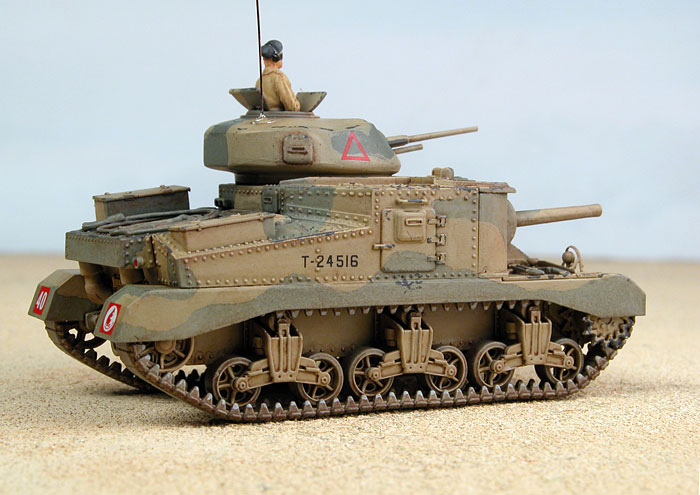
Because I'm building a Desert Grant and therefore would have to use the
sand skirts, I decided early on, there was no-way I would be able to fit
the tracks after these sand skirts were glued on. Therefore the tracks
would have to go on before the skirts and before painting. This is
something I've never attempted before. With everything progressing
nicely but slowly, I decided not to tempt fate and used super glue on
those rubber band tracks. A trial fit showed them to be about a half
link too long. I cut the excess off and starting from one of the centre
road wheels, worked my way forward, round the drive wheel, along the top
run, around the idler and back to the same road wheel. Same procedure
with the other side and its “lookin good”. I'm just wondering, how the
hell I'm “gunna” paint those rubber tyres on the wheels let alone the
insides of the tracks? As Alfred E. Newman used to say “What, me worry?”
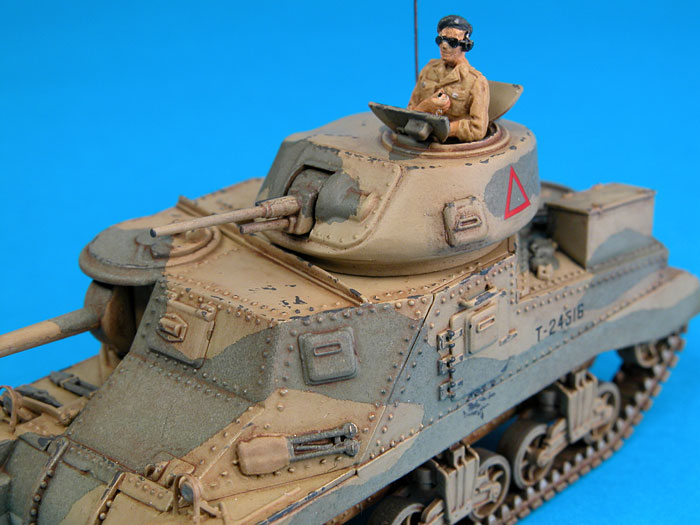
Next thing to do was the PE. I'd decided not to use the engine intake
screen and as I'd already glued the side hatches closed, they were not a
problem either. That only left the head-light guards so out came the
trusty “Hold and Fold” and in no time we had two little PE guards.
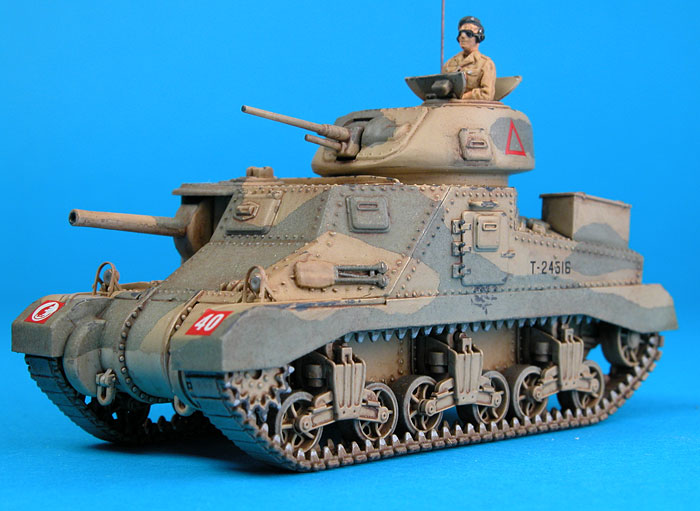
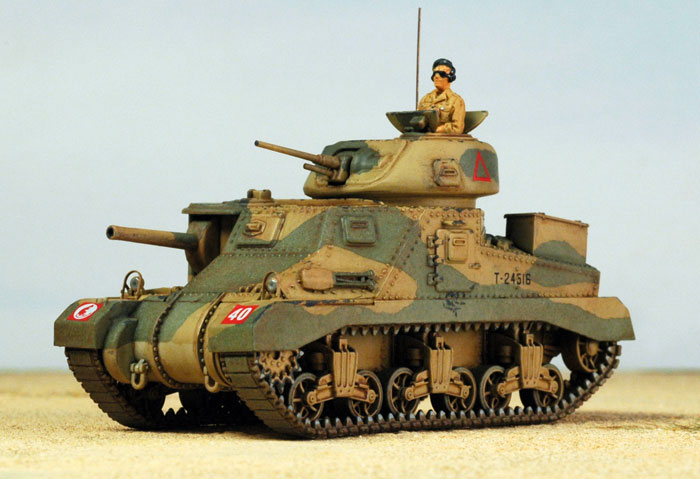
Now the fun part. Painting. Armed with one of Mike Starmer's books on
the desert campaign, I picked one of the schemes from the kit, namely a
Seventh Arnoured Division Grant in Light stone and green. Unfortunately,
the camouflage pattern in the instructions, doesn't agree with that
issued in Mike's book so, after some umming and ahing, I decided to
trust the book.
I used two colours from the
Xtracolor Caunter Scheme, Light Stone and Slate, but before I
applied them I carefully did some pre-shading with a dark brown to all
the nooks and crannies. The first main colour sprayed was Light Stone,
thinned less than normal but given three light coats. After about five
hours to dry, I put Humbrol Maskol on to the areas I wanted to stay that
colour, a rather slow and laborious task and another thing I've never
tried before. The second colour, Slate, was then applied. Unfortunately,
when I removed the Maskol, it left a ragged edge around the Slate and
although I did my best to clean it up a bit I was not totally happy with
the results. I'll have to give that some more thought.
Having air-brushed the two camouflage colours they looked too dark and
as my models have a bad habit of coming out too dark, I decided to give
the model an over-all dust coat of Tamiya Buff to lighten it down before
any washes were applied. As I normally paint with enamels, for washes, I
use acrylics thinned with Methylated Spirits, (Denatured Alcohol to
some). In this case the wash was to be Tamiya Red Brown. I applied this
with a broad brush, giving it about a half an hour to dry and then
removed the excess, again with the broad brush and plenty of Metho. Most
of the tools were given a coat of Tamiya Panzer Grey and Desert Yellow
for the handles. Now those pesky tracks and road wheel tyres. Because
the war in the desert involved clouds of dust, I thought the tracks and
suspension would be mostly that colour any way and as I'd already given
them a liberal coat of Tamiya Buff, the dust colour, I just put a black
wash on the tyres and a dark brown wash on the tracks. Chips and scuff
mark were then added with a fine brush and Tamiya Panzer Grey in all the
places I thought would get the most wear and tear. Three thin coats of
Tamiya Acrylic Gloss and we are ready for the decals.
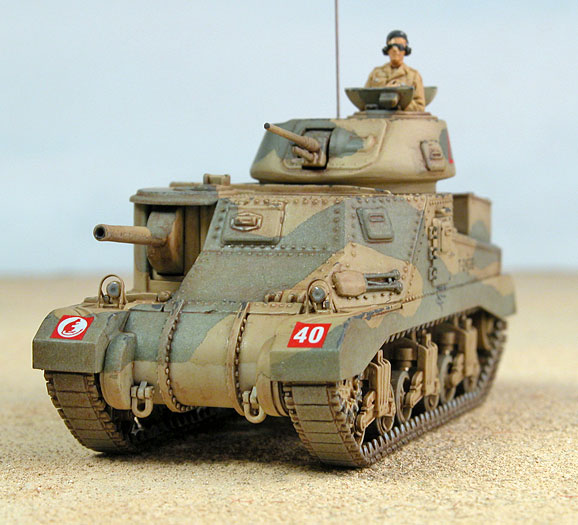
The scheme I had chosen from the instructions had a vehicle marked only
with a serial, but as I'm told, many of these tanks went into battle
with-out full markings because of the high loss rate of British Armour.
I think it's possible that these vehicles had the rest of the marking
applied when time was available so I gave my model a full set of
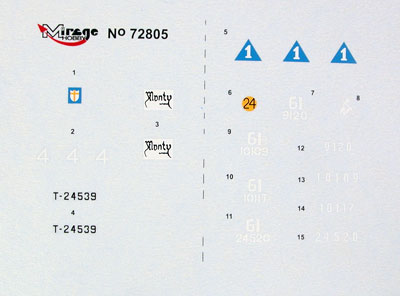
markings. I used the kit decals and they went on with no difficulties
and my model now represents a Grant Mk I of the Royal Scots Greys, 4th
Armoured Brigade, 7th Armoured division after the second Battle of
Alamein. Another light coat of Tamiya Acrylic Gloss to seal the decals
and then an over-all coat of Testor's Dullcote to matt it down.
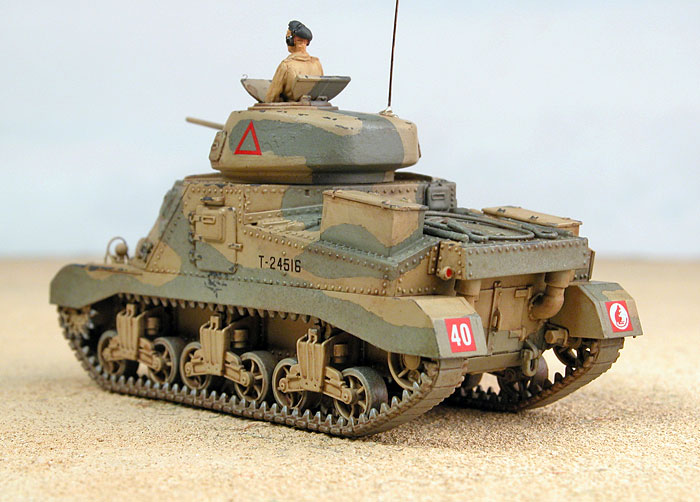
The figure is resin from Millicast, (British Tank Crew), but Figure
Painting is a subject that I'm just getting into and I couldn't, for the
life of me, work out what to do with his goggles so I just left them
black.
This has been a very interesting build for me, as it involved several
procedures that I haven't tried before, some successful, and some not
so, but I've learned a lot.
It is also the first Armour model I've built that didn't turn out too
dark in my opinion, so overall I'm happy with it.
Click the thumbnails below to view larger
images:
Model and Text Copyright
© 2005 by Glen Porter
Images Copyright © 2005 by
Brett Green
Page Created 12 September, 2005
Last Updated
14 September, 2005
Back to
HyperScale Main Page |
 Home
| What's New |
Features |
Gallery |
Reviews |
Reference |
Forum |
Search
Home
| What's New |
Features |
Gallery |
Reviews |
Reference |
Forum |
Search