|
Monogram & Italeri/Dragon
1/48 scale
Messerschmitt Me 262As
by Bob Aikens
|
 |
|
Messerschmitt Me 262A-1a |

Dragon's
1/48 scale Messerschmitt Me 262A-1a is available online from
Squadron
This modeling project
grew out of the Kagero publication # 18 Me 262 in Combat, and it's
TechMod decal sheet. The varying schemes made for interesting and
challenging modeling. The kits, two old Monogram and the Italeri
re-issue of the Dragon, were recent acquisitions, along with the Dragon
262B 'Nachtjager'. During an uncharacteristic bout of sanity I talked
myself out of doing four at once.
Another victory for
moderation.
I was going to title this article '3 x 262' = something; but I still
can't come up with an adequate right side to the equation. In retrospect
it was just one of those things that you have to get out of your
modeling system. It was fun, I used up some of the RLM paint stash, and
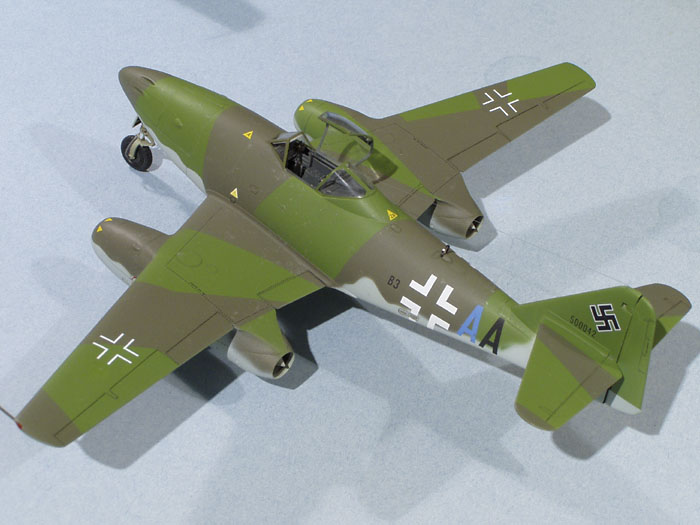
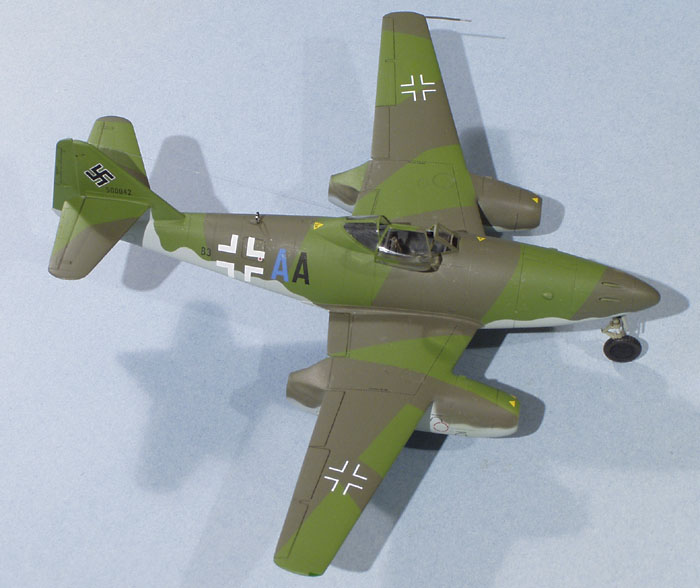
despite some dicey moments in decaling the Dragon model (B3 +AA), I
ended up feeling pretty good about the whole thing.
The two main things
worth mentioning about this project are:
-
The 'composite'
construction of the Monogram kits.
-
The penciling back
in of the nacelle and nose panel lines of all three models.
Quite a lot of
'body-work' was done on the nose areas and the nacelles of all the
builds. Because of the amount of filler needed to get things looking
smooth, I decided not to try to re-scribe anything at all. Besides, the
Monogram kit has few indentations-and mainly at the control surfaces.
I've used this rather simple pencilling method in one form or another
for decades, even before the 'Verlinden Revolution' circa late 70's.
Very similar to the
dynamics of the 'other' world of the arts, the 'Verlinden Way' became a
trend, then a style, and finally an orthodoxy.
As with all orthodoxies
there will be antidotes - some mild, some strong...it'll be interesting
to watch. The use of pencilling for these 262s was however just a matter
of practical necessity.
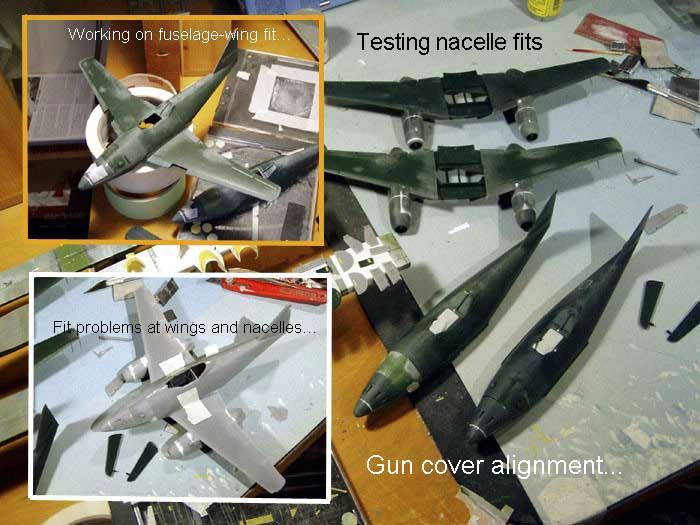
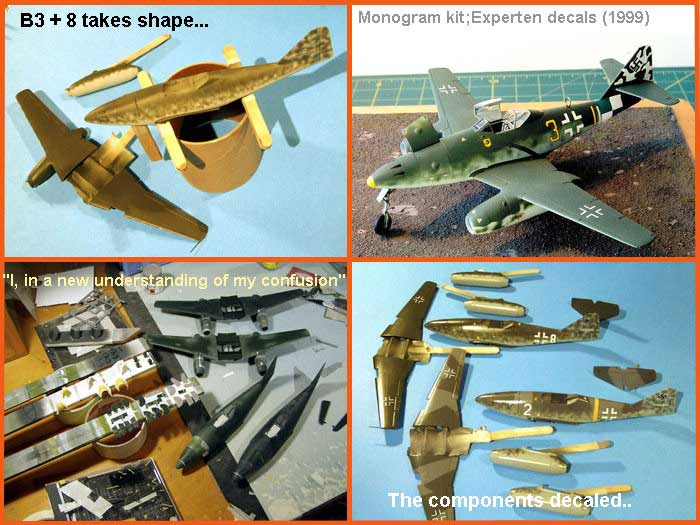
The 'composite' or 'modular' construction stuff is certainly not new to
anyone - all modelers use it in one form or another - it's just part of
model building! With a bit of jiggling and judicious sanding you can get
the nacelles to fit rather neatly into the wing slots-likewise with the
wings into the fuselage. It is not Tamiya-fit, but its not too bad-and
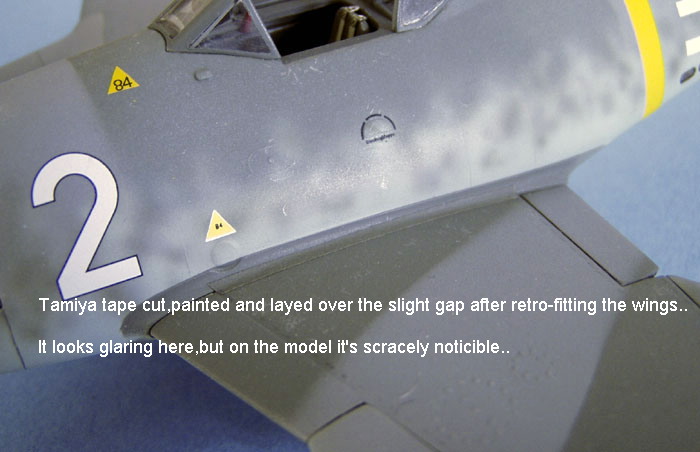
if the offending gaps appear too wide, there is at least a partial
solution (see wing pics). Of course, the whole exercise is not really
for ease of construction, its for ease of painting. For example, I was
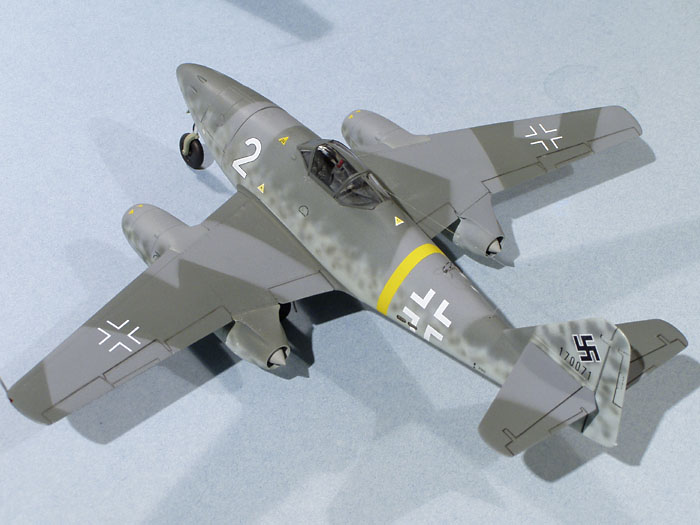
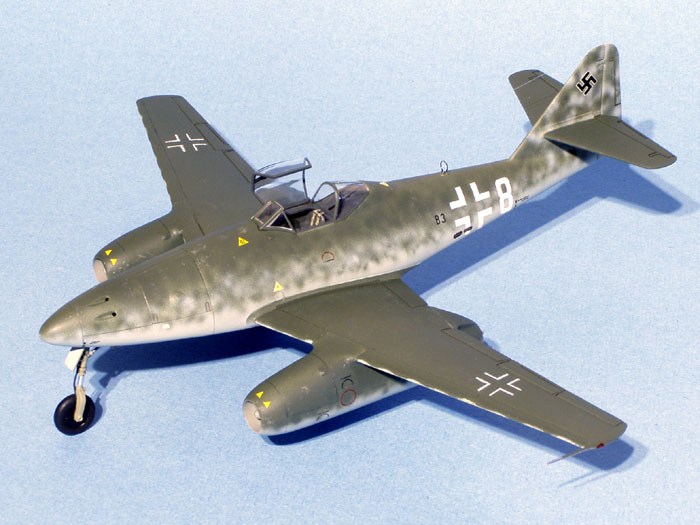
able to use a card mask cut-out to do the 'splinter' on the wings of
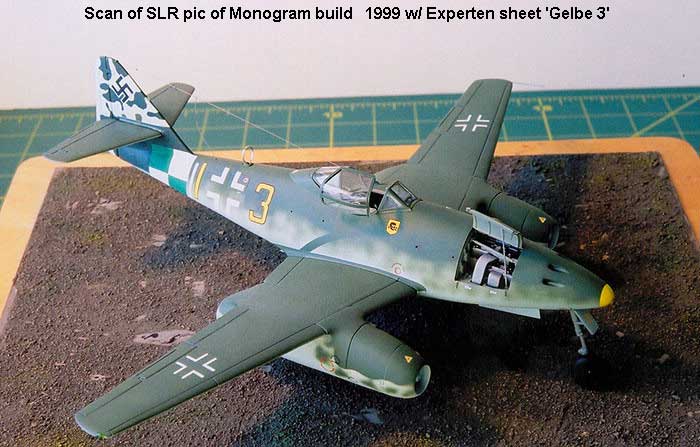
'White 2'. The main impetus for the 'composite' technique was that I had
used it some years back on the Monogram kit and it had worked quite well
(see scan of SLR pic).
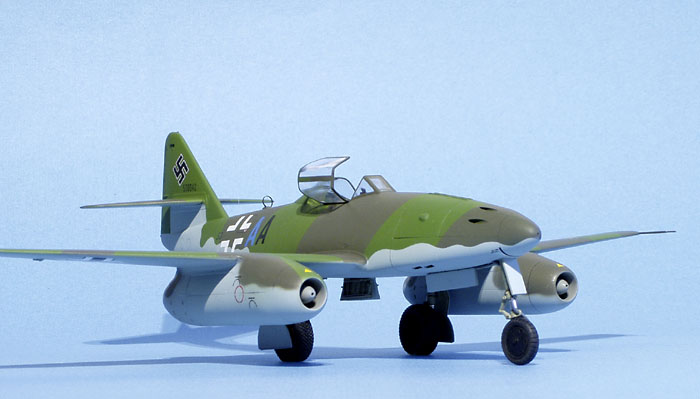
 The
painting was accomplished with a combination of card masks, straight
masking tape, and free-hand airbrushing. AeroMaster and ModelMaster RLM
paints, both acrylic and enamel were used. The
painting was accomplished with a combination of card masks, straight
masking tape, and free-hand airbrushing. AeroMaster and ModelMaster RLM
paints, both acrylic and enamel were used.
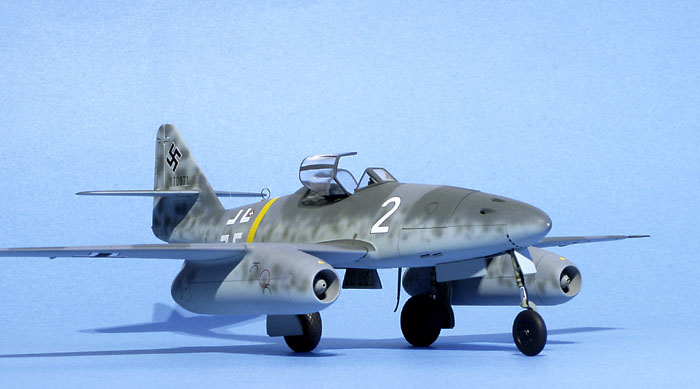
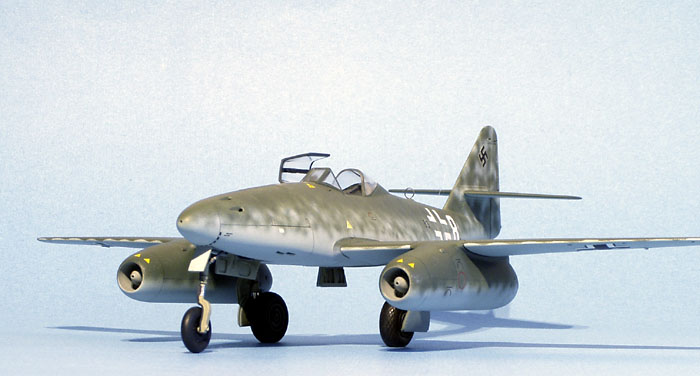
The 81,83,76 on B3+AA
was last in line.
By this time I was in
'compromise land', so it got mostly masking tape.

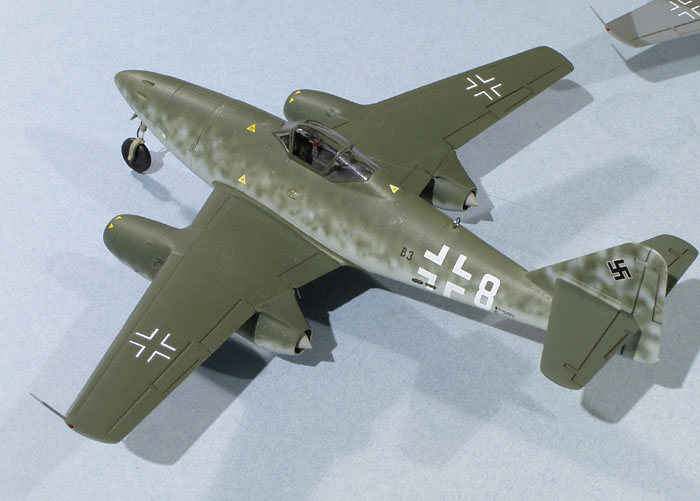
These models were pretty much built simultaneously and all got
brown-black acrylic wash at the control surface indents. On the Dragon
model these had to be enhanced as the lines are very fine to begin
with.All seats got Eduard harnesses, and the kit DF loops were replaced
with scrap phot-etch. The windscreens and canopies were attached with
white glue, and the antennae is invisible thread. The wing-fuselage
attachement on the Monogram builds was secured with 5-minute epoxy.The
TechMod decals have wonderful color and registration, but have very fine
film-almost onion skin.
The utmost care should
be taken in their placement - they MUST be slid off the sheet onto the
surface which must be waiting with a bit of lubricant (e.g. a drop of
dish washing liquid) on it.
No picking them up with
tweezers or knife blades as with thicker film because they'll double
back on themselves quite readily. Trust me!
As final notes the
discerning eye may notice that the gun cover section on 'White 2' is the
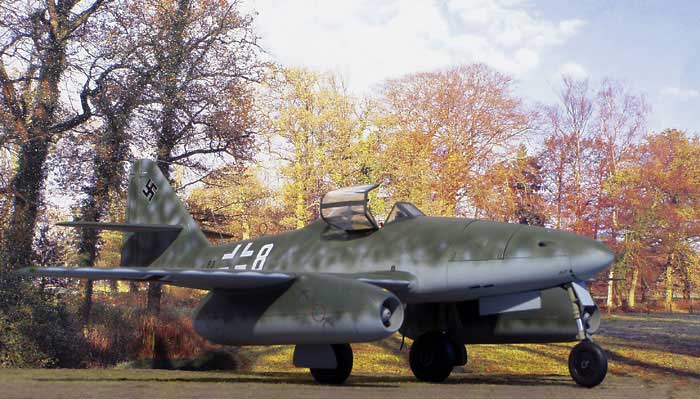
excess closed part from the Tamiya kit. Also in the 'scenic/airfield
shots done with calendar pic backdrops and inadequate lighting, I've
done a bit of PhotoShopping in the blend of base to backdrop and shadow
removal.

By the time these
'scenic' shoots were over, my Luftwaffe figures were fed up - they had
cleaned their last windscreen and were just not going to stand around
any longer waiting for my models to get airborne. I had to cut a deal
with them and say that I would try to introduce more workers. I resolved
to do so...of course they also wanted a change of scenery. That will be
more difficult as good backdrops are hard to find.
But it was their final
accusation that cut the deepest - that these types of presentations had
become so 'two-dimensional'. It almost left me speechless!
Bonnes maquettes!
Click the thumbnails below to view larger
images:
Model, Images and Text
Copyright © 2005 by
Bob Aikens
Page Created 16 December, 2005
Last Updated
16 December, 2005
Back to
HyperScale Main Page |
 Home
| What's New |
Features |
Gallery |
Reviews |
Reference |
Forum |
Search
Home
| What's New |
Features |
Gallery |
Reviews |
Reference |
Forum |
Search