| This is
the DML 1/48th scale
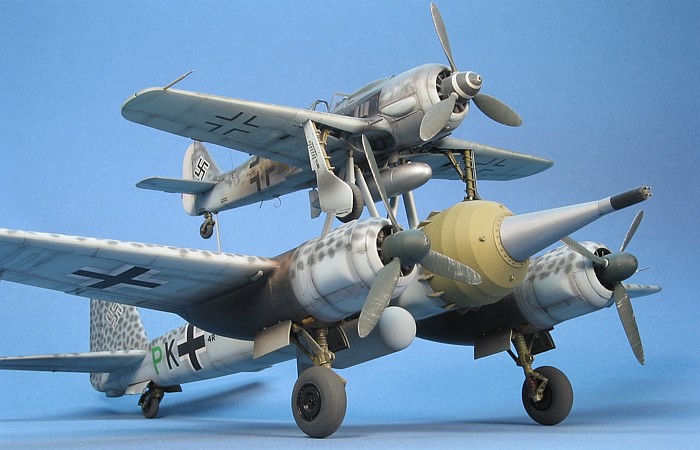
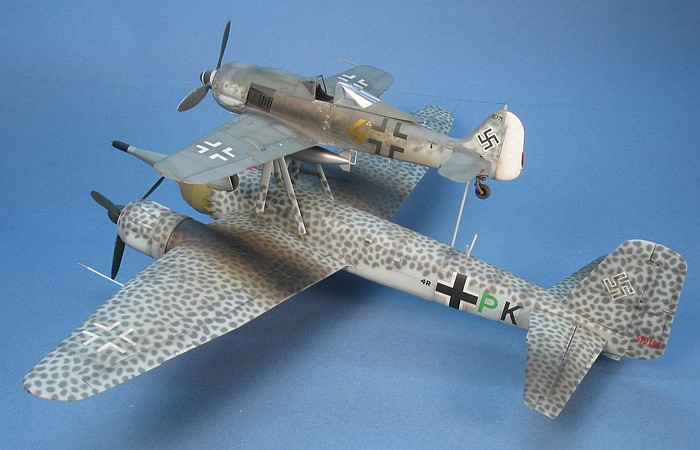
Mistel 2 kit. I picked up this kit as soon as it was released
(way back in 1993), finding the "joined" aircraft concept to be
an interesting one.
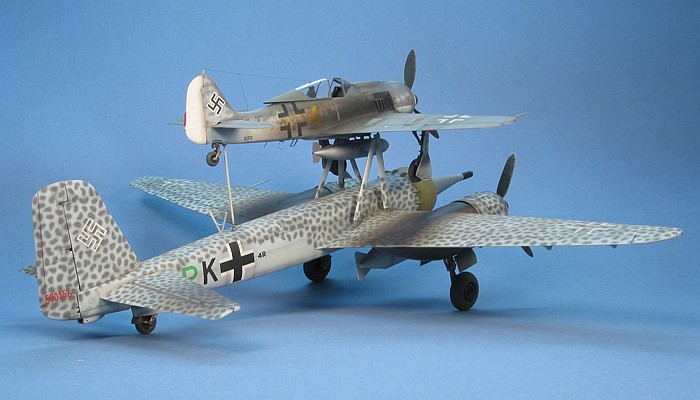
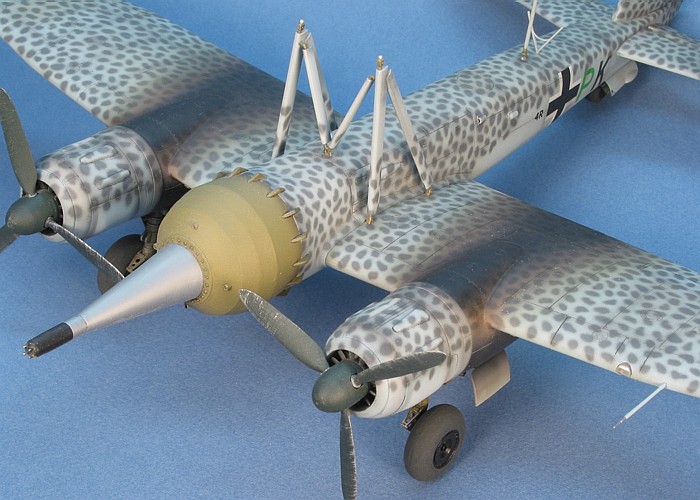
This is actually one of those projects that I finished "by
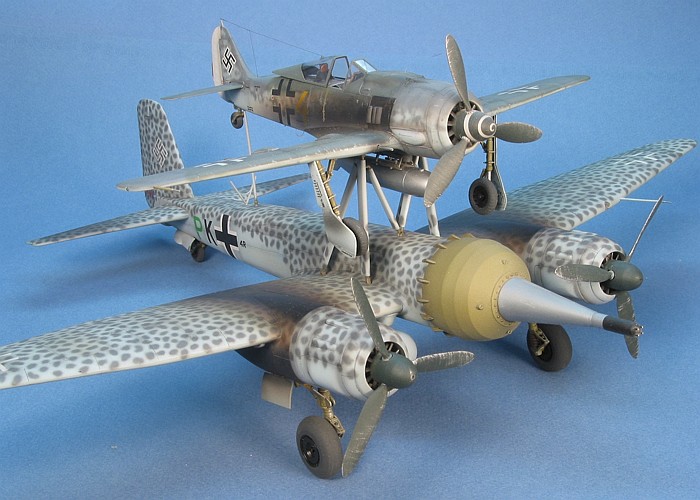
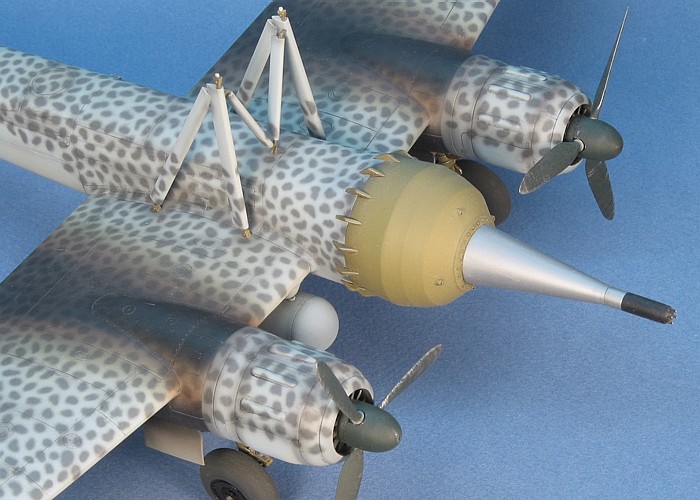
accident". I was interested in the shapes of the warheads on the
nose for the Ju 88 and especially in the spotted camouflage. I
practically completed the Ju 88 in order to see these aspects of
the model. When I realized how close I was to finishing the Ju
88, I quickly whipped up the Fw 190 to complete the project.
From start to finish, the whole project took about a month. This
is quite fast for me, but I was motivated.
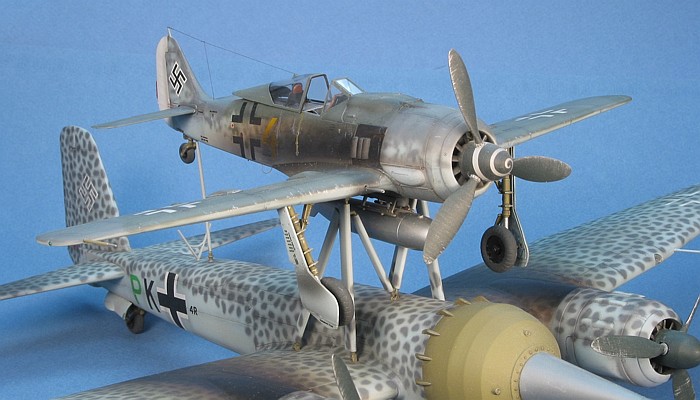
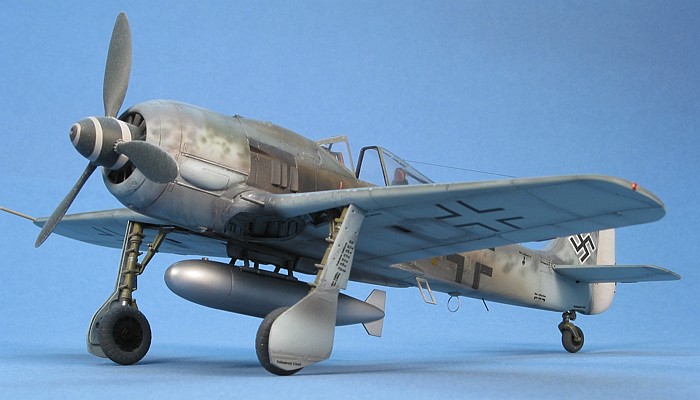
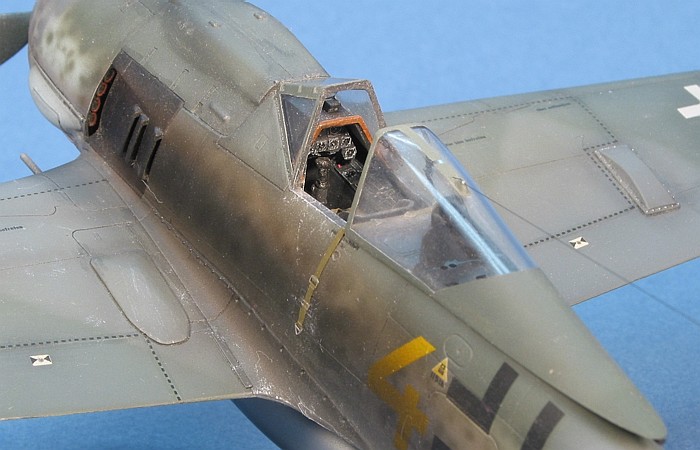
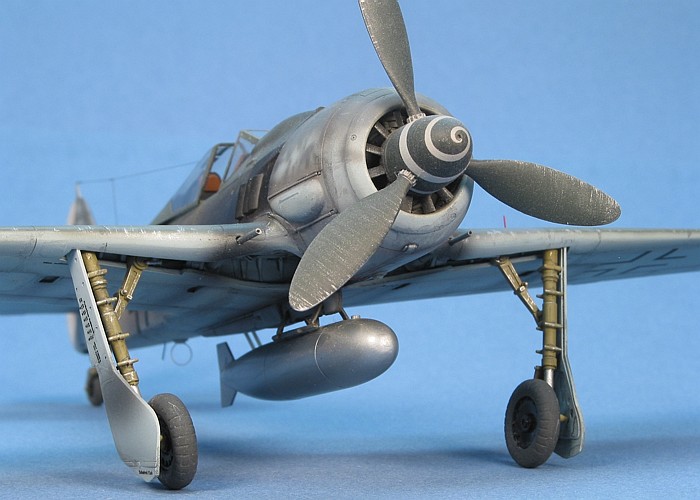
I built the model completely out-of-the-box, except for
adding the line antenna on the Fw 190. The kit provided a small
set of photo-etched parts for both the Ju 88 and the Fw 190.
These consisted of little items like the seat belts and some
antennae.
I had no trouble with the construction, but found that the
attachment for the left wing on the Ju 88 needs a shim to get
the alignment correct and matching the right wing. I found this
out only after I completed the model, way too late to do
anything about it.
One accuracy point to comment on in the kit concerns the
mysterious upward firing machine guns the kit provides for the
Fw 190. A Luftwaffe savvy friend of mine researched these for
quite a while before discovering their true nature. His big
gripe about them was that the internal structure of the Fw 190
just would not support such an installation. He only found them
in a single picture where an Fw 190 sits on top of a Mistel
under camouflage netting. Most people familiar with the Mistel
know the picture I am writing about. After long study, he found
they are not guns at all, as the picture caption stated, but are
actually just the top ends of a boarding ladder leaning up
behind the aircraft. DML even provides this ladder in the
kit!
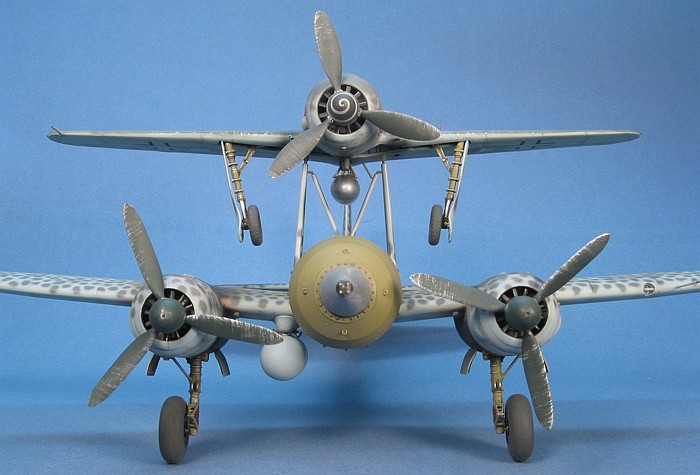
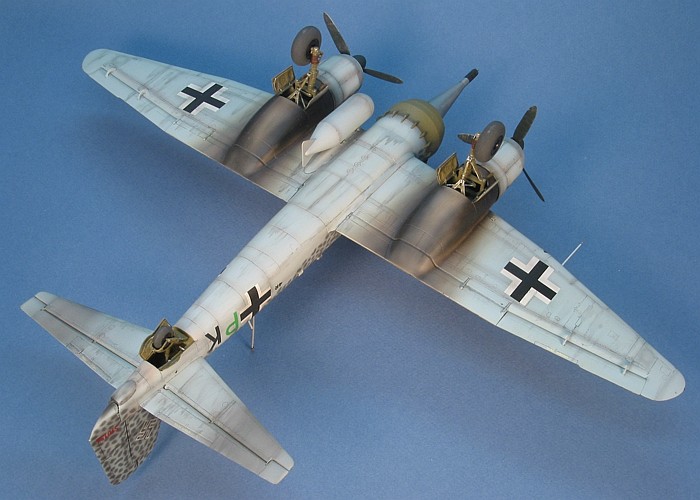
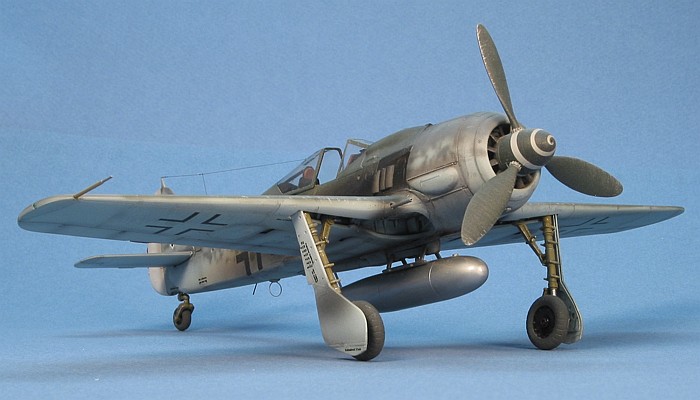
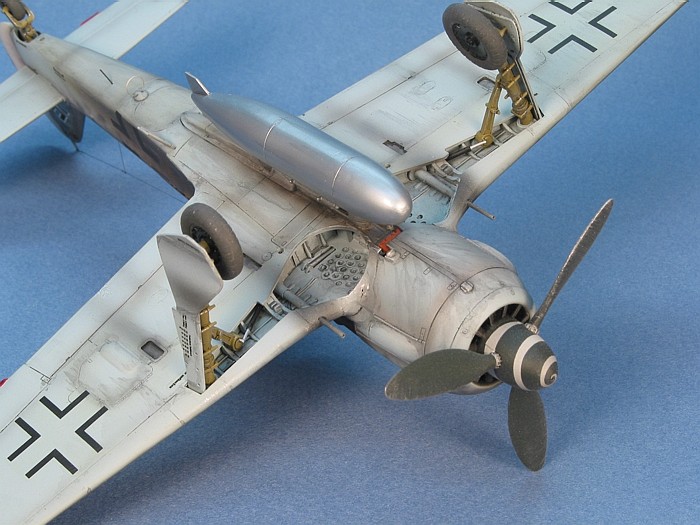
With careful construction, the trapese that holds the Fw 190
is stable enough that I did not have to glue the aircraft onto
the trapese. I merely drilled three holes in the Fw 190's bottom
and sat the model in place on top of the Ju 88. It makes for
much easier transport of the model with the Fw 190 being
detachable.
 The
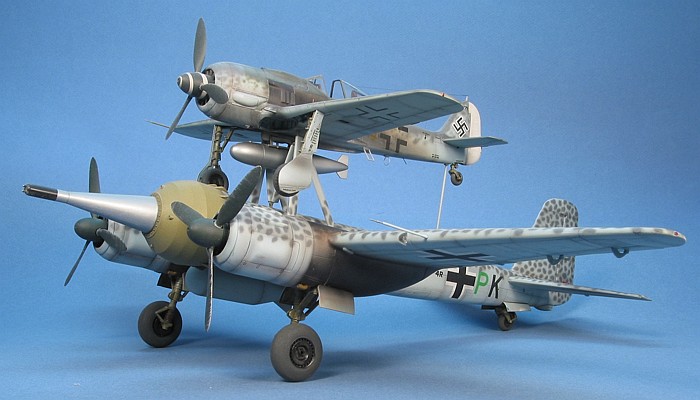
Ju 88 camouflage is the real reason I built the model. I found I
was looking for a challenge, and the tight spot pattern was
exactly that. Depending on the source you believe in, either the
camouflage is Gray-Violet (RLM 75) spots over a base coat of
Light Blue (RLM 76), or it is Light Blue (RLM 76) spaghetti over
a base coat of Gray-Violet (RLM 75). For this model, I chose to
do RLM 75 spots over a RLM 76 base coat. The
Ju 88 camouflage is the real reason I built the model. I found I
was looking for a challenge, and the tight spot pattern was
exactly that. Depending on the source you believe in, either the
camouflage is Gray-Violet (RLM 75) spots over a base coat of
Light Blue (RLM 76), or it is Light Blue (RLM 76) spaghetti over
a base coat of Gray-Violet (RLM 75). For this model, I chose to
do RLM 75 spots over a RLM 76 base coat.
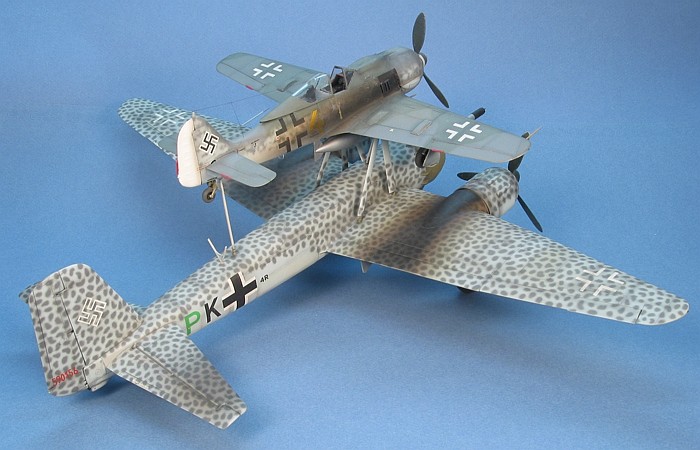
I custom mixed Testors Model Master enamel paints for
the three camouflage colors. The spots are totally free hand air
brushed (no masks were used). I actually applied the spot
pattern twice. The first time I started at the nose (behind the
warhead) and worked my way back the fuselage and out the wings.
When I finished, I found that as I grew tired, the spots grew in
size. This made the whole pattern look uneven with tiny spots on
the forward fuselage that grew as they reached the tail with
bigger and bigger spots going out each wing - YUK! I also
noticed that after an overnight dry, my custom mixed RLM 76 was
way too brown.
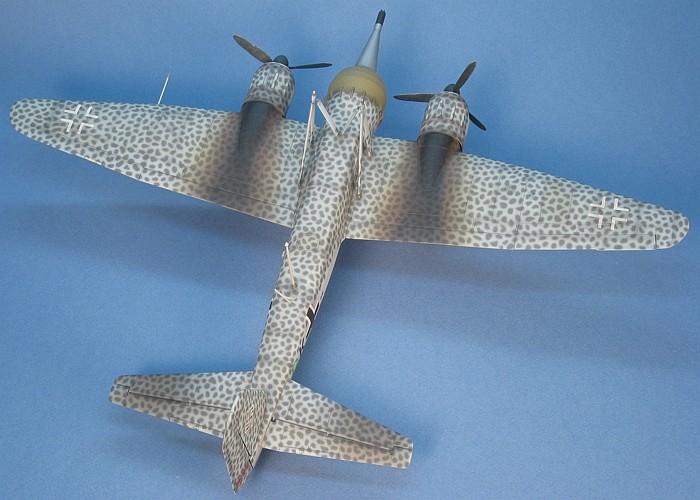
So, I remixed a better shade of RLM 76 and re-applied the
base coat to the model. To try to keep the spots a more uniform
size, I applied the spots as separate groups to the forward
fuselage, tail, engine nacelles, and wing tips. With all these
done while I was still fresh and rested, they were fairly
uniform. Then I filled in the areas between these spot
groupings, using the groups themselves to help regulate the spot
size as I applied more spots. The finished product is what you
see in the images.
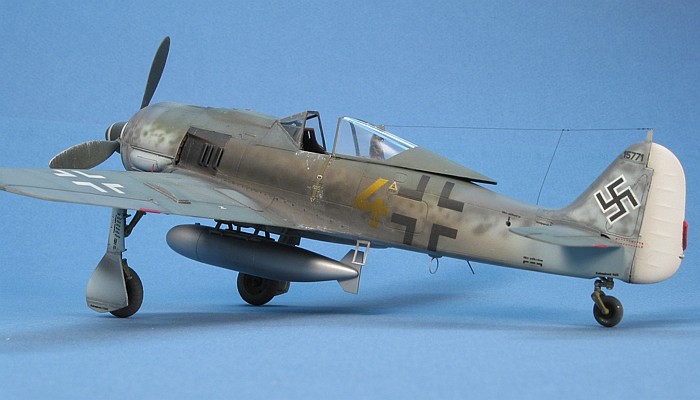
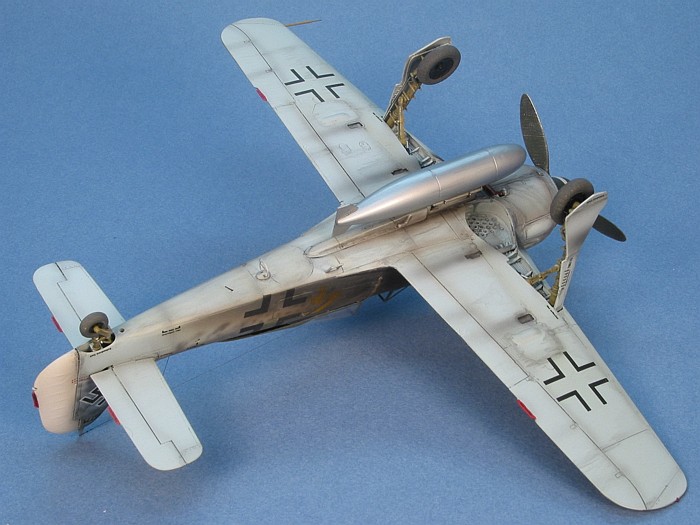
The Fw 190 is finished in the "standard" Gray-Green (RLM 74),
Gray-Violet (RLM 75), and Light Blue (RLM 76) with Gray-Green
and Gray-Violet mottling on the sides and tail.
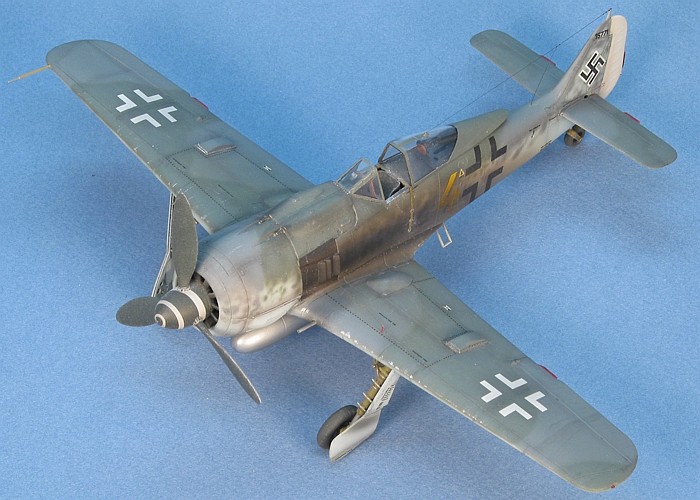
The decals are from the DML kit with some scraps used
to add the numbers on the Fw 190 fuselage sides.
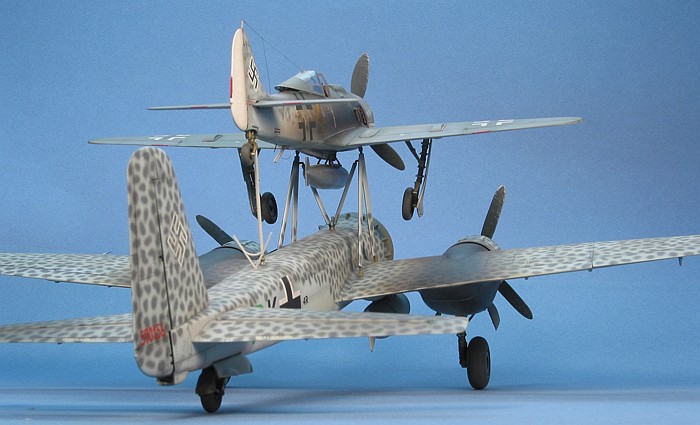
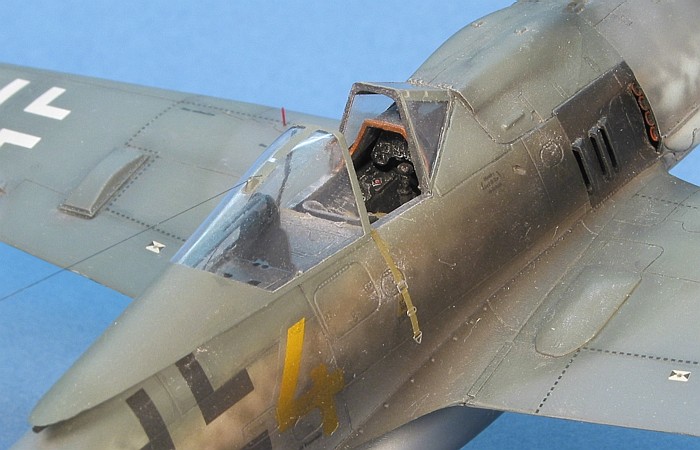
For weathering, I used my typical style of thinned down
enamel paint washes and air brush shading. I finished the
weathering with some dry brushing to pop out the surface
details. For a more complete discussion of what I do to weather
my models, see my posting on
"Weathering Aircraft".
This is a great model of a very interesting subject. I am
glad that DML has re-released it for everyone to pick up
and build. I have even considered pickign up the kit to build
again, sometime. Despite lots of people being interested in this
aircraft, for some reason I have not seen all that many built
up.
|
 Home
| What's New |
Features |
Gallery |
Reviews |
Reference |
Forum |
Search
Home
| What's New |
Features |
Gallery |
Reviews |
Reference |
Forum |
Search