|
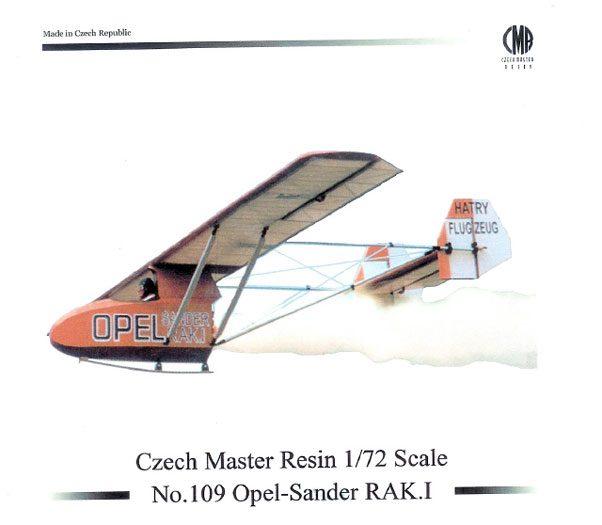
Czech Master Resin's 1/72
scale
Opel-Sander RAK.1
by
Mark Davies
|
 |
|
Opel-Sander RAK.1 |

HyperScale is proudly supported by Squadron.com
The Opel-Sander RAK.1 was designed by an engineer named Hatry, and first
flown at Frankfurt-Rebstock on September 30th, 1929. It was a rocket
powered glider, and one of a series of experiments in rocket-powered
propulsion by car-magnate Fritz von Opel that involved cars as well as
aircraft.
It used 16 solid-fuel rockets made by Alexander Sander, a pyrotechnic
manufacturer from Wessermünde. The rockets had a combined thrust of 900
lbs, but were intended to be fired in relays of two as the plane
accelerated along a raised track. Problems with igniting the rockets
electrically were never entirely solved, and five were found to have
remained unfired after the first flight. The RAK.1 flew for about 1,424
metres and attained a speed of 153 kmh. An attempt with more powerful
rockets was abandoned after a heavy landing which badly damaged the
airframe. The aircraft is now preserved in the Deutsches Museum.
I have been aware of the RAK.1 for the past 36 years after my father
bought a small Hamlyn paperback book on rockets and missiles when I was
ten. The book featured artwork of the RAK.1 blasting skywards. I still
have the book, and the picture has always been in my memory, so I was
very pleased when I found I could buy a kit of the RAK.1.
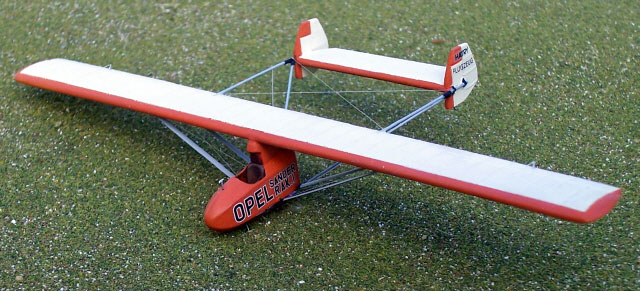
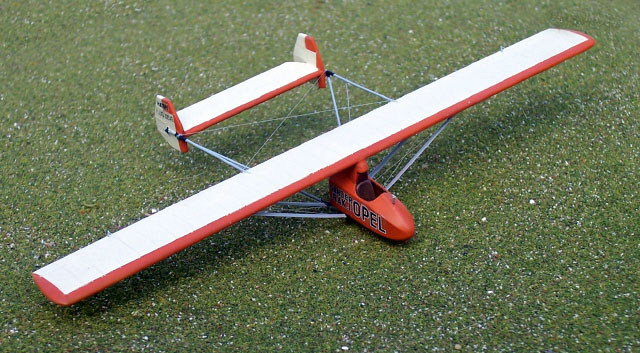
The Czech Master Resin (CMR) kit is very simple. It provides nicely
moulded fuselage pod halves, cockpit interior detail, main &
tail-planes, tail-fins, skid, the various wing struts and tail booms,
plus decal options for two colour schemes.
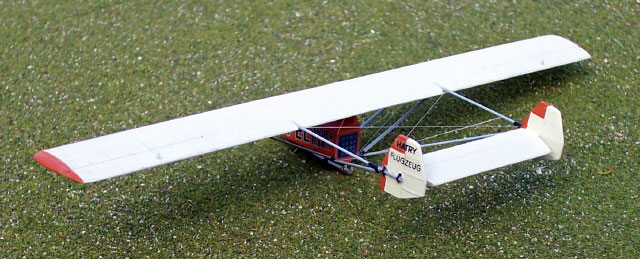
I found everything very straight-forward. It almost goes without
saying that CMR provides the resin tail booms as patterns rather parts
to be used, as they could not possibly support the tail. I made my tail
booms out of thick wire rolled on glass with a steel ruler to straighten
it. I stretched heated plastic tube over the wire to simulate the
strengthening collars where the booms join, and used thick foil to
provide the boom attachment points at the tail-fins. I also stretched
some Plastrut streamlined strut section to make the wing struts.
Completing this model was made difficult because my left arm was in a
splint and my hand bones wired, after two of three surgeries to
reconstruct my wrist. Suffice to say that I dropped and broke the tail
off at least 12 times during the build and the main-plane at least
twice. Surprisingly I did not struggle too much with the stretched-sprue
rigging, aileron actuators and other small details.
I painted my model an orangey-red to match CMR’s artwork, despite the
instructions describing the colour as red (the other option was for blue
trim).
This is the second CMR glider kit I have built and, if I ignore the
handicap my injury caused me, I would have to say that this kit was
almost as simple as resin kits come, and a good option for someone with
one or two other resin kits already completed. I plan to make more CMR
glider kits as they add some real variety to the model cabinet, and they
are nice and simple builds. I thoroughly recommend the RAK kit to anyone
who wants to add something unusual to their collection.
Model, Text and Images Copyright ©
2006 by Mark Davies
Page Created 25 August, 2006
Last Updated 21 February, 2007
Back to HyperScale
Main Page
|
 Home
| What's New |
Features |
Gallery |
Reviews |
Reference |
Forum |
Search
Home
| What's New |
Features |
Gallery |
Reviews |
Reference |
Forum |
Search