|
P-47D "Bubbletop"
by
Brian Criner
|
 |
|
Republic P-47D
Thunderbolt "Bubbletop" |

Tamiya's
1/48 scale P-47D Bubbletop is available online from Squadron
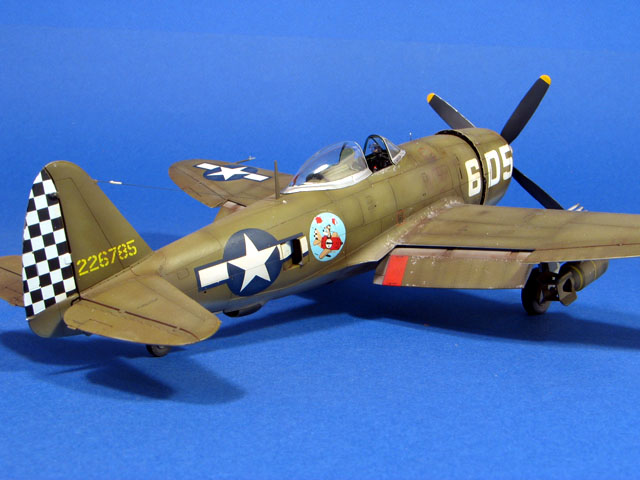
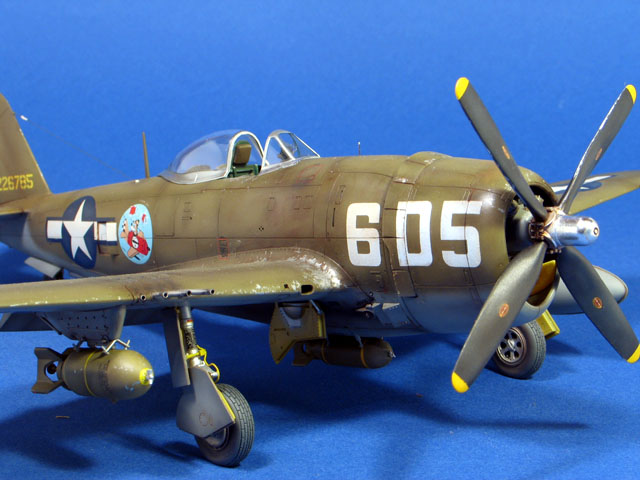
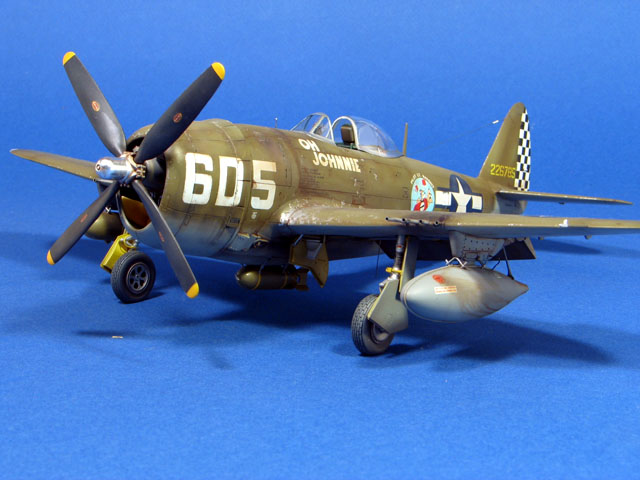
This is my build up of Tamiya's 1/48 scale P-47D Bubbletop representing
Lt. Raymond Knight of the 350 FG. Knight was awarded a posthumous Medal of
Honor for his determined attacks on an enemy airfield in Northern Italy
just before the wars end.
I saw the Superscale sheet (#48-793) at a local hobby store, and
decided it was time for another Jug build.
This is the third Tamiya Jug I have completed and the fourth
Thunderbolt in the past 3 years. I guess I'm stuck in a rut. Build up
comments on the Tamiya kit are unnecessary, as this information has been
extensively covered in other articles.
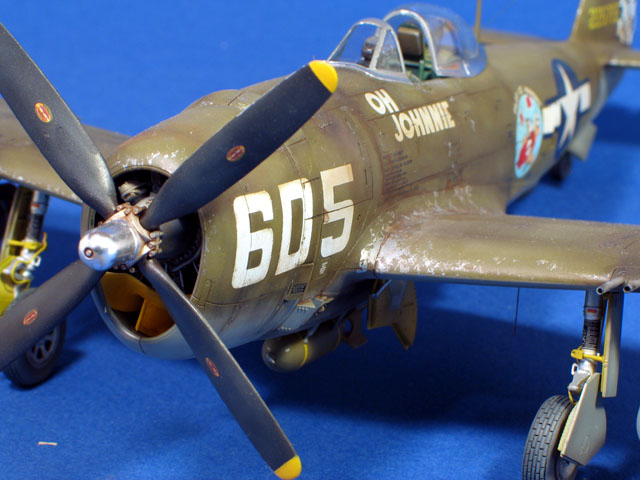
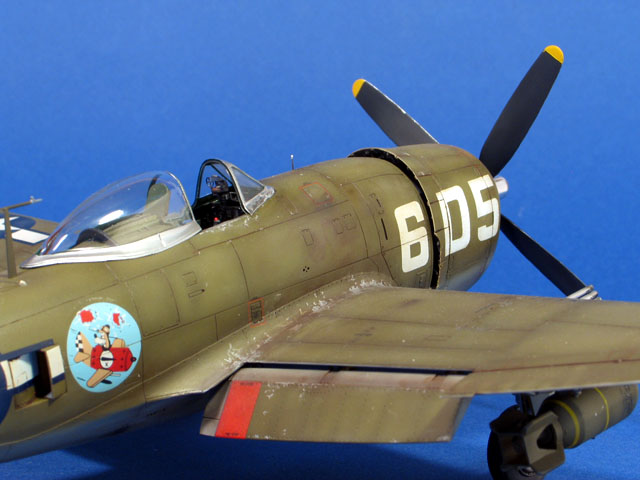
For me, this project was about making an OD paint job look, well,
different.
There has been much discussion recently about the pros and cons of
pre-shading. My goal when preshading is not to actually "shade" the panel
line, but to create an effect that fools the eye. I guess my objective is
for the shading to be noticed but not seen.
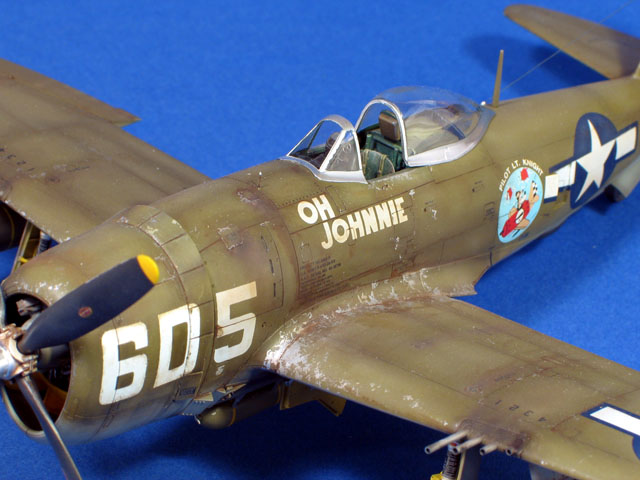
I pre-shaded the entire model with Model Master Burnt Umber that had
been darkened with a couple drops of black. After covering the model with
basecoats of Olive Drab and Neutral gray, I added a drop each of flat
white and sand to the paint cup. I lightened the center of each panel, the
goal being to disrupt the monochromatic finish.
Next I filled a paint cup with Testor's clear flat, then added about
four drops of Olive Drab and heavily thinned the mix. I used this
combination to bring back some of the center panel color.
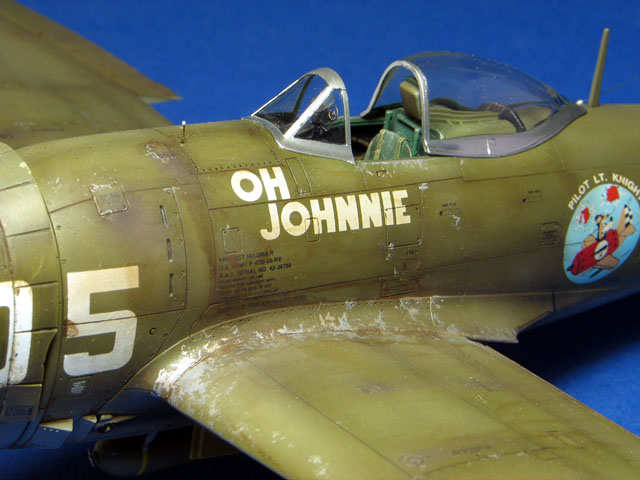
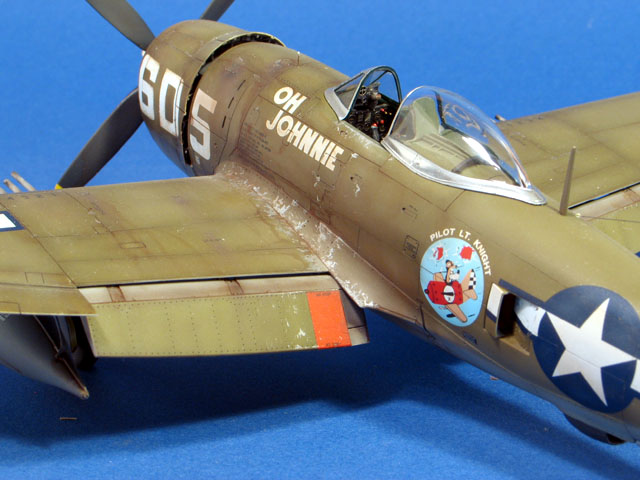
Weathering involved a wash of artist oils Burnt Umber thinned with
turpenoid. The wash was applied over a flat surface allowing some of the
pigment to "bite" into the paint. I wiped out the excess pigment with a
Q-tip, then applied some ground up earth toned pastels (the yellow ochre
and sand colors) to the wing walk areas with a chisel tip brush. This was
followed by another wash, and then more pastels. The goal was to create
stains that appear aged.
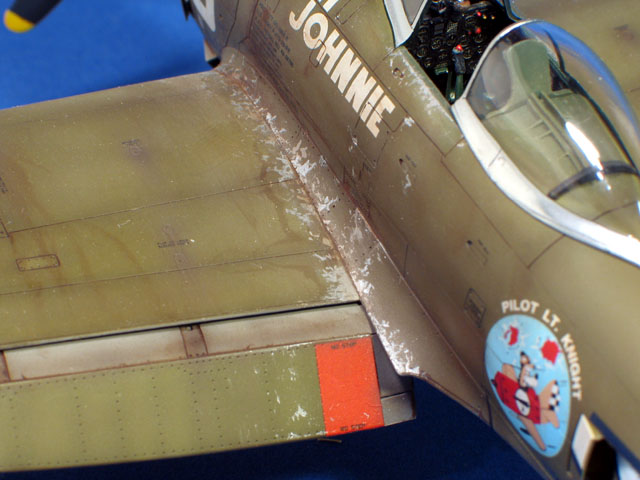
Scuffing and chip marks were made by a combination of "painting"
Testor's silver with a fine gage steel wire, and stippling with a Berol
silver pencil. This was my first effort using the silver pencil, and I was
impressed with the result (Brett's 109 video on Testor's ScaleWorkshop
convinced me to give it a try).
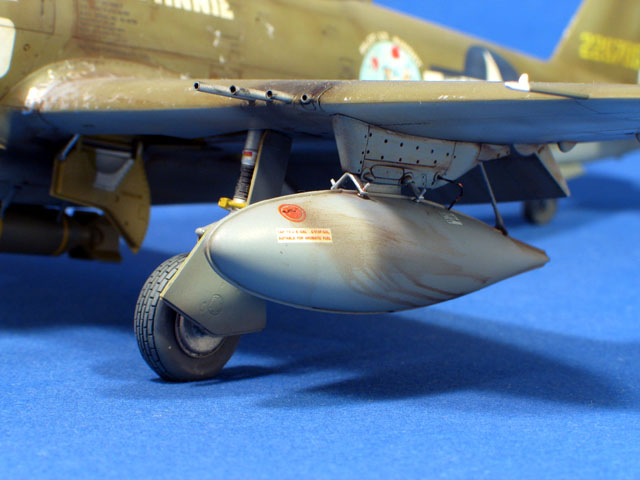
The asymmetric bomb load is based on a photo I noticed in the "In
Action" book of a some Okinawa based T-Bolts. I confess I not seen any
photos of 350 FG Jugs in this load out (they certainly were capable of
carrying this kind of a load), although I have not seen any evidence that
this combination was not used. So I claim artist license on this one.
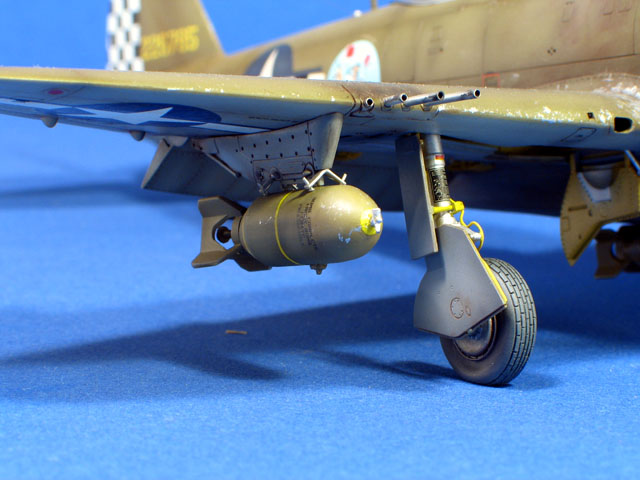
The 1000 bomb is from the Accurate Miniatures B-25 kit, and the
anti-sway brace on the drop tank was made from syringe tube and scrape
from the spare parts box.
I suppose I should start working on something other than Thunderbolts.
Maybe a Mustang or two...or three.
Click on the thumbnails
below to view larger images:
Modelling the P-47
Thunderbolt
Osprey Modelling 11 |
|
|
|
|
Author: Brett Green
US Price: $17.95
UK Price: £12.99
Publisher:
Osprey Publishing
Publish Date:
July 25, 2004
Details: 80 pages; ISBN: 1841767956 |
|
|
Model, Images and Text Copyright © 2004
by Brian Criner
Page Created 26 March, 2004
Last Updated
03 October, 2004
Back to
HyperScale Main Page |
 Home
| What's New |
Features |
Gallery |
Reviews |
Reference |
Forum |
Search
Home
| What's New |
Features |
Gallery |
Reviews |
Reference |
Forum |
Search