|
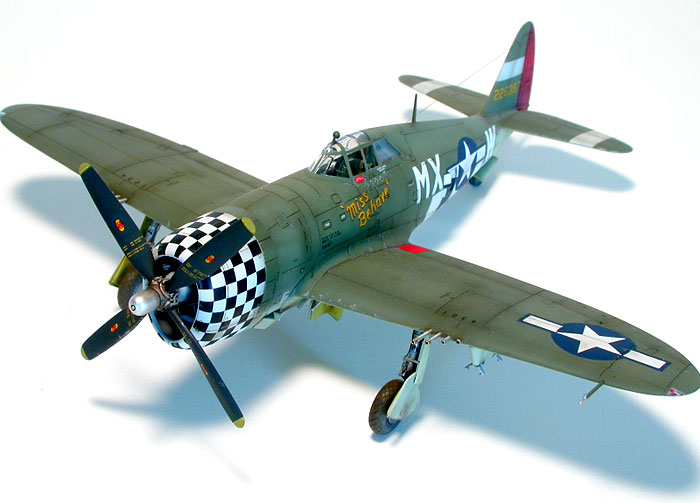
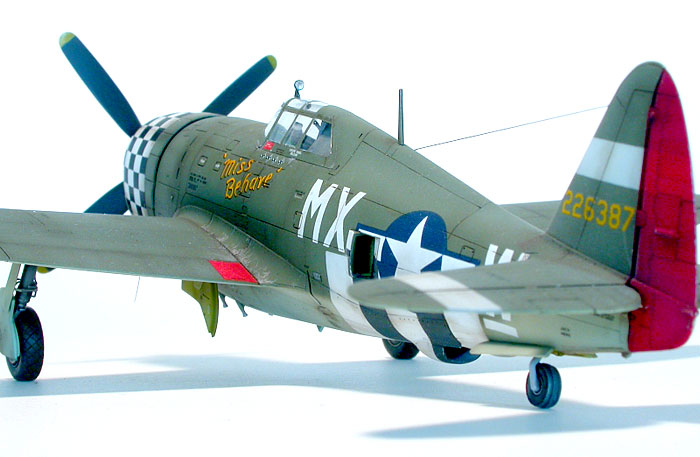
Tamiya's 1/72 scale Razorback
P-47D Thunderbolt
by Roger Fabrocini
|
 |
|
Republic P-47D
Thunderbolt "Razorback" |

Tamiya's 1/72 scale P-47D Razorback
is available online from
Squadron
The issue of scale is occasionally discussed on HyperScale’s forum.
We all have our reasons for working in our preferred scale. Though I
build almost anything (I’m a plastic modeler and a well molded piece of
plastic is reason enough for me to apply glue and paint to it) I do
prefer working in 1/72 scale, but for reasons that seem contrary to the
limitations of it’s inherent small size. I actually find it easier
to detail subjects in 1/72 scale, then in the larger scales,
because details can be merely suggested rather then faithfully
represented. It makes what Shep Paine called ‘creative gismology’
much simpler. Fine wire and small blocks of plastic stock can make a
wheel well look ’busy’, and a fret of photo-etched parts is all that is
need to address the scale thickness issue of some parts.

Now if only Kevin McLaughlin from Ultracast would only suddenly
become enamored by 1/72 scale, I could die a happy man.
Two firsts for me on this build. No resin dust was created and I used
99% of an Eduard photo-etched set. Some construction notes:
As mentioned by others, the kit supplied cockpit is well detailed. I
added all supplied parts from Eduard set #73-222. The colored belts and
placards are especially well done. I used Vallejo acrylics, employing
methods used for figure painting.
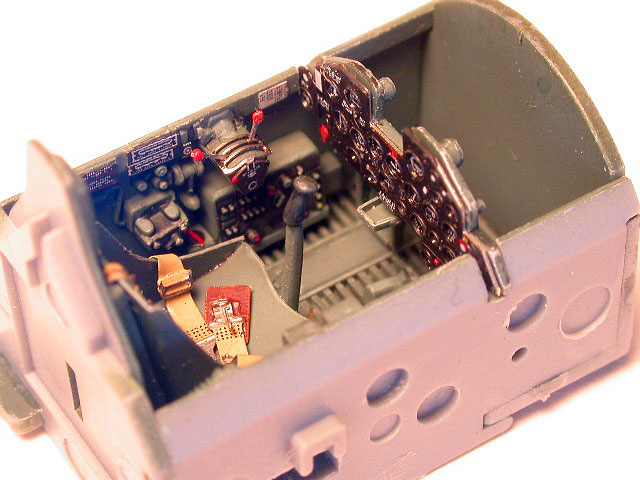
Three compatible colours are used. In this case Deep green as a base
colour, Bronze green for recesses and Green sky for highlights. Very
thin layers of the light and dark colours are applied over the base
colour to achieve the desired effect of depth.
A more detailed explanation of this technique is offered on the
Vallejo website
http://www.acrylicosvallejo.com/
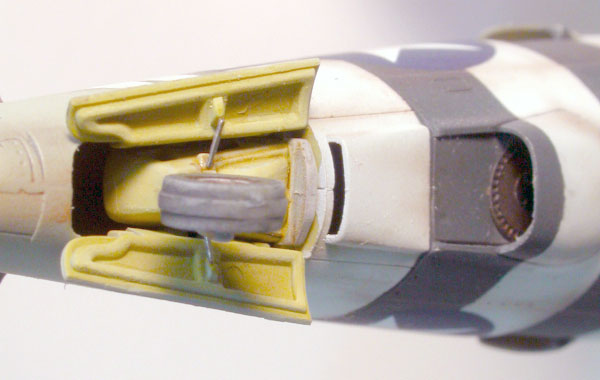
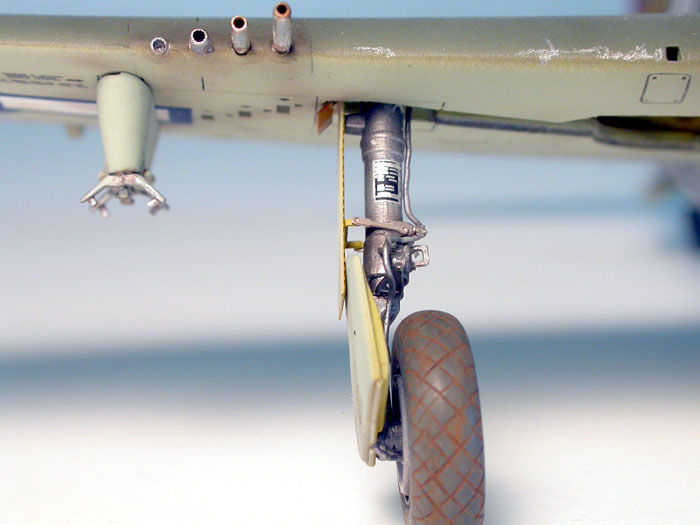
Wheel wells are rebuilt using the Eduard set and fine wire and
painted using the same method as for the cockpit The afore mentioned
Eduard set address two deficiencies in the Tamiya kit. The first is the
incorrectly molded oil cooler exhaust shutters. Eduard replaces them
completely.
The second area is the open intercooler exhaust. Eduard’s assembled
structure effectively blocks this area in.
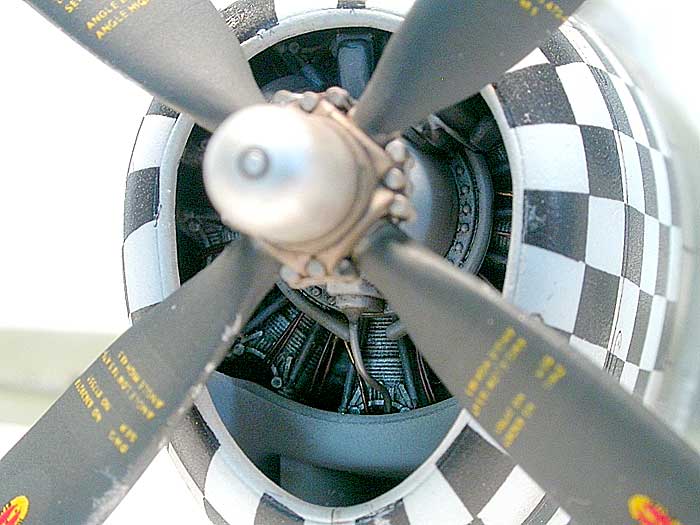
The kit R-2800 was used. After priming with Mr. Surfacer 1200 all
painting was done again with Vallejo acrylics save for a dry brushing of
the cylinders with Mr. Color #218 Aluminum and a wash of raw umber and
black artist oils.
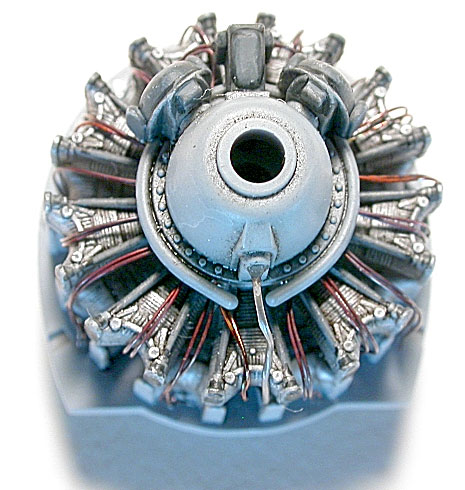
Fine copper wire was used to simulate the ignition leads. Annealing
the wire over a stove burner darkened and weathered the wire so that
paint was unnecessary.
The Hamilton Standard Prop is from Tamiya’s P-47D Bubbletop kit.
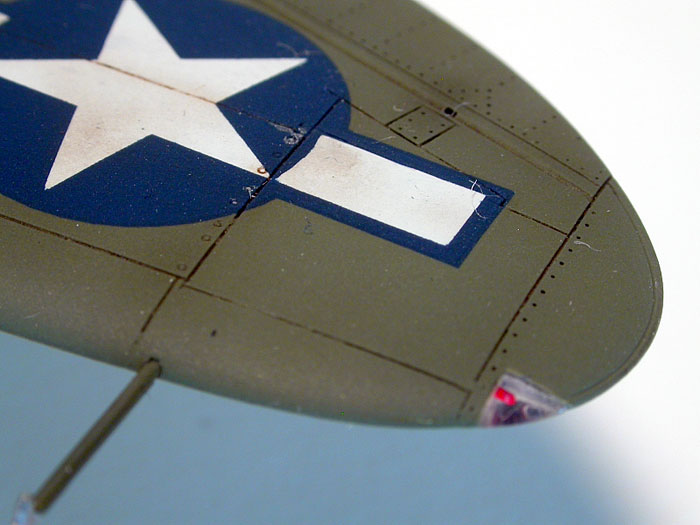
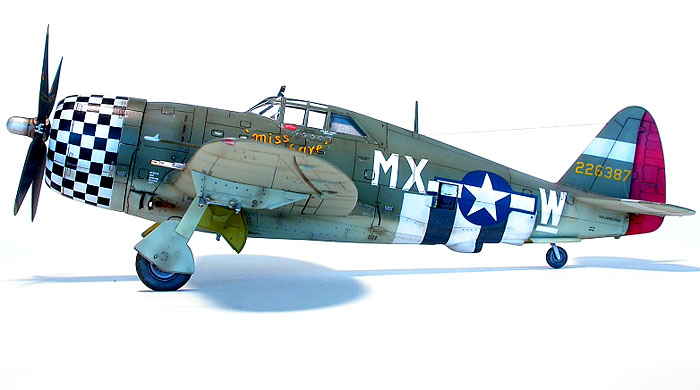
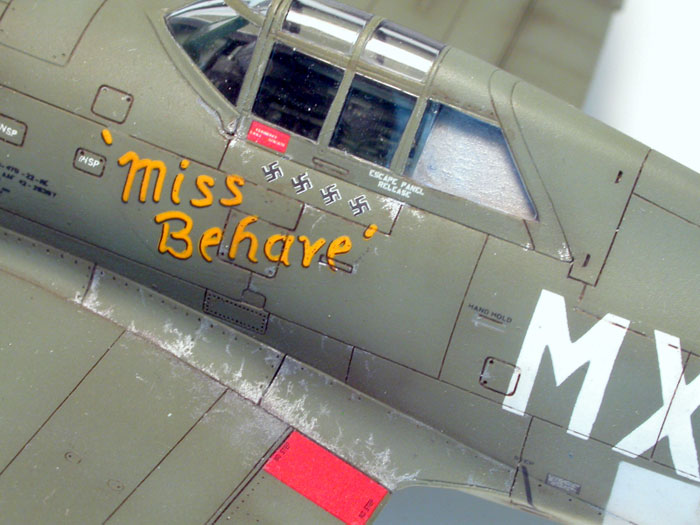
I chose “Miss Behave”, a P-47D-23-re from 82nd FS, 78th FG. The 78th
painted their natural metal P-47s with British Dark Green and Sky. A nod
to Tony Bell’s masterful
build of Tamiya’s 1/48 scale Razorback for the inspiration.
Markings are from Aeromaster sheet #72-152.
The painting/finishing sequence is as follows: ( painting was done
with a Iwata HP-bh airbrush with .2mm fluid nozzle
-
prime airframe using Mr. surfacer
1200 and Mr. color ‘leveling thinner’ 50/50
-
pre-shade lower surfaces and around
control surfaces
-
lower surfaces sprayed using Mr.
Color sky as a base, followed by very thin layers of lightened base
color, Gunze Sky, Xtraacrylics sky and Mr. color USN Lt. Gull Gray.
This is done to break the monotony of a single color with variations
in hue and tone.
-
upper surfaces sprayed free hand with
Mr. Color British Dark Green as a base, followed by lightened base
color and Xtracrylics XA1001 RAF Dark Green.
-
Clearcoat of Mr. Hobby Superclear
gloss (lacquer based and indestructible to protect the paint job) 6;
white for invasion stripes, cowling, and ID bands, followed by black
for the D-Day stripes and red for the rudder, allowing some of the
white ID band to show through.
-
another coat of superclear gloss
-
wash of raw umber/black artist oils
for the upper surfaces, gray for the lowers.
-
decals (extra data sourced from
superscale sheet #72-830 and kit decals)
-
another gloss clearcoat then touch up
of washes over the decals
-
all small details are added. This is
done so that in the case of an unforeseen mishap, all touch ups will
be blended in by the final flat cote and post shading
-
“Wauchop” stylr post shading with a
very thin mix of Tamiya Red brown and black acrylic paint.
-
Final Flat cote of Humbrol Matt-cote
enamel.
These are techniques and a sequence to apply them that I have
developed over time. They evolve and are refined as i study pictures of
real aircraft and the work of other modelers, mostly from this very
website.
For that I thank you all.
I am slowly working my way through the Tamiya War Bird Collection of
1/72 scale aircraft. Their subjects may not be as esoteric as some would
like, but the engineering and detail make them attractive modeling
subjects.
Click the
thumbnails below to view larger images:
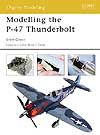
Modelling the P-47
Thunderbolt
Osprey Modelling 11 |
|
|
|
|
Author: Brett Green
US Price: $17.95
UK Price: £12.99
Publisher:
Osprey Publishing
Publish Date:
July 25, 2004
Details: 80 pages; ISBN: 1841767956 |
|
|
Model, Images and Text Copyright © 2005
by Roger Fabrocini
Page Created 11 April, 2005
Last Updated
11 April, 2005
Back to
HyperScale Main Page |
 Home
| What's New |
Features |
Gallery |
Reviews |
Reference |
Forum |
Search
Home
| What's New |
Features |
Gallery |
Reviews |
Reference |
Forum |
Search