|
Mach 2's 1/72 scale
SO9000 Trident
by Bill ‘C2C’ Dye*
|
.jpg) |
|
SO9000 Trident |

HyperScale is proudly supported by Squadron
Did I mention that I like to model strange aircraft? Go figure. This
one is certainly no exception. I saw this kit in the Squadron catalog
for a couple of bucks and the HTHI (Had To Have It) set in. But wait.
It’s a Mach 2 kit! How bad could it be? What could go wrong? Besides,
there might be a chance for ‘CRAP Toooo CAKE’ to occur. Then again,
maybe not. So, I dove in – so to speak.
.jpg)
Oh, yea, the history . . .well it’s a French experimental
turbojet/rocket hybrid airplane with the turbojets on the wingtips and
bi-propellant rocket motors in the tail. It did fly! A blurb I grabbed
off of the internet said that, ‘the Trident first flew in 1953 which
marked the launch of one of France’s most ambitious programs in the
Fifties. The program began in 1949 (good year for me!) as a project to
develop an interceptor capable of supersonic flight. But, it had to
reach high altitudes quickly, hence, the rocket motors (furaline and
nitric acid propellants). The low aspect ration wings were novel as well
as a feature where the entire cockpit separated from the airplane in the
event of an emergency’.
The aircraft went over Mach 1.5; flew 93 times over 3 years.
There were a number of rocket engine combinations and some
configuration changes. Now is displayed in Paris – Le Bourget (LGB/LFPB).
.jpg)
I really like this airplane and I think the French made some, ah,
unusual airplanes that beg to be modeled; but, hey, that’s me. Ya gotta
admit, these guys were gutsy for 1949 to build and successfully test fly
this Buck-Rogers looking machine. Tres bon!
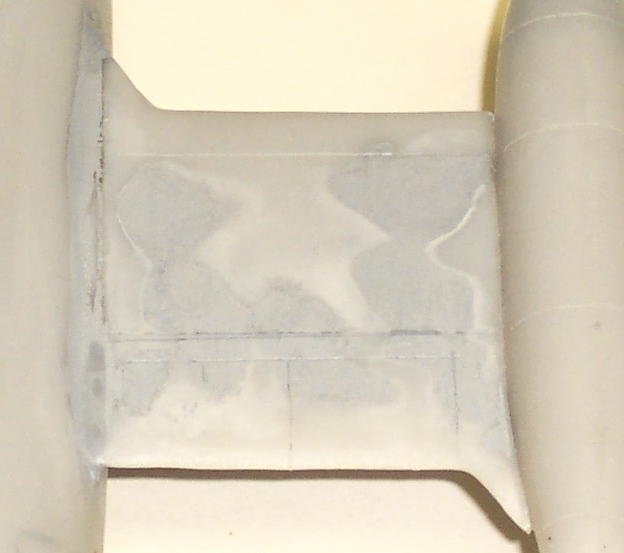
All gray plastic with a not so clear canopy that’s thicker on one
side than the other . .but at these thicknesses . . who cares. I debated
vacuforming another canopy but, frankly, was too lazy to set it all up
and spend the evening and 6 tries to get one that was right. So, instead
I sketched the canopy framing on a piece of paper on my tool bench used
for wiping off paint for dry brushing and for recording very important
things like frame patterns. I sanded off the raised framing so the
outside was smooth. I set it aside. Polishing would be another day. I
couldn’t stand the thought of it not polishing out well and then I’d be
forced into vacuforming another one. So, I decided to put off that
‘surprise’.
The Fuselage
I installed the kit cockpit built for a midget with no legs (panel
too big, seat too big) and decided that viewed through a scale one foot
of plastic all you would see would be the seat head rest and seat belts
(I was right).
I put weight in the nose, installed the provided wheel wells, that
weren’t bad actually, and glued the fuselage halves together.
Wings
On the sprue tree were some small rectangular wing thingies with
excavations over a good portion of the wing area (about one or two
square inches). It looked like the surface of the wings were eaten by
plastic eating snails. They looked kind-a the same way my tomatoes
looked. Not destroyed but marred. Enter Mr. Surfacer but even after that
the disfigurement remained. Tamiya putty. Better.
Now, trying to insert the wing into the fuselage shoulder was . . .
.challenging. One must decide what is to be aligned with what. Let me
put it this way – nothing lined up. I used the wing/fuselage joint
shoulders to be the reference. So, the cockpit had to be sanded to roll
the canopy over a couple of degrees and the nose gear opening had to be
opened more on the left side to allow the canopy and the landing gear
well to be in alignment with the wing shoulders . . Whew! In short it
was way outta whack! But it came out OK.
The fins. Great luck, no plastic eating snail blemishes on one side of
one fin! There are three. I applied more Tamiya putty to the other 5
sides. Sanding, fitting, repeat, repeat, repeat – you know the drill.
There, the fins were close to smooth and the tabs went into the fuselage
slots. But wait, one slot was in the wrong place .. one was rolled too
far to the left. I sliced the lower side of the slot with a knife to
effectively lower the slot. Done.
Turbojets
Good news! They were round! Well, sorta. The openings weren’t round
but with a round file all was well with the world. Then, did the wing
tip tabs fit into the slots in the turbojets -- of course not! - it’s a
Mach 2 kit. More sanding filing, fitting, repeat, etc. Noooow
they fit.
Assembly
Glue it all together. First glue the wings onto the fuselage. Next,
turbojets to wing tips, then the vertical of the three tails. Now the
other two, remember to position the third tail to the low side of the
new slot we made.
.jpg)
Hey, it looks like the unusual airplane I wanted to build! Flood
fillets with super glue.
Canopy
I sanded the canopy with wet 600, 1000, 1500, 2000, then Blue Magic
polish, then dunked it into Future Floor Wax and let it dry on a paper
towel. While it was drying, I added some details in the cockpit that
will never be seen. Then I glued the canopy on with watch crystal cement
(Micro Mark, great stuff, dries clear) and then sealed it with super
glue. Hey, look, you can only see the headrest!
After the super glue dried I filed it at the joint and repeated the
sanding and polishing of the canopy and coated it with Future again.
I put a piece of brass rod in a Dremel and spun a brass pitot probe
(wear safety goggles). I inserted it on the nose end and puckied it with
Tamia Putty. From this point on caution was taken not to drop said
weighted model with the needle pointy spun brass pitot tube into one’s
thigh. This tends to ruin a modeler’s day!
Next, I spent hours sanding the fuselage to get it all uniform and
smooth and to sand out the wing/fuselage joints. But wait. The wing
trailing edges aren’t right. It looks like a parallelogram! 0.005
plastic strip glued to underside of the wing. Flood with Gap-filling
super glue. File, file, sand, sand. New trailing edge.
The wheel wells looked pretty bare so I added some plastic strip
thingies to busy it up.
Finishing. I hosed on some Alclad gray primer (nice stuff btw). Found
lots of problems (horrid panel lines, sanding scratches, plastic snail
trails on wings (still). Sanded, puckied, sanded, puckied, reprimered.
Repeat. Repeat. Tired, watch TV.
I finally got a good primer base. I sanded with 1,000 paper then sprayed
on some Rustoleum (Yes, Rustoleum) Clear Lacquer. WOW! Talk about a
gloss finish!
.jpg)
Click on the thumbnails
below to view larger images:
I then hosed on some Polished Aluminum Alclad. Did I mention this was
my test model for Alclad? (And yes, I know it’s supposed to be a black
undercoat, but I didn’t want this to be dark.) I masked a few panels and
sprayed on regular Aluminum Alclad, then the scale black anti-glare
panel. Alclad is GREAT STUFF!!!!!
Gears, doors, install rocket exhausts (aluminum tubes painted with
sapphire Rub&Buff), decals (mine were not usable, so a friend scanned
them and redid them on his laser printer. Very nice!) .
The Mach 2 kits are very basic. If you can stand the repair work and
alignment issues you will end up with a half way decent model. I like
mine. In hind sight, I should have taken the time to put on a vacuformed
canopy but it still looks OK. While this is definitely Crap2Cake, I
thank Mach 2 for providing the basic shapes.
DONE!!!
*C2C: Crap To Cake, a la Roy Sutherland at a Fremont
Hornets meeting several years ago: “Leave it to Bill to turn crap [bad
kit] to cake.” (Or words to that effect.)
Model, Images and Text by Copyright ©
2006 by Bill Dye
Page Created 03 March, 2006
Last Updated
21 February, 2007
Back to
HyperScale Main Page |
 Home
| What's New |
Features |
Gallery |
Reviews |
Reference |
Forum |
Search
Home
| What's New |
Features |
Gallery |
Reviews |
Reference |
Forum |
Search.jpg)
.jpg)
.jpg)
.jpg)
.jpg)