|
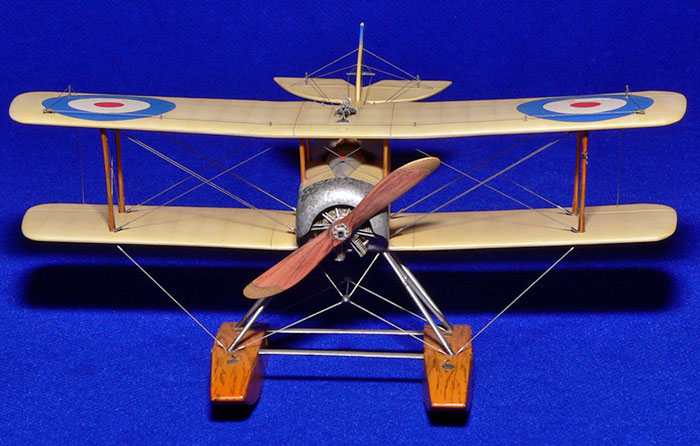
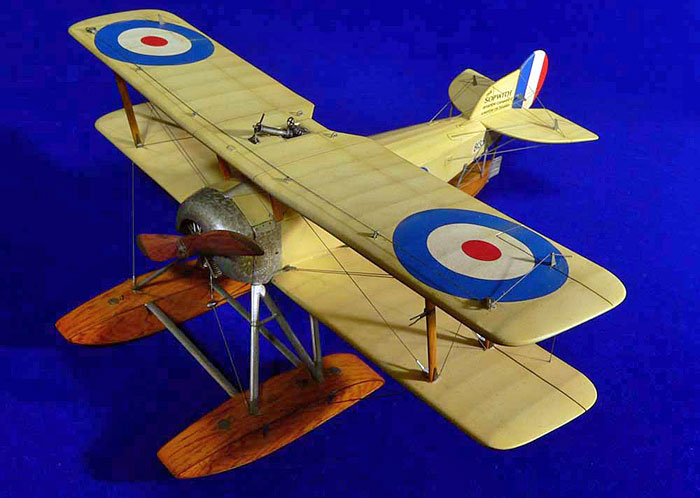
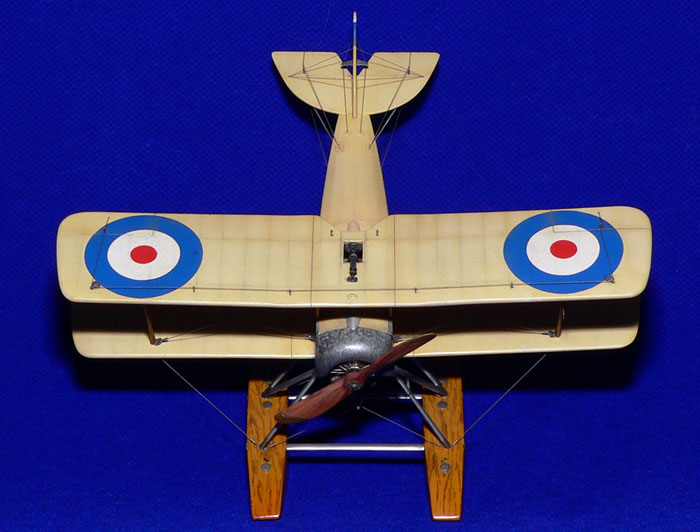
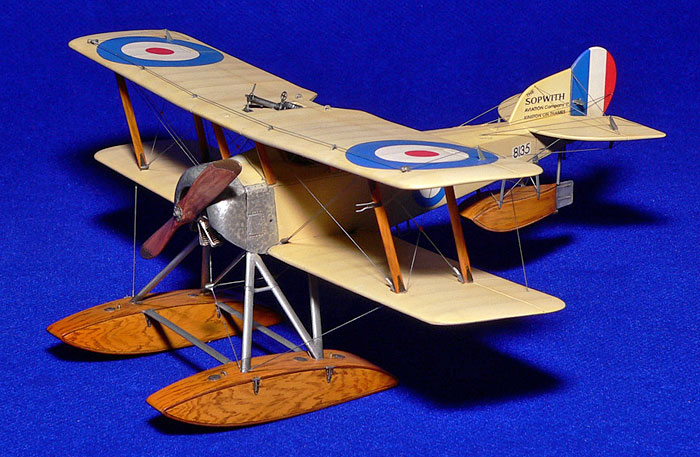
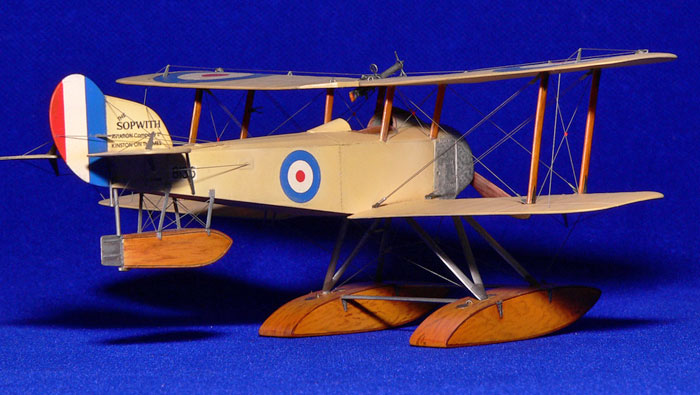
Eduard's 1/72 scale Sopwith Floatplane
Palestinian Baby
by Patrick Chung
|
 |
|
Sopwith Baby Floatplane |

HyperScale is proudly supported by Squadron.com
Back in the mid-1990s, Eduard entered the
WWI short-run aircraft kit market, and this Baby (item number 8006) is
such one of their early efforts.
In common with other Eduard kits of the era (see my
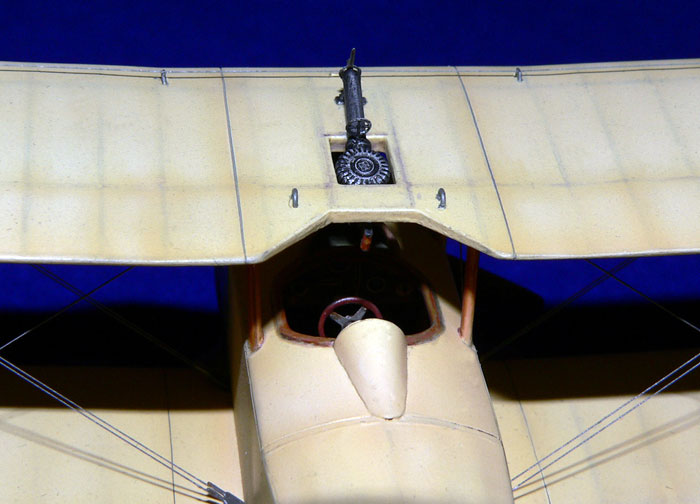
Siemens Shuckert elsewhere on HyperScale), all detail parts are
fabricated in a manner of a relatively large fret of PE, including the
complete interior plus all hinges, some panels, control horns, turn
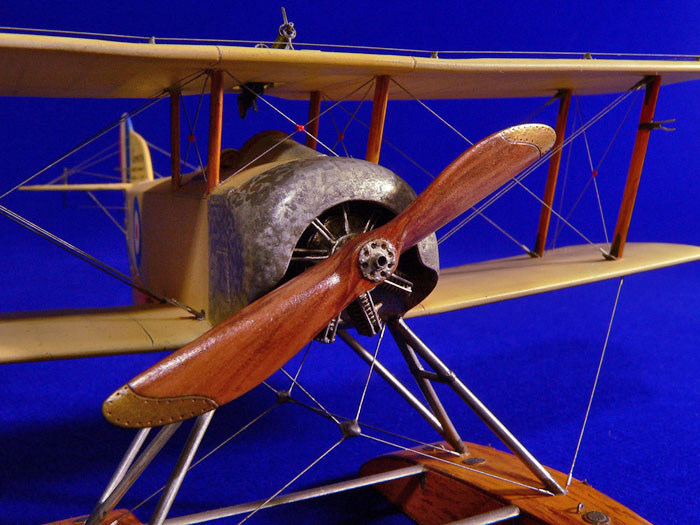
buckles and many, many more. The Clerget engine is a piece of die-cast
metal with less-than-perfect details molded onto it. Thanks to simple
profile and cross section of the real thing, the relatively rough and
thick short-run plastic parts do not have too much of a negative impact,
and luckily the wing trailing edge is of scale thickness.
I have owned this kit for more than 6 years and the basic construction
was stalled several times due to lack of enough perseverance.
Yet….building skill grows with your experience, don’t they? So when time
approaches the end of 2005, all the remaining parts in the box seemed to
suddenly jump onto my workbench and nothing seems too difficult anymore!
Construction of the cockpit is fully a
matter of PE bits. Dry fitting and extra care of handling is required to
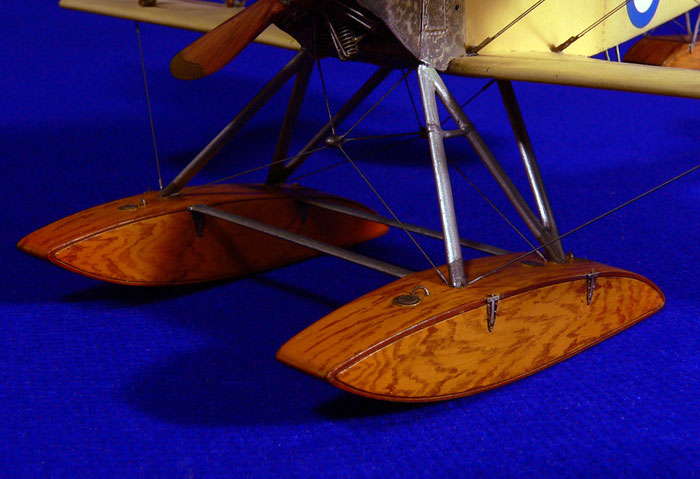
protect very delicate and fragile details. Wood grain of this area was
simulated using “wet-brushing” of oil colors and then covered with a
coat of clear orange.
When the fuselage halves were closed, the lower wing was attached and
carefully sanded flush with the bottom of fuselage, tail empennage then
glued in position. Tiny PE parts were superglued onto the fuselage
exterior, including control cable lead out covers, etc. For modelers
with experience of building WWI biplanes, we all know all lead-in/out
holes of flying wires and cables must be drilled out at this stage.
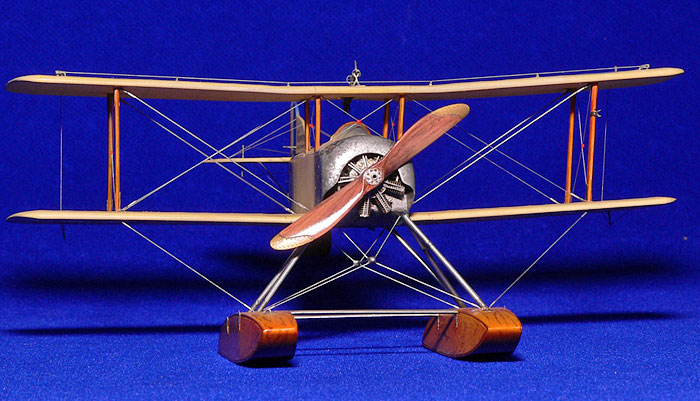
So far the construction was proceeding without serious problem. The main
floats were weighted and closed and painted….and then came the
nightmare: The N struts for the float attachment to the fuselage were
almost 10mm short judging from real aircraft photos, and proved totally
unusable. A pair of struts was fabricated using streamline cross
sectioned plastic rods and a coat of CA glue blended the joints in
smooth as well as beef up the structural strength.
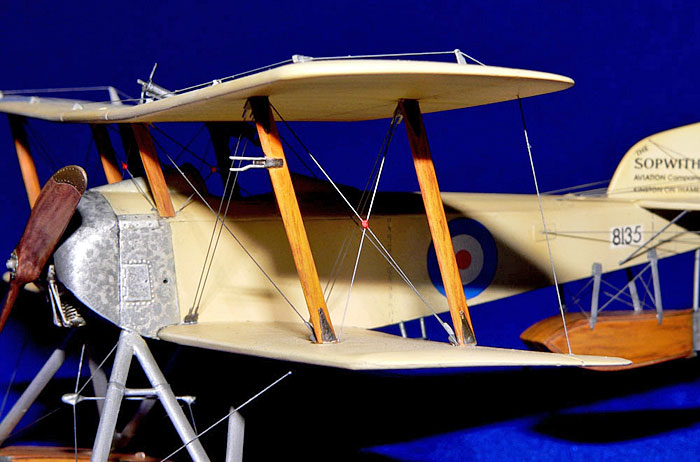
After the problem was solved, the rest
part of construction was rather smooth. Care must be taken to dry fit
those inter plane struts for proper stagger and height of the main
wings.
Painting,
Rigging and Markings
|
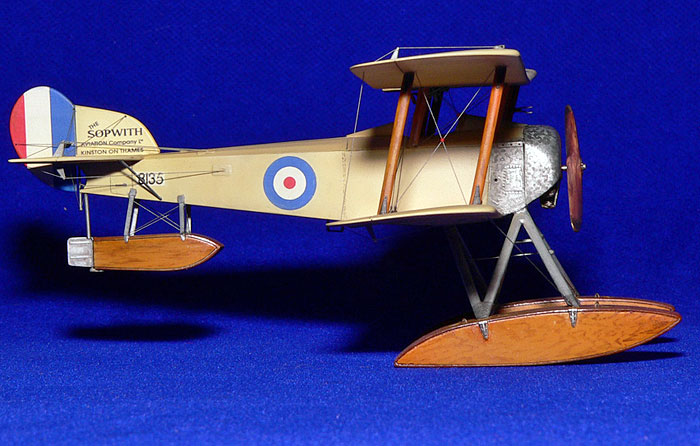
Painting
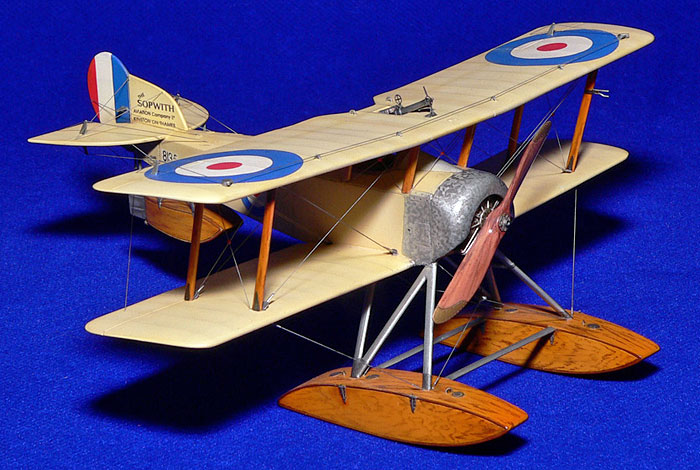
My attempt in painting to vividly
represent the translucent effect of entire CDL surfaces was to apply a
special technique of pre-shading prior to the plastic parts to receive
first coat of paint: Using a permanent oil marker with extra fine tip to
draw as precisely as possible all the ribs, spars and ply wood reinforce
panels onto each side of the wings and tail planes, so that when custom
mixed paints (with 50% of clear varnish added) were carefully sprayed
onto he surface, these shades can be subtly seen through.
Though a bit on the risky side, the
result turned out very pleasant.
Rigging
Wire bracing and cables were made by
monofilament fishing lines of various diameter and painted with metallic
gray lacquer paint.
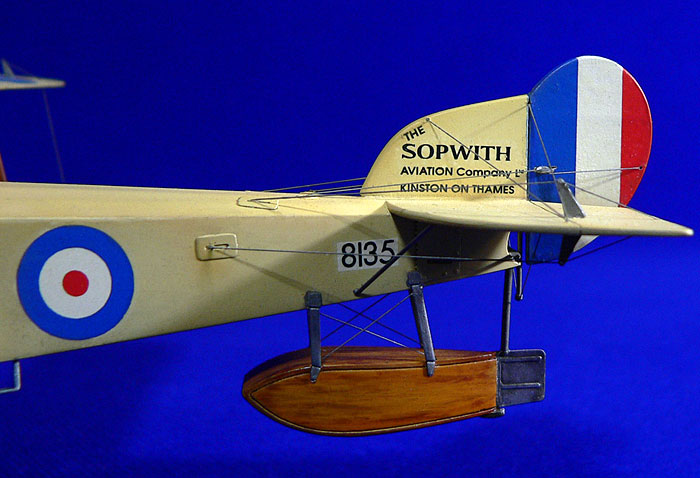
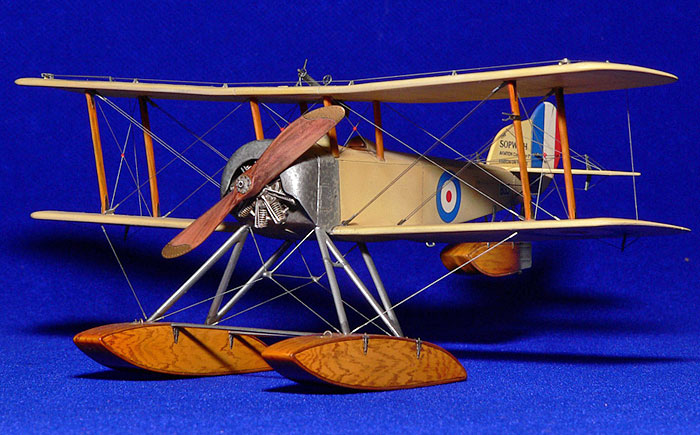
Markings
Eduard’s decal sheet has included
markings for 4 Babies: a Sopwith built Baby that had been deployed in
Palestinian front; a Blackburn built Baby of Naval flight, a Norwegian
Baby and a license built Baby by Ansaldo in Italian markings.
Printed by Propacteam, the decals are
brittle type but still quite workable with a little care.
Eduard's 1/48 scale Sopwith Baby is
another fine example of how an early short run WWI biplane can be built
into with extra effort. I really love these classic birds and definitely
will try more, and more, and more!
Click the
thumbnails below to view larger images:
Model, Images and Text Copyright © 2006
by Patrick Chung
Page Created 03 January, 2006
Last Updated
03 January, 2006
Back to
HyperScale Main Page |
 Home
| What's New |
Features |
Gallery |
Reviews |
Reference |
Forum |
Search
Home
| What's New |
Features |
Gallery |
Reviews |
Reference |
Forum |
Search