|
Accurate
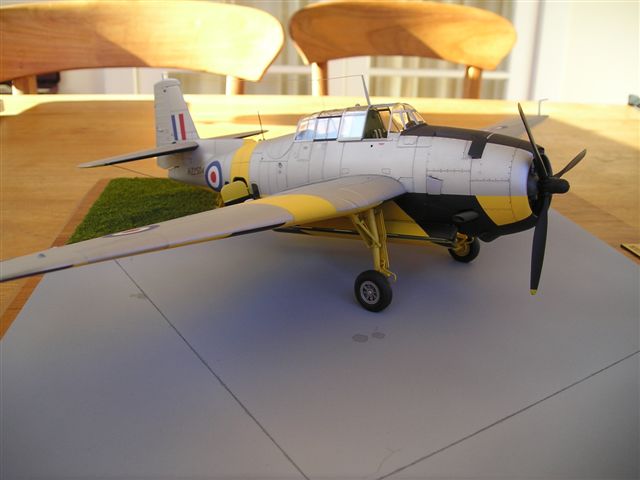
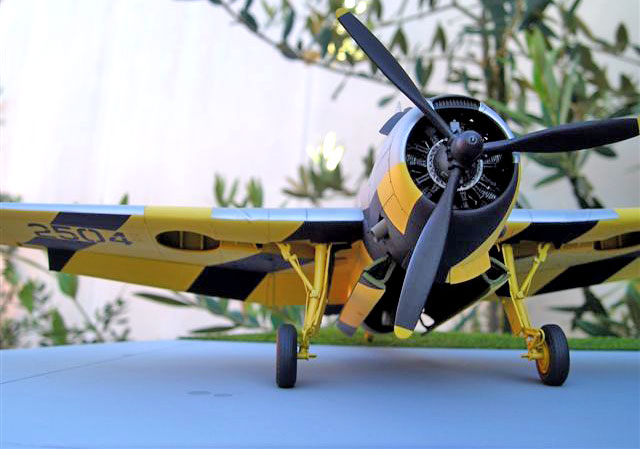
Miniatures' 1/48 TBF-1
Kiwi Avenger
by Anthony Galbraith
|
 |
|
Grumman TBF-1 Avenger NZ 2504 |

HyperScale is proudly supported by Squadron
The RNZAF was originally allocated 63 aircraft from the Grumman line but
only 48 were ever delivered. The first 6 (NZ2501-06) delivered in Sep 43
were TBF-1s with the remaining 42 being the later -1C's delivered
Oct-Feb 1944.
After seeing much action in the islands most returned and all but 12
were returned to the US Navy and the British fleet. Six were sold for
scrap and the remaining airframes which had been converted to Target
tugs were retained by 42 Sqn for target towing and general utility
duties.

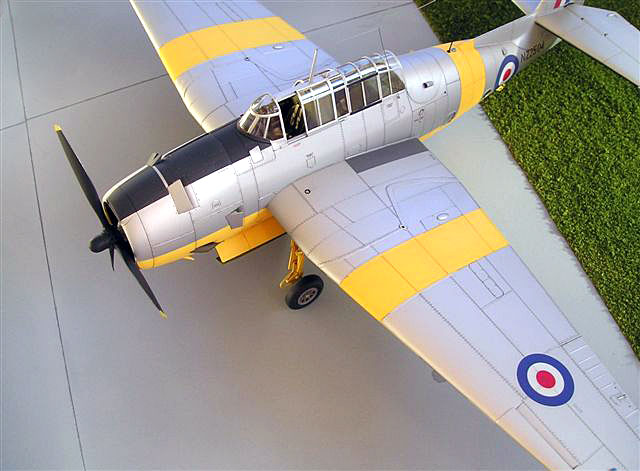
NZ2504 was unique in that in 1949 it was chosen as the feasability
aircraft for topdressing trials and became the worlds first cropduster
using a hopper in the bomb bay. In 1959 she was retired and became an
instructional airframe and then a gate guard before being rescued and
survives today at the RNZAF museum, although she now has a turret
reinstalled and painted to represent one lost in the islands.
Fortunately the interior is still in remarkable original condition just
tidied up.
Accurate Minatures have done a stunning job in producing the 'Turkey'
in 1/48 scale. I will just concentrate on the modifications and
improvements I did.
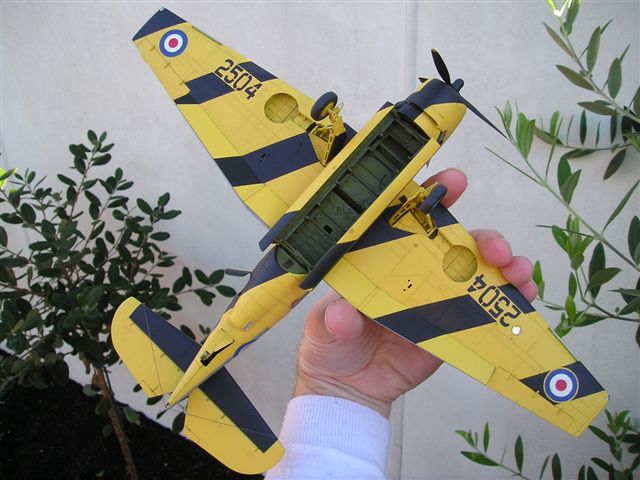
The whole interior was modified with extra shelving (drogue stowage),
switches and winch cabling also. The flare tubes removed and extra
ribbing and plumbing added. The turret was blanked off from the inside
with a flat plate as per the actual plane (5mins from home).
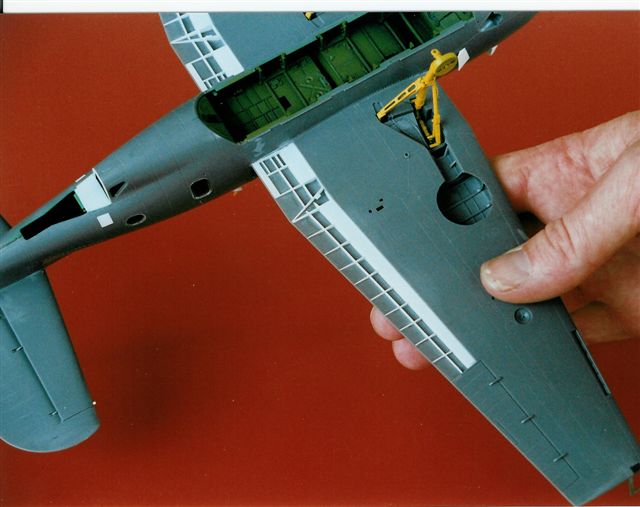
Because the ventral gun was removedthe upper ares was blanked off and
an upward hinging door with window was installed and painted yellow this
opening was where the drogue exited. The radio equipment was removed
from the rear cockpit and a new floor made from 10 thou card. A seat
with lap belts was sourced from the spares box and installed. I made a
new clear window behind the seat as I couldnt get the kit one to fit
well.
The main cockpit was built but with a sighting tube added on the
instrument panel combing with a hole also drilled in the stbd sidewall
for the flare gun. A Verlinden Corsair seat was modified to look like an
Avenger one. The interior was sprayed US interior green with the rear
fuselage British Interior Green as per the original which is still
visible. The fuselage halves were now joined.
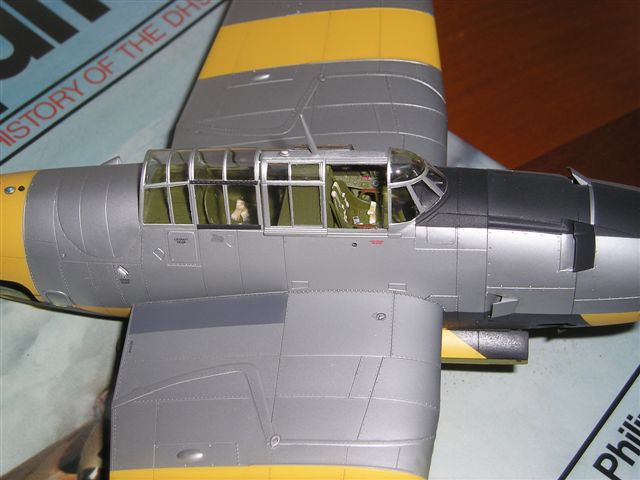
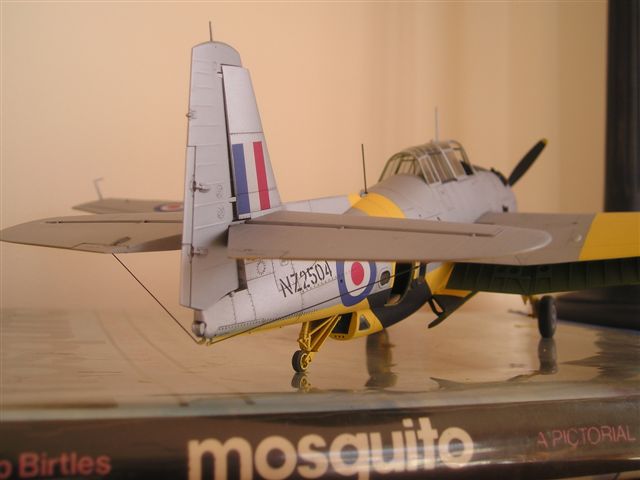
A piece of 10thou card was curled to match the curve of the turret
opening trimmed to shape glued and rubbed down to scale thickness. A
scoop was then added to the side. Being a -1 the access panels for the
.30 cal nose machine gun was made again from 10thou, fastener holes
drilled in and again rubbed down to scale thickness.
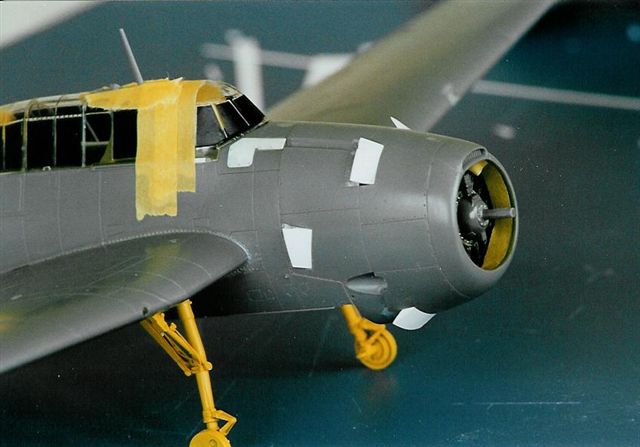
The engine was painted, drybrushed and decal squares were put on the
crank case. Then for some reason I went mad and added all the internal
rib structure to the cowl and removed al the cowl flaps! I scratched my
head in disbelief and turned my attention to the wings and removed their
flaps.
Six months later when I stopped being annoyed with myself I
scratchbuilt all new flap bays and attached the wings. The new flaps
were scratchbuilt. Heavy duty pipes visible through the lower cowl flaps
were also added. I blended in the rear face of each cowl opening and
added a small lip on the front surface so the scratchbuilt cowl flaps
had a positive location. Rod actuators were made and trimmed to length.
The stbd cowl flap proved a little difficult as it had a "V" notch in it
for the gun. Firstly I cut a small triangle out and glued a block of
plasticin behind it. Then I used a round jewellers file and filed the
trough out on the cowl and associated flap, brushed some Mr Surfacer
around and fitted everything. I couldn't get the windscreen to fit very
well so I superglued it in, sanded it smooth and rescribed it, added new
rectangular fairings that had been lost..

Everything else was built as per instructions and the flare tube
holes were patched also. I then plumbed the undercarriage with fuse wire
and the brake line rerouted forward of the legs to the hub. The wheels
were filed to a more square cross section with radial tread scribed. The
tyres were flattened on my wife's oven! Actually her cuticle clippers
came in handy too!
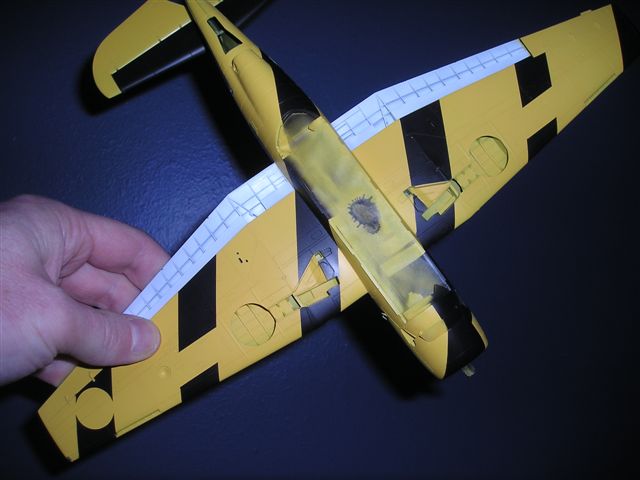
This turned out to be more of a challenge than I anticipated because
this plane had been repainted a couple of times in her life and there
were subtle differences each time. I owe thanks to the RNZAF Museum for
letting me rummage through their collection to pinpoint several shots
taken in 1954.
So this is how she was done:
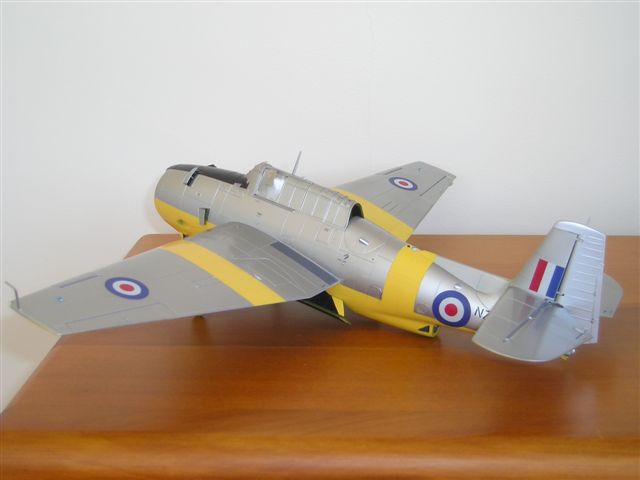
Great thanks must also go to Dave Wilson for peeling some of the
original yellow paint off in the seventies before a total paint strip. I
took this to a local automotive paint supply shop where they matched the
colour. This was lightened a little for scale effect as it looked too
intense for 1/48 scale. Being a lacquer I also used Tamiyas AS12 to
replicate the the original sprayed silver used. This was run thru the
airbrush thinned a little with AAA acrylic laquer thinner.
Cutting Edge's Black Magic masks were used for the transparencies but
beware mine only had enough to do one side of the rear fuse windows.
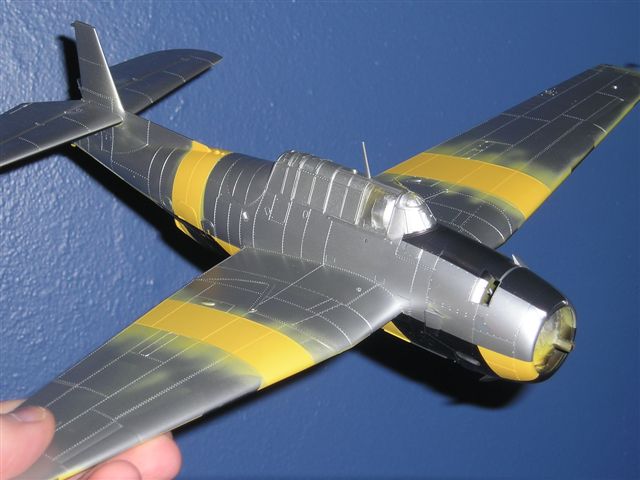
Green was first sprayed on the canopies then silver, yellow, black
etc. The stripe masking was a painful job of measuring, checking,
measuring.....I went to a local signwriting shop and they made the
"2504" underwing serials out of a low tack vinyl mask which was then
sprayed on.
Future was sprayed on several weeks later and Almark sheet A20
roundels applied as the blue was a close match for the Zenith Blue used
by the RNZAF for a while. Aeromaster serials used from the RNZAF special
and some kit stenciling.
 After
that a wash of dark grey was used and after everything was thoroughly
dry a coat of Pollyscale flat was used and I was pleasantly surprised at
the subtle sheen that was left as I was a little nervous to go full
flat. An elderly gent I spoke to who serviced the plane said she got
quite dull and tatty as she was used as a general hack as well, so the
final result matched photos well. After
that a wash of dark grey was used and after everything was thoroughly
dry a coat of Pollyscale flat was used and I was pleasantly surprised at
the subtle sheen that was left as I was a little nervous to go full
flat. An elderly gent I spoke to who serviced the plane said she got
quite dull and tatty as she was used as a general hack as well, so the
final result matched photos well.
Unusually I noticed Avengers don't seem to get exhaust staining down
the fuselage (at least the kiwi ones I looked at), so to me it was
finished after fine fishing line was used for the antennas and brass rod
for the pole antenna on the spine and tail cable guards.
I started this kit 5 years ago and it nearly hit the wall several
times, thanks to HyperScale and the guys who encouraged me to finish it
- you all know who you are. I really enjoyed the build and plan to do a
Pacific one sometime.
Click the
thumbnails below to view larger images:
TBF/TBM Avenger Units of
WW2
Combat Aircraft 16 |
|
|
|
|
Author: Barrett Tillman
Illustrator: Tom Tullis
US Price: $19.95
UK Price: £12.99
Publisher:
Osprey Publishing
Publish Date:
October 15 1999
Details: 96 pages; ISBN: 1841763632 |
|
|
Model, Images and Text Copyright © 2004
by Anthony Galbraith
Page Created 11 July, 2004
Last Updated
10 July, 2004
Back to
HyperScale Main Page
|
 Home
| What's New |
Features |
Gallery |
Reviews |
Reference |
Forum |
Search
Home
| What's New |
Features |
Gallery |
Reviews |
Reference |
Forum |
Search