|
Dynavector's 1/48 scale
BAC TSR.2
by "Bondo" Phil Brandt
|
 |
|
BAC TSR.2 |

HyperScale is proudly supported by Squadron
Perhaps the most serious
blow, ever, to the proud British aircraft industry was dealt by the
Labor government in 1965 when the powers-that-be cancelled the high
performance “tactical strike and reconnaissance” program that was well
(and successfully) underway. This centerpiece of British aircraft
development, while exceeding many performance criteria, ran afoul of
significant cost escalation and uncertainties as to what the eventual
price would be. The Labor government instead opted for the purchase of
F-111Ks, another plan which never came into fruition, although
twenty-five years of tweaking by the USAF resulted in a proven
all-weather strike weapon system that was of serious concern to “Evil
Empire” defense planners right up to the dissolution of the Soviet Union
in 1991.
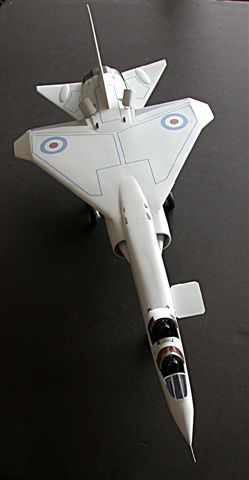
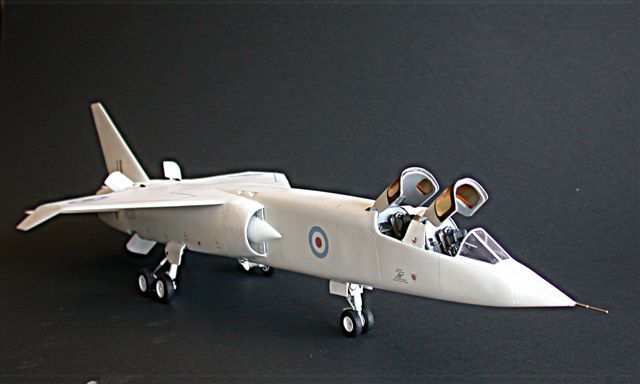
Bondo has always liked the long lines and performance potential of the
TSR.2, and this past November he was privileged to stand right next to
the beautifully-maintained real thing at Cosford.

Click on the thumbnails
below to view larger images:
The Kit
The talented Taro Tominari
released the big TSR.2 vacuform years ago in the U.K., and, as with
other Dynavector kits, this one featured sharp molding, exquisite
engraving, decent cast metal cockpit and landing gear and proper decals
for the all-white test articles.
Fuselage
Things got underway
typically for a high quality vac kit. The only tricky part was in
accurately cutting plastic strengthening beams which are glued
athwartship to insure stiffness and proper mating of the top and bottom
fuselage halves; this curmudgeon still needed to break out the Blue
Acryl to hide the long join line.
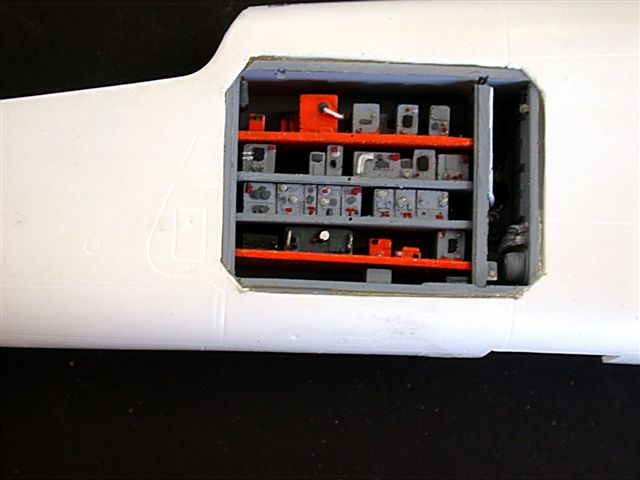
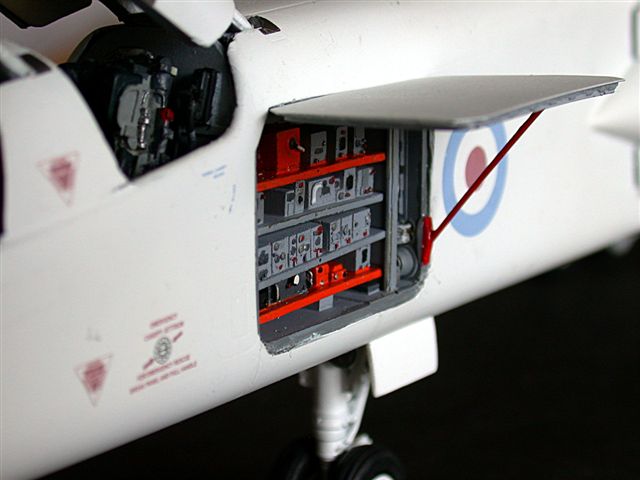
Two modifications were added: the aftermarket Heritage Aviation (U.K.)
resin avionics compartment, and scratchbuilt speedbrakes. The Heritage
avionics compartment interferes with the nosegear well, but grinding and
clipping off one side of the metal nose strut enabled the assembly to
slip in beside the intruding box.
(Suggest 026, 040, 041)
Click on the thumbnails
below to view larger images:
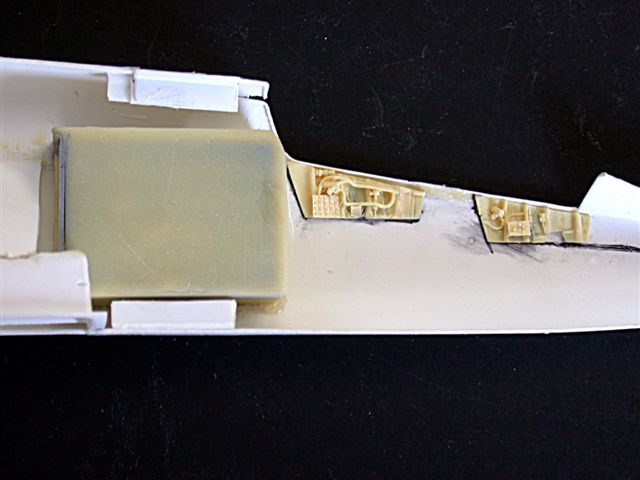
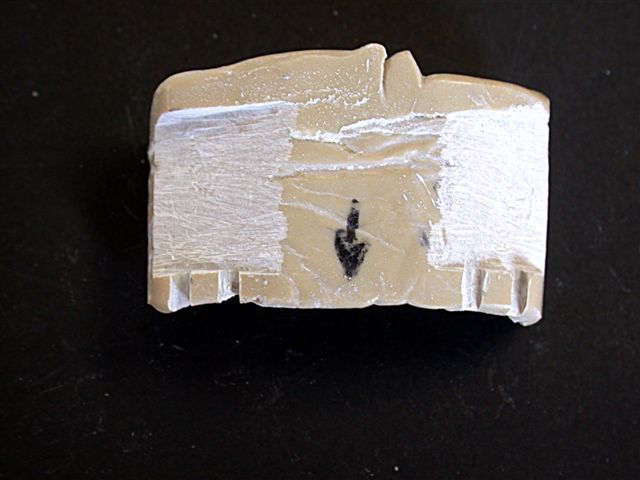
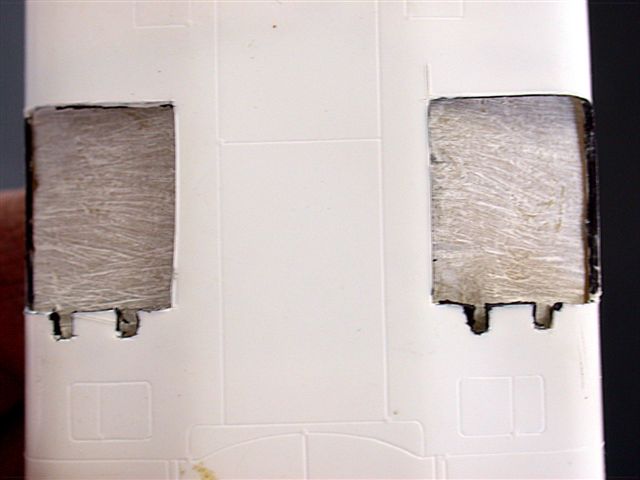
The open speedbrakes add busy-ness to large expanses of white airframe.
First, a slab of epoxy putty was laid into the fuselage interior
(insulated from the vac’ed plastic by a sheet of Cling-Wrap). When
cured, this conformal piece was then removed and the areas under the
speedbrakes was filed off flat to give depth to the wells. Next, the
speedbrake doors were cut out, and inner layers added to the doors to
give depth. The doors and wells received various structural components.
Actuators were scratchbuilt. Afterburner sections were deepened.

Click on the thumbnails
below to view larger images:
Wings
Instead of
building wing spars, Taro-san specifies gluing plastic strips spanwise
to strengthen the otherwise unsupported wing halves. Some depression
still occurred (on top) and, again, it was Blue Acryl and block sanding
that saved the day.
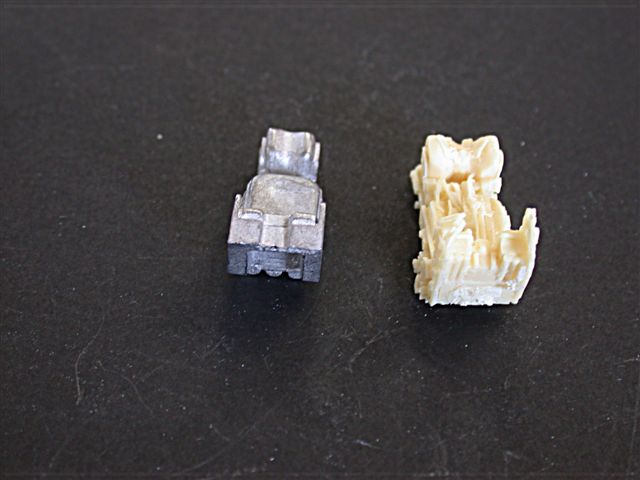
Cockpits
The cockpit
cast metal components were free from flash and, by themselves, would
have provided an acceptable interior, especially if the canopies were
posed shut. It was most fortunate that the TSR.2 was built over a period
of years because serendipity appeared courtesy of Airwaves who produced
very nice resin seats for this specific application. Said seats are
sharply cast and feature a veritable rats nest of belts and harnesses,
the way Bondo likes ‘em! Some detailing was added to the otherwise plain
front and rear bulkheads. Resin side panels were cloned from a Black Box
F-4 set.
Click on the thumbnails
below to view larger images:
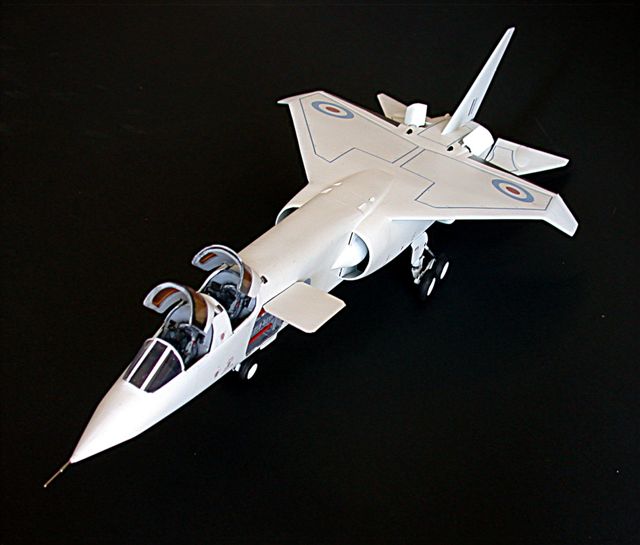
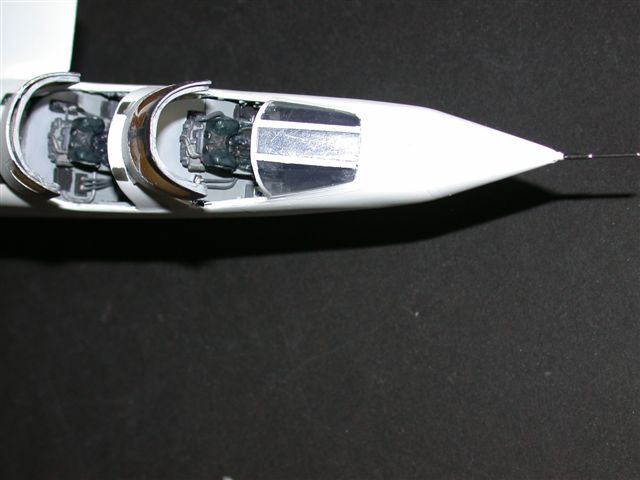
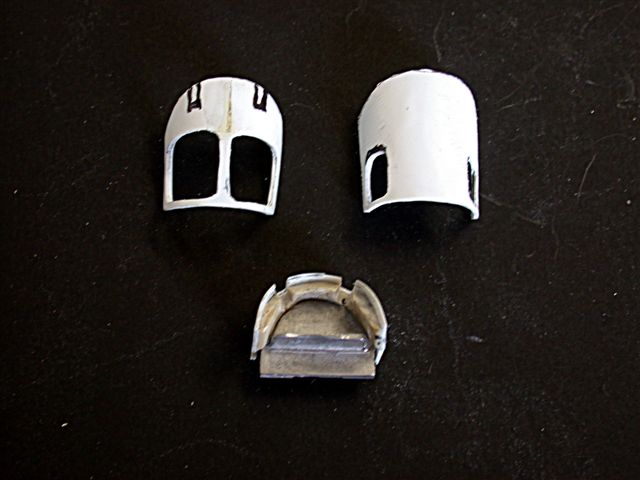
Canopies
and Windscreens
Because of
the nice Airwave seats, it was decided to go with open canopies. A
second set of canopies furnished by Dynavector was sacrificed to be used
as patterns for laminating inner canopy panels to give a more realistic
appearance. The unusual tint on the windows was achieved with amber and
orange clearcoats.
Fitting and blending a windscreen to a vac fuselage can be exasperating,
and this build was no exception. After gluing the windscreen with R/C
500 white glue, the prepainted unit was masked off around the fuselage
join line, and Blue Acryl applied in a thin strip around the periphery.
After some exacting wet sanding, the area was primed.
Click on the thumbnails
below to view larger images:
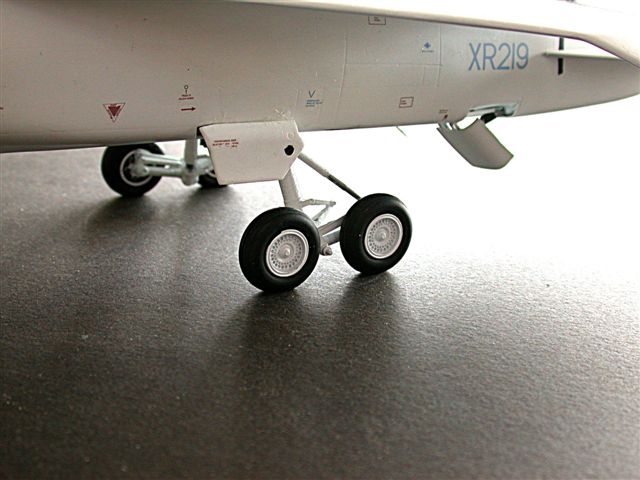
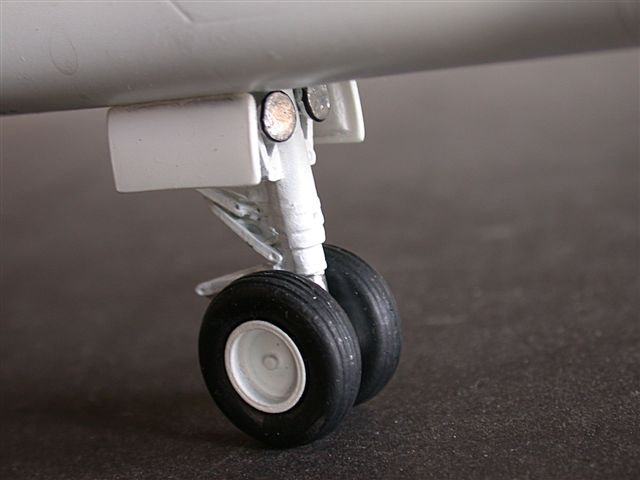
Landing Gear
One nice
thing about Taro-san’s use of heavy cast metal gear is that the weight
makes balance in a lightweight vac airframe no problemo; the TSR.2 sits
firmly on it’s gear.
Building the nose gear was perfunctory; the more complicated tandem main
assemblies are a bit more problematic (some struts needed “adjusting”).
Since the main gear splays outward and sweeps backward, alignment of the
struts to the slanted floor of the gear wells was accomplished while
5-minute epoxy cured (I’ve found that fifteen minutes is a more
realistic figure). It’s more of an art than a science, sports fans! Gear
doors were enhanced with beveled edge inner panels which give a more
realistic thickened look.
Click on the thumbnails
below to view larger images:
Slabs and Vertical Fin
The slabs are
attached through 1/8" brass rods which slip into brass tubing glued into
the empennage. There was some internal interference with the exhausts
tubes.
Bondo thought
long and hard about whether to be a purist and go all-white as in the
test articles, or to go with an imagined operational scheme–a kind Brit
modeler at Telford contributed a data sheet which shows a
typical-for-the-time arrangement of green and gray cammo on top, with
anti-flash white on the undersurfaces–but opted in the end for the
overall white. Perhaps if what’s-their names had brought out a 1/48
“what if” sheet to match the 1/72 sheet I viewed at Hannants in
November, Bondo would’ve gone the fantasy route.
I didn’t want to try to cover such a large airframe surface using the ol’
Iwata, especially in white, so it was Spraycan City. Multiple coats of
very finegrained Tamiya white lacquer primer–this is GOOD stuff!--were
shot from the can, and the extremely smooth coat produced almost made
topcoating unnecessary. Only the many decals that had to be applied
convinced this builder to go with a totally glossy color coat. Tamiya
“True White” (TS-26) lacquer was shot, also out of the can, and the
spray is so even and fine that it’s like shooting a 1:1 car with my big
Binks gun. Masking (Tamiya yellow tape) over the “dried” Tamiya lacquer
twenty-four hours later gave Bondo an unexpected adrenalin check; when
removed just twenty minutes later after Alclad II was applied to small
areas, the tape left an ever so slightly “marred” surface in the white
lacquer. Wetsanding with 8000 MicroMesh got rid of most of the unsightly
areas. Funny thing, when other areas were masked a week later, no
marring occurred; lesson learned! After decal and Solvaset application,
semigloss clear Testor’s water-based acrylic was substantially thinned,
and light dusting coats with the airbrush (30 psi) achieved the desired
opacity.
Decals
In the past,
Dynavector decals have been problem-free for this modeler, but negatory
zees time! The decals clung tenaciously to the sheet even after
prolonged soaking and had to be nudged with a knife blade to get ‘em
starting to move. The decals were very delicate and often cracked,
especially during the excruciating application of the plentiful walkway
stripes. This curmudgeon felt as if he was performing neurosurgery.
Yeah, yeah, I
know; Airfix just released the 1/72 TSR.2, and this curmudgeon’s sure
it’s nice, having seen the prototype at Telford. I know of the
traditional British fascination for 1/72, but for many of us
road-less-traveled modelers, size does matter.
Model, Images and Text Copyright ©
2006 by Phil Brandt
Page Created 27 February, 2006
Last Updated
21 February, 2007
Back to
HyperScale Main Page
|
 Home
| What's New |
Features |
Gallery |
Reviews |
Reference |
Forum |
Search
Home
| What's New |
Features |
Gallery |
Reviews |
Reference |
Forum |
Search