|
Classic
Airframes new 1/48 scale
Two-Seater Vampires
by
Phil Hale
|
 |
|
De Havilland Vampire T.35 |

Classic
Airframes' 1/48 scale Two-Seater Vampire kits may be ordered online from
Squadron
For a detailed examination of the kit
contents,
see my
in-box review elsewhere on HyperScale.
Classic Airframes Vampires T.11/T.55
Kit Numbers 493 and 494
Well, here we are again sports fans.
I seem to build Classic Airframes kits in packs. I usually like to
build one at a time because I learn the trouble spots on the first one.
The second kit is usually easier to build because I have figured out how
to over come the challenging places. I guess most of you are like that
as well. I built a single seat Vampire but these kits provide new
fuselage fuselage and tail boom parts.
There are several other new parts to include the cockpit and canopy.
New parts sometimes create a new set of challenges.
Well, on to the review.
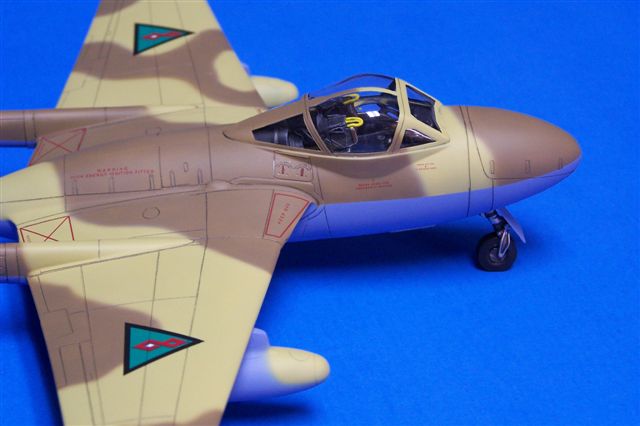
Construction began as usual, cleaning up the new resin cockpit parts
and the canopy. I like to get this done and also polish and mask the
canopy early. This way, I’m ready to paint as soon as possible because I
usually paint the outside of the canopy the interior color and knew if I
open it I can mask the inside and spray Testor’s Dullcoat on the inside.
It also puts a base coat and you can check for flaws.
Take care when attaching the completed cockpit to the fuselage. I left
mine loose inside the fuselage so that I could move it into position.
You will have to trim and sand some to get a good fit. Dry fit before
gluing the fuselage together.
Also take care in positioning the cockpit as the gun panel/nose wheel
well ( resin part R13) fits into the slot in the bottom of the cockpit.
I had to sand down the top of the wheel well to get it to fit in the
slot. You will still have to fill and sand to get a good smooth fit. The
gun bay door (Part 16) will require filling a sanding.
Part 7, the bulkhead for the tail pipe will require a little sanding and
dry fitting. I replaced the tail pipe with a piece of brass tubing. I
learned this from my friend Kevin when he built his Vampire. Be sure to
sand the pour stub off the main gear wells completely. If you don’t this
could interfere with the fit of the wing halves. I would recommend
sanding down the trailing edges before gluing them together. This will
help later when you are attaching the tail booms to the wings.
I had a little trouble getting a good fit of the wings to the fuselage.
I really don’t a have a foolproof way of attaching them. I had to fill
and sand to get a smooth fit. Take care when sanding around the intakes.
I used Tamiya Putty (Basic Type) thinned with Tamiya Extra Thin Cement
and My Surfacer 500 to fill the area around the intakes. Thinning the
Tamiya Putty will allow it to flow down into the seam. The Mr Surfacer
works well over the putty and when spraying silver for a natural metal
finish, it gives a good smooth surface.
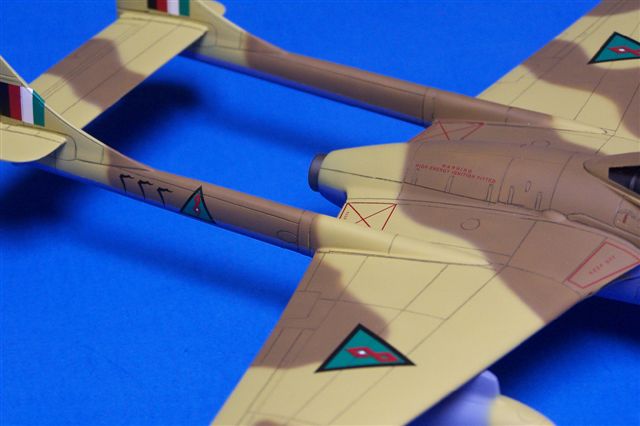
I sanded the mounting points off the tail booms before attaching them to
the wings. I would recommend using a brass rod or plastic rod to
re-enforce this area. Take care and make sure that you align them
properly. This will make attaching the center stabilizer a little
easier. I tired something a little different and it may be old hat to
most of you but it worked well and thought that I would pass it on.
The outboard stabilizers are resin and I usually attach resin to plastic
with super glue. This time, I coated the plastic stub on the tail boon
with Ambroid Liquid Cement. This caused the plastic to melt a little and
before it dried I placed the resin parts on the slightly melted area.
This gave me some time to align them and then made cleaning up the area
a little quicker.
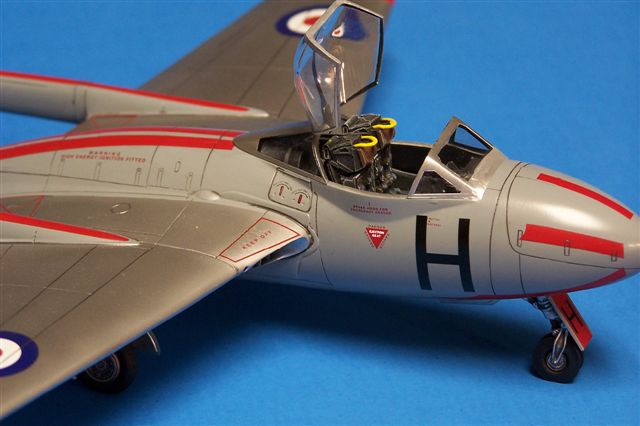
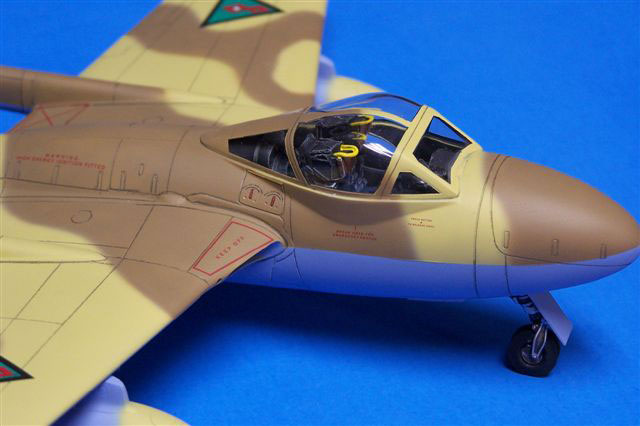
On the British Central Air Traffic School Scheme, I decided to open the
canopy. I wanted to show the detail but the canopy is very thick and if
you were doing this for competition, I would recommend a vacuum formed
replacement. You will need to cut/sand the bottom of the seats down
about a 1/8th of an inch to get a good fit on a closed canopy.
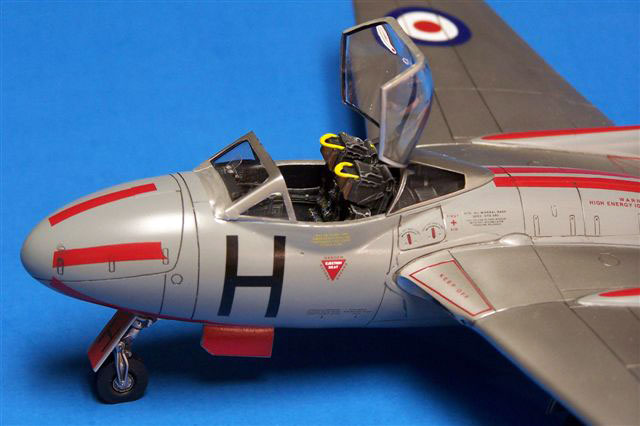
The seats as is will keep the canopy from fitting well. The canopy is
so thick that it may interfere with the top of the instrument panel as
well. Dry fit is the word of the day for this kit. Take your time and
dry fit.
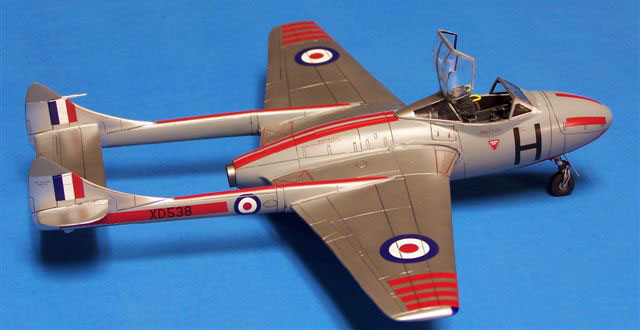
I picked two colorful schemes and that is the trouble with these kits
because most of the options are very colorful. It was hard to pick just
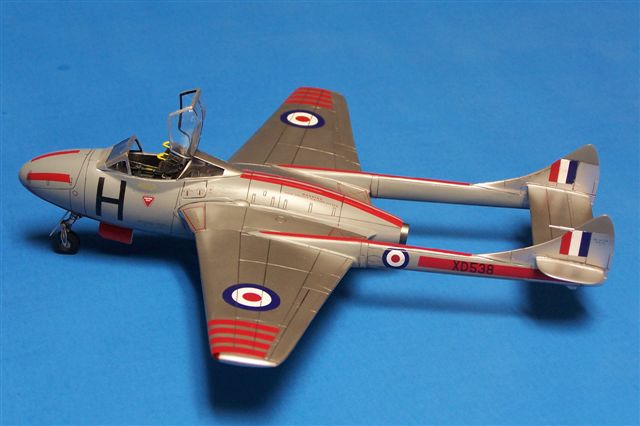
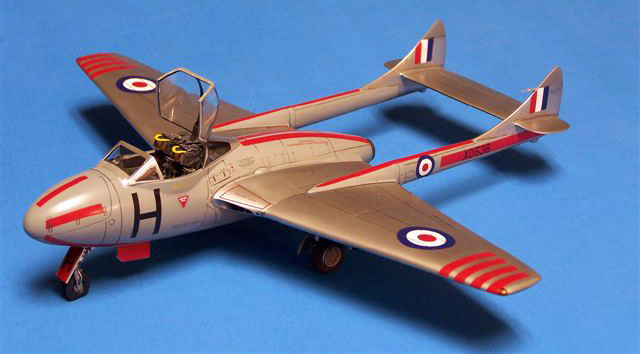
one. Painting both models took a lot of time, especially the British
CATS Scheme. The wings are silver and the fuselage and part of the tail
booms are Medium Sea Gray. I used Model Master enamels for the Medium
Sea Gray and Floquil Bright Silver for the wings.
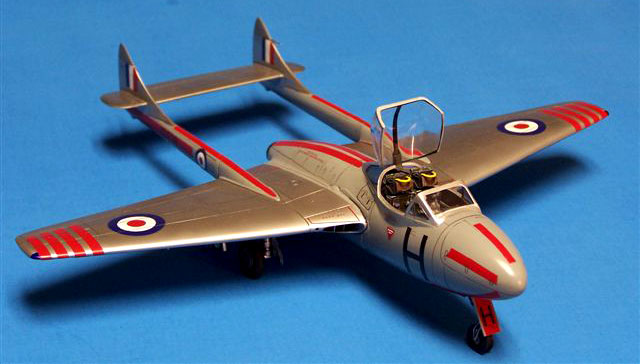
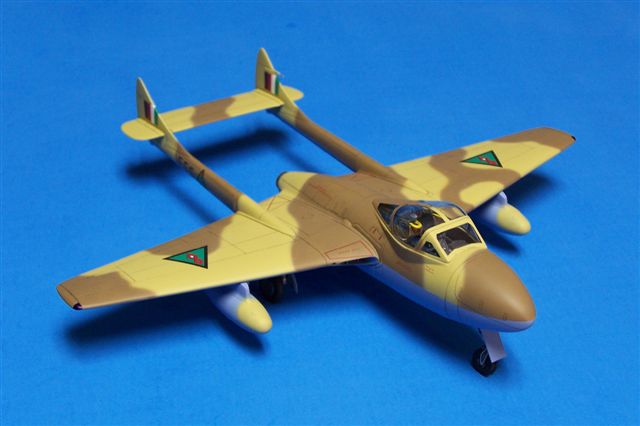
The red stripes are all decals and went on well. I used Model Master
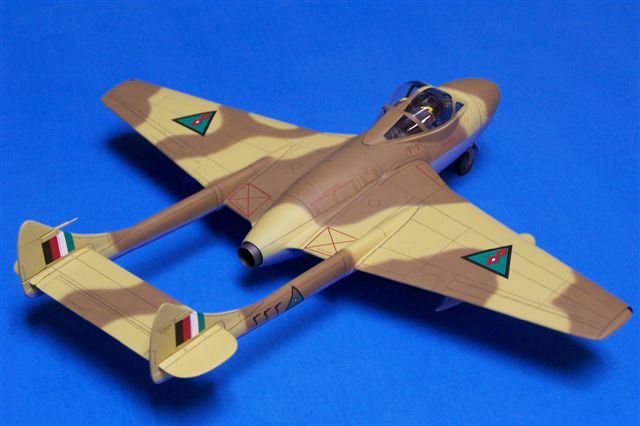
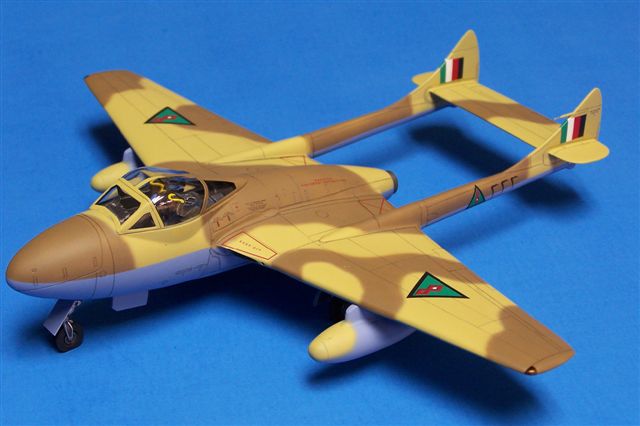
RAF Dark Earth/RAF Middlestone for the upper surfaces on the Iraqi T.55
and Model Master RAF Azure Blue for the undersides. The decals are
printed by Micro Scale for both kits and went on very well.
Bottom line on these kits - take you time.
Dry fit most everything and you’ll end up with a nice colorful two
seat Vampire.
Thanks to Jules and Classic Airframes for giving us unusual subjects
to build.
Dr Phil Hale
Click the thumbnails below to view larger
images:
Thanks to
Classic Airframes for the sample
Model, Images and Text Copyright © 2005
by Phil Hale
Page Created 12 September, 2005
Last Updated
12 September, 2005
Back to
HyperScale Main Page
|
 Home
| What's New |
Features |
Gallery |
Reviews |
Reference |
Forum |
Search
Home
| What's New |
Features |
Gallery |
Reviews |
Reference |
Forum |
Search