|
Italeri's big 1/24 scale
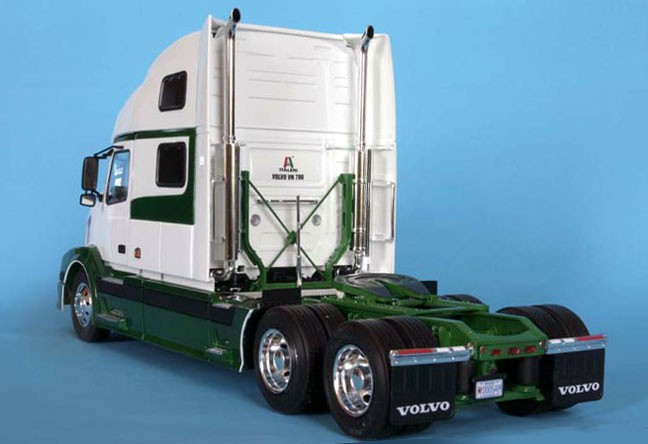
Volvo VN 780 Unit
Conventional US truck
by
Ted Taylor
|
 |
|
Volvo VN 780 Unit
Conventional US truck |

HyperScale is proudly supported by Squadron
When Italeri first bought out the big DAF truck
with its pre built chassis just about everybody was dumbfounded. "What a
backward step in truck modeling”, “getting more like a kiddies toy” were
the comments I heard. We, as truck modellers, want to build our own
chassis from standard part. We also want to convert etc. etc. to other
types such as rigids, long wheelbases and the likes but we can't with
that type of chassis especially when the main chassis rails don’t even
have the bottom flange moulded, indeed a very retrograde step and one we
hope Italeri will discontinue.
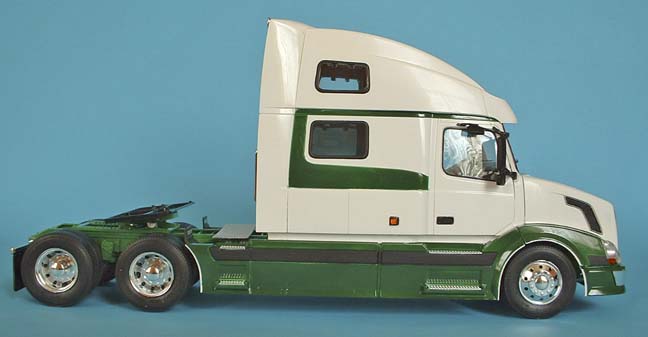
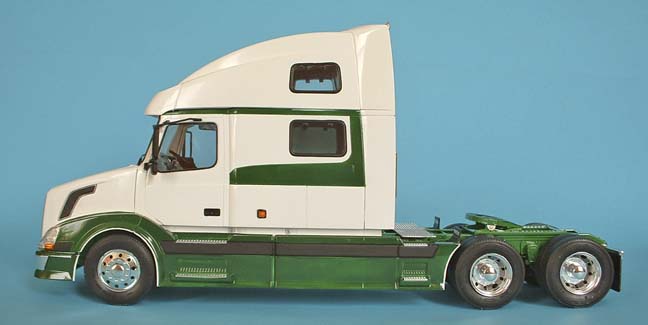
The new Volvo VN 780 Unit (kit number 3818) is, I
am afraid, another of these types of chassis with no engine components
except a moulded sump, it has rear quarter fenders moulded on and inner
front mudguards as well. The fuel tank brackets are also moulded so you
can't alter those positions and in the final assembly the cab, sleeper
and bonnet (hood) are all made up as one unit to cement onto the
chassis, I suppose Italeri think if there is no engine what’s the point
of having a movable hood and to make matters worse they have even
simplified the steering to a point where it no longer turns and the
parts are just a mockery of the real thing.
Complaint mode off.
At the end of the day you get a nice looking model
from the outside, impressive and quite large.
Construction
and Finishing
|
Construction holds no big problems but I made a few
notes as I went along.
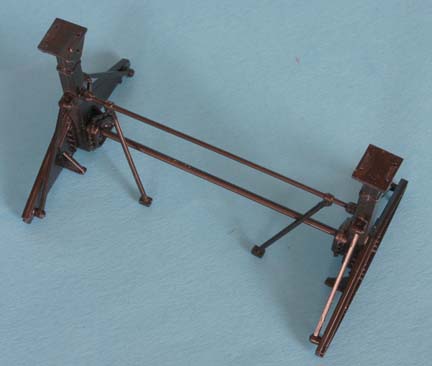
I liked the rear axle arrangement which meant I
could paint the air bags before mounting and adding them after the made
up chassis was sprayed but I would not advise you to mount the axles in
step 5 or you won’t be able to get the prop shaft in. I would suggest
you make up the gear box and mount it first then add the shaft and
lastly the rear axles. The fit of the suspension is a bit sloppy as
their locations are just slots in the rails with a draught angle built
in, there are no positive pins and holes anymore.
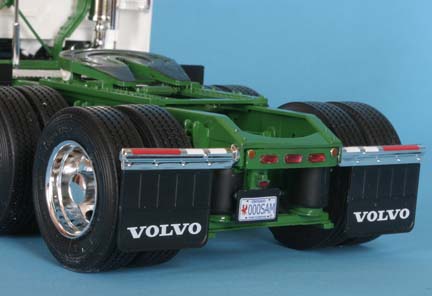 In
step 8, don’t add part 31b the light bar until you have some wheels on
or it will get broken off because it hangs lower than the wheel back
plates allow for. In
step 8, don’t add part 31b the light bar until you have some wheels on
or it will get broken off because it hangs lower than the wheel back
plates allow for.
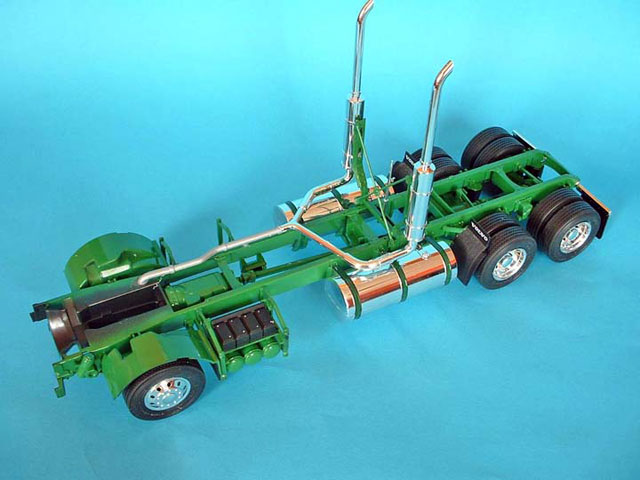
The chrome tanks are nice but as always it can be a problem joining the
halves without the seam showing, my solution is to gently sand the
mating surfaces to remove the chrome and then use liquid cement to join
them, wait a couple of seconds before applying pressure to soften the
plastic, then squeeze together and let some molten plastic ooze out.
Wait until it goes a bit rubbery then you can use a bare finger to rub
or roll it off without damaging the chrome. The other alternative is to
remove all the chrome and clean up the joins and respray with Alclad II
chrome finish. I have added some fuel lines from the tanks to the
chassis, they only go a little way along as there is no engine to go to.
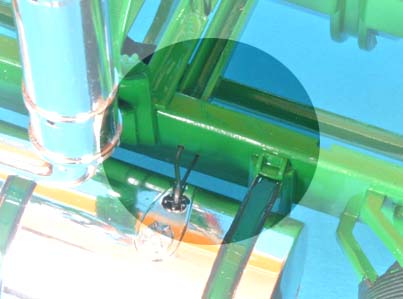 Italeri's
fifth wheels leave a bit to be desired, they only sit on the plinths and
you either cement them in a haphazard position or leave them loose to
fit any trailer. I nearly always cut some "D" shaped hinges from 20 thou
card, then cement them on either side of the plate just inside the hinge
positions, when these are hard I drill right through these and the two
plinths with a 1mm drill bit. Take a length of 1mm rod and hold one end
by a heat source until a mushroom rivet forms then place it through the
holes and heat the other end (I use a lighted cigarette) now I have a
tilting turntable to fit any trailer. Italeri's
fifth wheels leave a bit to be desired, they only sit on the plinths and
you either cement them in a haphazard position or leave them loose to
fit any trailer. I nearly always cut some "D" shaped hinges from 20 thou
card, then cement them on either side of the plate just inside the hinge
positions, when these are hard I drill right through these and the two
plinths with a 1mm drill bit. Take a length of 1mm rod and hold one end
by a heat source until a mushroom rivet forms then place it through the
holes and heat the other end (I use a lighted cigarette) now I have a
tilting turntable to fit any trailer.
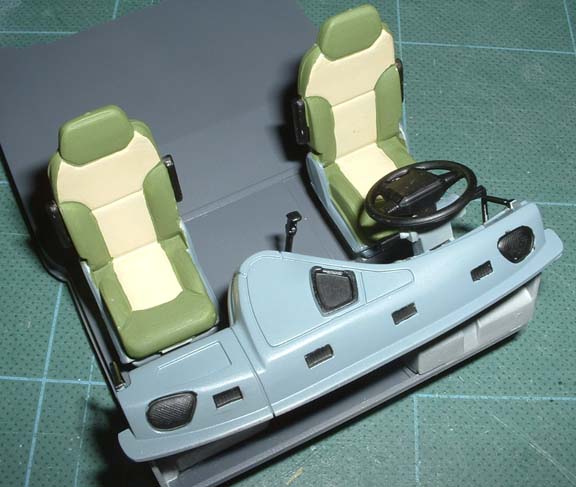
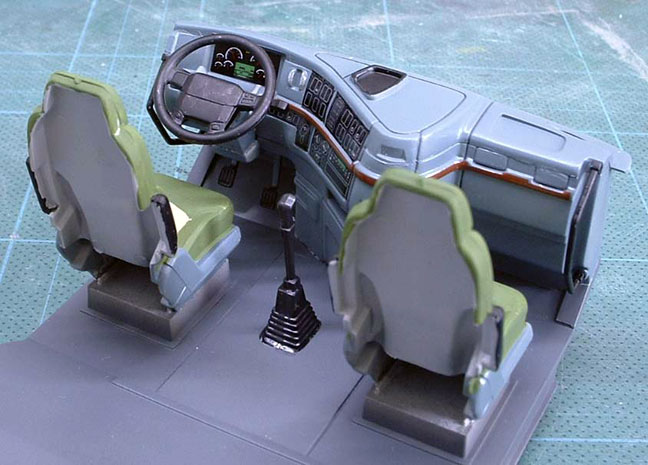
The cab floor was constructed and painted as per instructions but I
assembled the four cab walls as one unit without adding the interior
furniture, this, the roof and bonnet (hood) were then mounted on my wire
coat hanger handles and sprayed up.
While these were drying the interior furniture was hand painted in my
choice of colours then all the window frames were painted using a flat
brush and Humbrol No 85 satin black. The lower windows parts 12g and 13g
were sprayed with a coat of Tamiya’s smoke paint to give some privacy to
the driver but the roof windows were left clear.
In step 19 I found that not all the mounting brackets for the airfoils
matched up so you might need to make a few alterations in advance, it
was too late when I did mine.
My assembled cab fitted onto the chassis perfectly and when the side
skirts were made up they also gave no problems. The bracing bars Parts
48/49b for the mirror arms are shown fitted to the cab shell but they
should be on the door itself so drill a hole directly below the one
that’s there and fill the wrong hole with a piece of plastic rod.
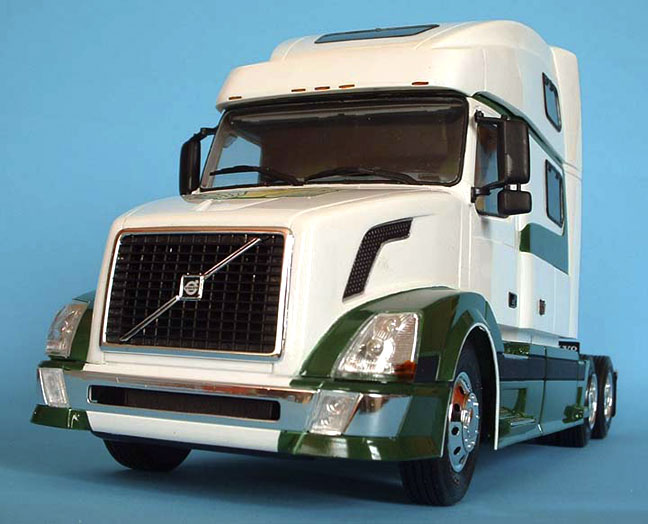
The decals are just simply some checkered stripes
so you may want to find some alternatives. A fine looking Model Of
an American truck from a European manufacturer providing you don’t look
underneath the hood and chassis.
The trailer is an Italeri 48 ft reefer twin axle outfit which is very
simple to put together, the box is made up from slab sides joined in the
middle with overlapping flaps, they just need a little cleaning up at
the joins, the same for the roof and floor.
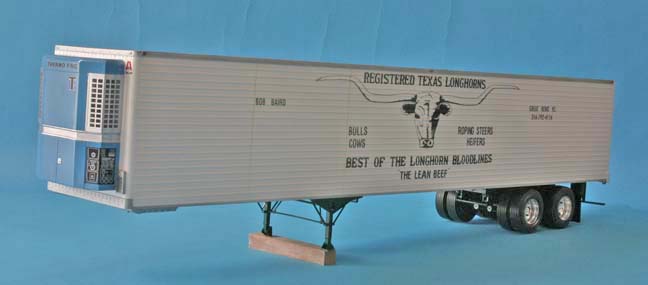
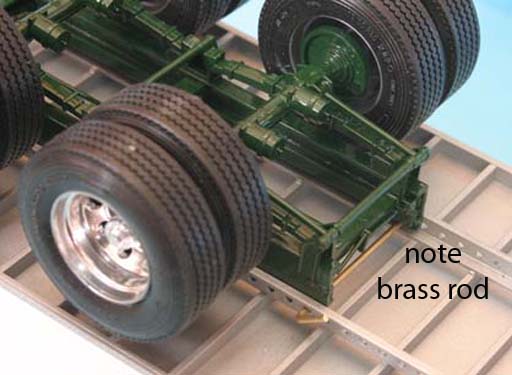
A lot of US trucks have sliding running gear to
adjust for different weight limits, the kit gives you the rails for this
but no mention of the "sliding " arrangement. I have drilled holes in
the frames of the running gear to match a pair of holes on the rails and
I inserted two lengths of Brass rod at the point I wanted leaving me
free to alter it as and when.
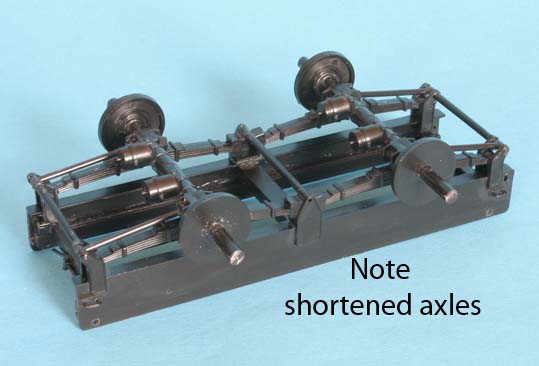
The wheels Italeri supply for trailers are the same as drive wheels on
the trucks so are not suitable for a non driven trailer wheel. You can
buy after market wheels if you wish from companies like KFS who have a
number of different types on their books but I have used some resin hubs
that I had made some time ago. First I cut the driven hub out of the
outer wheel (before the two halves are joined) then the tubular
extension of the inner wheel is cut off flush, at this stage I shorten
the stub axle to be level with the outside edge of the inner wheel.
The two wheels can now be cemented together remembering to keep the
Valves opposite each other and the resin hubs can be centered and glued
onto the inner wheel so that the outer wheel looks bolted on to the
studs and not part of the drive hub. To these I added the wheel nuts,
just hexagons stamped out of 30 thou card with a punch and dye set. the
wheels were then sprayed gloss black and then Alclad II chrome was
sprayed over that to give me Chrome wheels to match the unit.
Click the thumbnails below to view larger
images:
Model, Images and Text Copyright ©
2005 by Ted Taylor
Page Created 07 June, 2005
Last Updated
07 June, 2005
Back to
HyperScale Main Page |
 Home
| What's New |
Features |
Gallery |
Reviews |
Reference |
Forum |
Search
Home
| What's New |
Features |
Gallery |
Reviews |
Reference |
Forum |
Search