|
Classic
Airframes' reissued
Supermarine Walrus
by
John Valo
|
 |
|
Supermarine Walrus |

Classic
Airframes' 1/48 scale Walrus is available online from Squadron.com
For a detailed examination of the kit
contents, see
Steven "Modeldad" Eisenman's in-box review here on HyperScale.
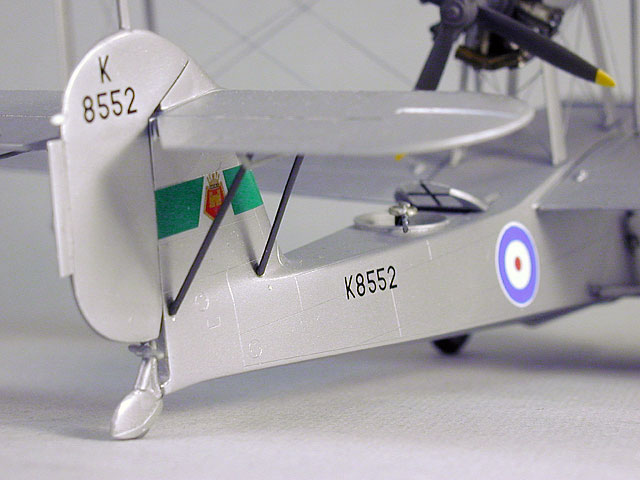
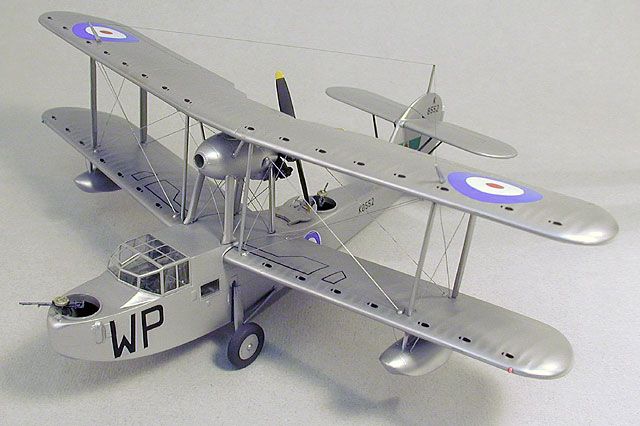
Classic Airframes recently reissued its 1/48 scale Walrus kit with
new decals for the attractive early Silver aircraft. In addition to the
early decals, CA also generously included the original decal sheet with
markings for four camouflaged aircraft.
A new addition is an injection-molded windscreen.
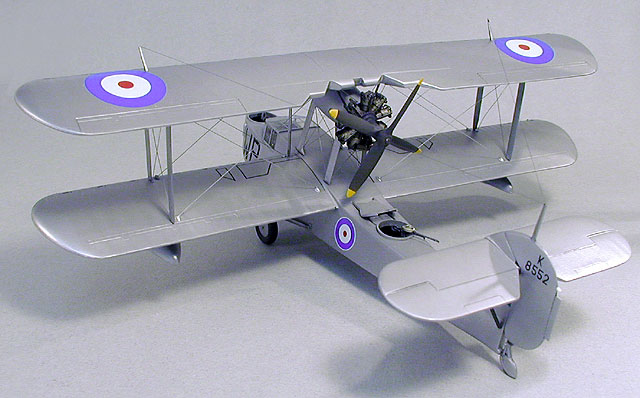
With its suspended engine nacelle, numerous struts and a cat's-cradle
of rigging, this is a challenging model that demands time and patience.
As I did on my previous Walrus, I made a simple construction jig out
of Foamcore to help keep things aligned. I also inserted fine copper
wire pins on the nacelle struts which mated with small holes drilled in
the nacelle. This made assembly considerably easier.
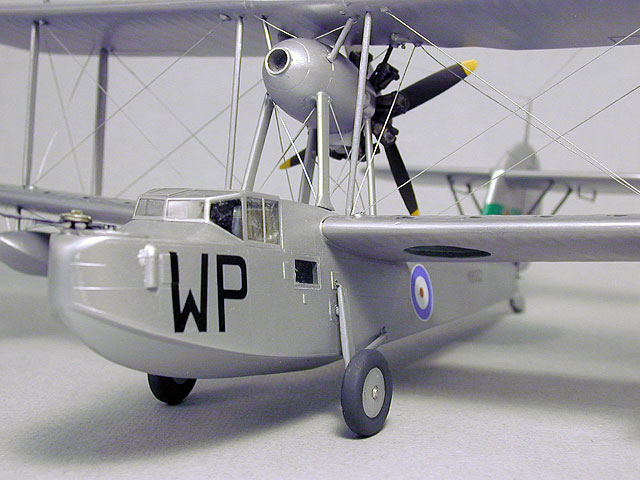
Assembly of the interior and fuselage proper is very straightforward,
but I found the injected windscreen fit better if you attach .030 x .060
styrene strip to the rear mating section of the fuselage. Care must be
taken in assembling the upper wing to insure the proper dihedral is
built in. I measured and built the left, center and right upper surfaces
first, then mated the lower surface parts to this assembly. Attention
must also be paid to matching the dihedral of the lower wings when
attaching to the fuselage.
Somehow it all works!
Once the lower wings were attached to the fuselage, I assembled the
nacelle and associated struts, then painted and decaled all the
subassemblies and remaining struts.
 I
built this model on commission, and at the request of my client, I used
Floquil Old Silver from their enamel line. I
built this model on commission, and at the request of my client, I used
Floquil Old Silver from their enamel line.
I have transitioned to using acrylics almost exclusively, so this was
an interesting re-learning experience. The Old Silver is a downright
merciless finish which shows every flaw. After a bit of trial and error,
I recalled a technique of using Future as a primer on the bare plastic.
I laid on two very light coats of Future before the final finish, and it
made a world of difference.
The decals are beautifully printed and are very thin. I found it
necessary to apply one decal at a time, as they softened quickly after
being dipped in water. I used Microscale Sol and Set, and the decals
melted so beautifully into the finish, I didn't need a final clear coat.
Rigging
and Finishing Touches
|
Rigging holes were pre-drilled, and I installed the monofilament
interplane rigging wires to the lower side of the upper wing before
final assembly.
Upon setting the model in the jig, I attached the nacelle to the
fuselage on its four main struts, then attached the upper wing and
interplane struts.
The small nacelle struts that attach to the lower surface of the
upper wing can then be test fitted and trimmed as necessary. I also
added wire pins to the landing gear struts to add a bit of reinforcement
at the fuselage join.
At this point I got into my Zen state and finished the complex rigging.
Adding the guns and antenna masts and wires completed the model.
Classic Airframes' Walrus is a complex and time-consuming model, but
it is not the fault of the kit.
It is well engineered and produced, but the real airplane is
extraordinarily complicated. Time and patience are necessary, but the
finished model is worth it! Recommended to the patient and experienced
modeler.
Thanks to Kevin Martin for the Old Silver!
Click the thumbnails below to view larger images:
Model, Images and Text Copyright © 2006
by John Valo
Page Created 30 January, 2006
Last Updated
04 February, 2006
Back to
HyperScale Main Page
|
 Home
| What's New |
Features |
Gallery |
Reviews |
Reference |
Forum |
Search
Home
| What's New |
Features |
Gallery |
Reviews |
Reference |
Forum |
Search