|
Airfix's 1/72 scale
Wellington
B.Mk.III
by
Eddie "Grunticus" Wilson
|
 |
|
Vickers Wellington
B.Mk.III |

HyperScale is proudly supported by
Squadron
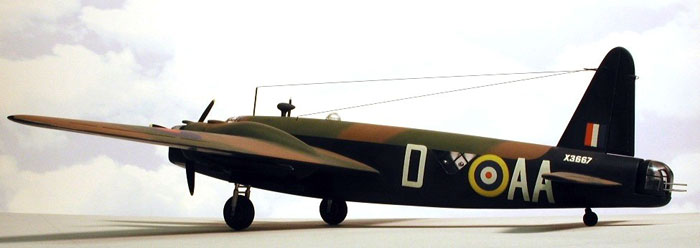
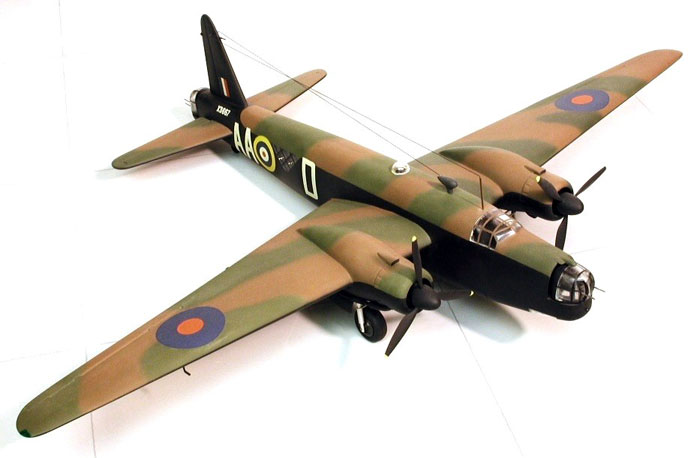
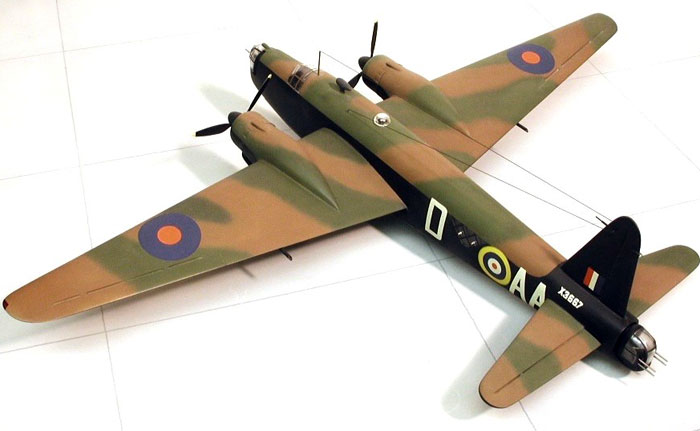
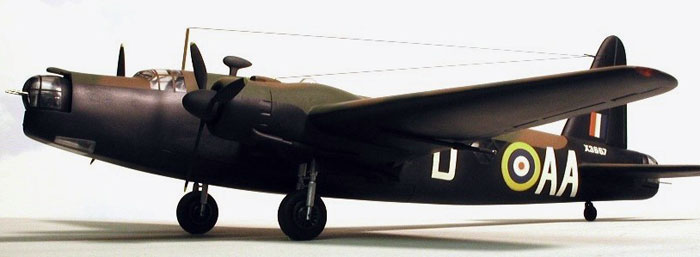
Here is something you don't see everyday - this is the Airfix
Wellington B.III kit, assembled and painted as best as my limited skills
and even more limited patience permitted.

This is one of those oldies from the early 1960s and aside from
several of the larger parts belonging on the bridge of Star Trek's USS
Enterprise ("warp SIX, mr. sulu!"), it had all of the control surfaces
as separately hinged pieces. presumably the intent was to instruct the
tender English laddies in the principles of aerodynamics... although it
is more likely they received a practical lesson in the use of filler and
sandpaper. A very aggravating situation indeed.
In any event, after I rescued this kit from the forlorn indignities
of a local garage sale for the princely sum of a quarter (25¢ US). I did
my best to give this model some respect. Very little of the interior
would be visible once the airframe was assembled so I used the kit parts
as is for the most part. Hence I put the main emphasis of the build on
the exterior, replacing all the gun barrels with steel rod, scratch
building some new landing gear struts, replacing the wheels with
something more suitable, and replacing the fuel dump tubes and exhaust
manifolds with aluminum tubes.
One of the props was missing when I got this kit so I replaced them both
with propellers from the equally-ancient Monogram 1/48 fw-190 (HERESY!
HERESY!)

The clear parts in this kit were never very good but with no
replacements to be had I just sanded and thinned them out as best I
could and glued them on with crazy glue. The thickness of these pieces
is especially apparent with the gun turrets but some decent recreation
of the metal framework mitigates this somewhat. I was able to replace
the horrible astrodome from something long forgotten that I
re-discovered in my spares box, along with a new ADF fairing. I added
some navigation lights on the wingtips and rudder by means of some
transparent red, green, and clear styrene scrap. For the antenna wires I
used some 2-lb test fishing line from my tackle box and glued that on
with microscopic drops of CA.
Once the beastie was assembled I painted it with Model Master
enamels, using masking tape to create the hard demarcation lines typical
of RAF aircraft used in WWII. the decals are from the kit, but I would
have replaced them if there were any alternatives available to me. they
were very thick and had yellowed terribly so I cut away as much of the
carrier film as I dared.

They refused to settle down using conventional decal fixatives so I
was forced to make do with a diluted solution of white glue and vinegar.
Even then they do not look quite right but "C'est la vie" as the french
are wont to say.
I hope that you enjoy it and happy modeling.
Model, Images and Text Copyright © 2005
by Eddie "Grunticus" Wilson
Page Created 15 December, 2005
Last Updated
14 December, 2005
Back to
HyperScale Main Page |
Home
| What's New |
Features |
Gallery |
Reviews |
Reference |
Forum |
Search