|
Focke-Wulf Fw 190D-9
by
Don Jamieson
|
|
|
Focke-Wulf Fw 190D-9 |

Hasegawa's
1/32 scale Fw 190D-9 may be ordered online from Squadron
This is my first post to HyperScale after watching
and admiring from the sidelines other modellers' work for a number of
years.
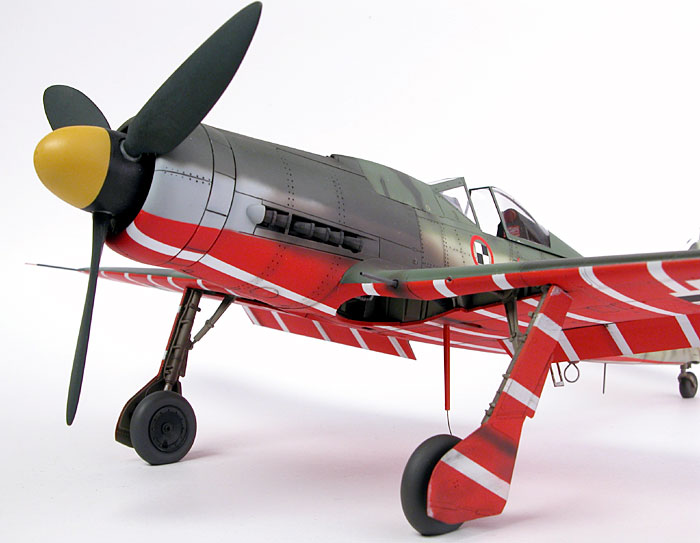
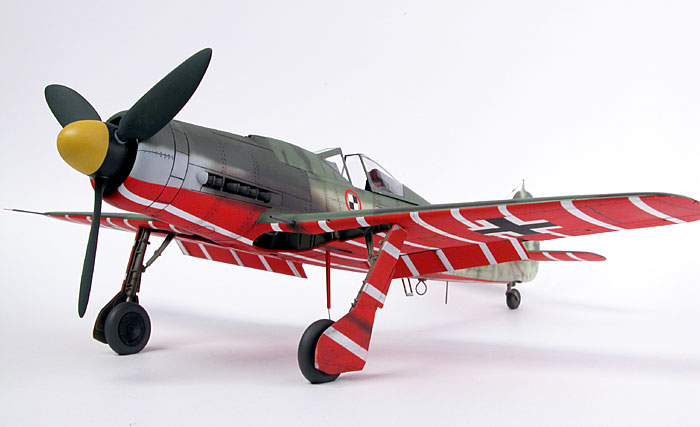
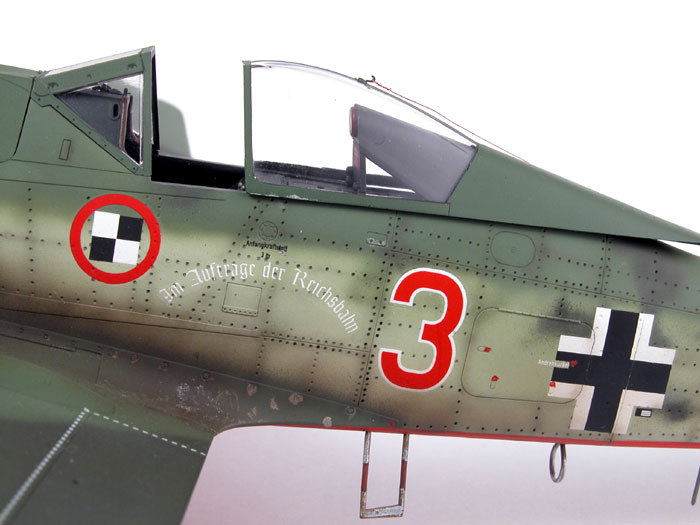
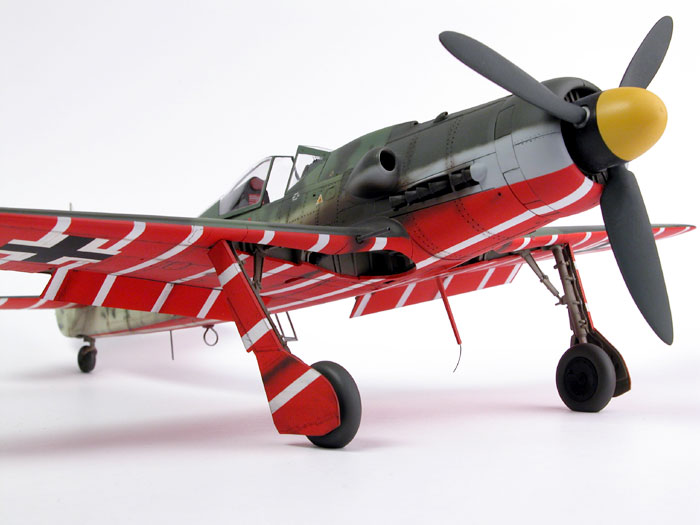
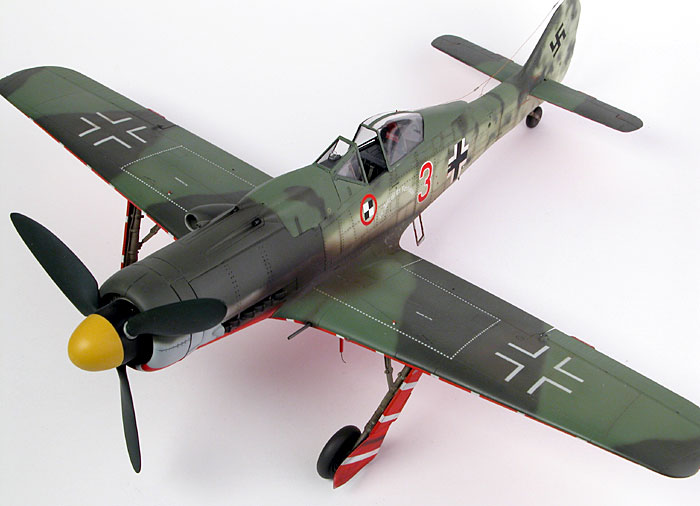
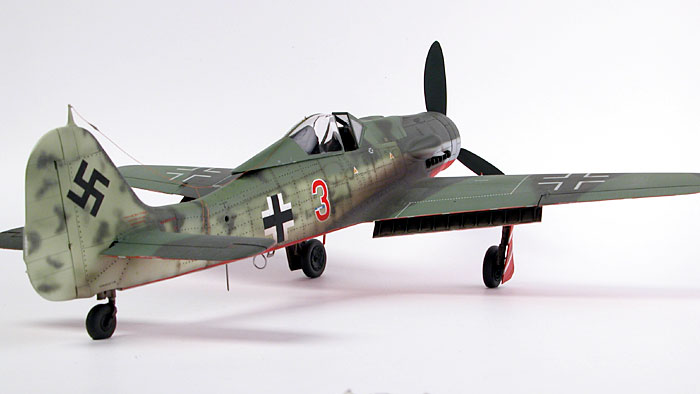
Here are pictures of my Hasegawa 1/32 D9 marked as
Red 3 from JV44. Since learning of this aircraft detachment, I have always
wanted to complete the four known aircraft.
Thanks to Eagle Editions for both their book on Doras
of the Galland Circus and the accompanying decal sheet, I will realise my
ambition.
Construction,
Painting and Markings
|
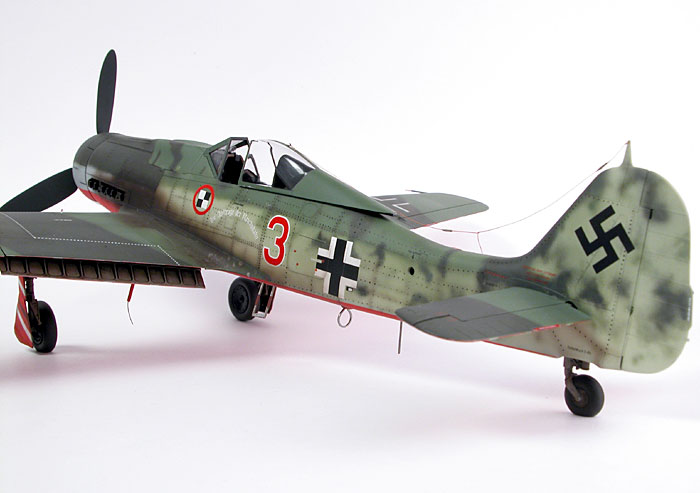
The new release 1/32 scale Focke-Wulf w 190D-9 kit by
Hasegawa went together beautifully and only presented problems when it
came to the final stages of finishing. I used the Eagle Cals decal sheet
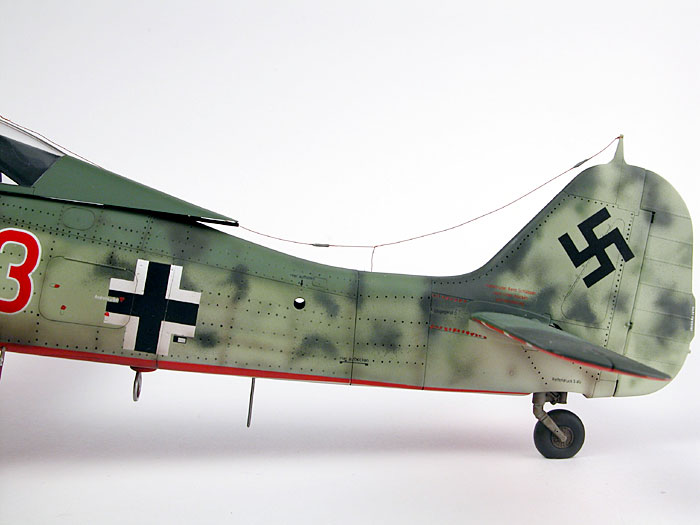
in general but had to replace the Eagle Cal wing cross decals with the
wing crosses supplied in the kit as they broke into three pieces when I
laid them down on the model.
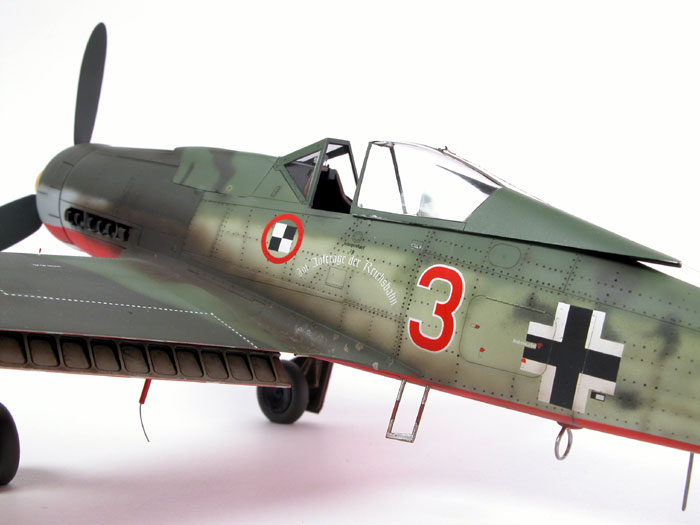
The underside area where the crosses would go was
masked off during painting the red and white stripes leaving a white area
for the crosses to go and not show the red. Some of the other decals on
the Eagle Cal sheet presented problems. They did not want to conform to
the panel lines too well and required some persuasion, “Get down or
else!” Why did it happen? I don’t know for sure. I followed all the
usual steps for decal application. (Editor's note - I have used a
number of Eagle Cal decals and have not experienced these problems. I
would suggest that this might have been a sheet that has been somehow
incorrectly printed).
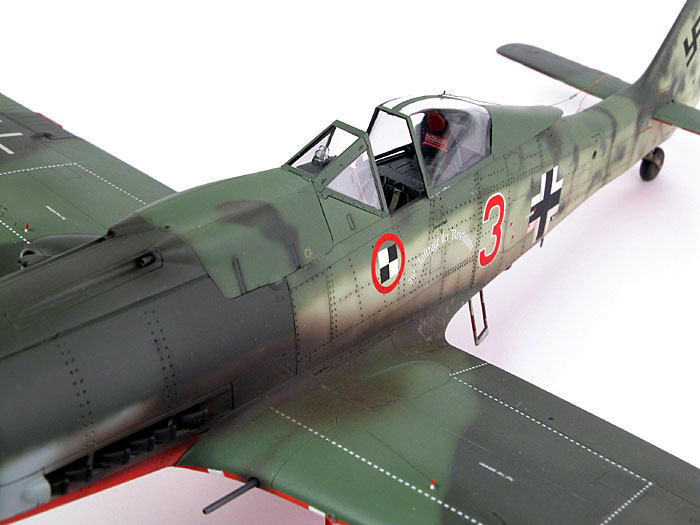
The only other problem I had, and it was my fault, was when I was
weathering the kit. It slipped out of my hand and fell on the floor. Much
gnashing of teeth and a few expletives at the broken undercarriage, not to
mention an “ I beg your pardon?” from my wife, raised eyebrow like Mr
Spock from my 16 year old daughter and I was back resigned to repairing
the damage to the port side gear leg.
By drilling a hole and inserting a steel rod in the gear leg and
re-cementing much like you repair a fractured long bone in a leg, I was
able to restore the correct stance (and the patient will walk again).
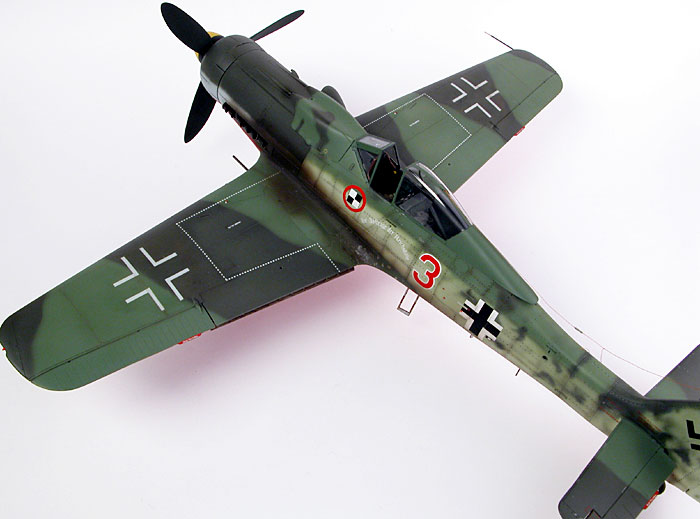
Following the technique used by Chris Wauchope on his D9, I drilled the
rivet locations but used a number 87 wire gauge drill bitt. Some might say
it looks like an old Airfix kit in reverse but I think the overall
impression looks good.
Next time, the rivets that I will do on Red 13 will
be a little more discreet!
I hope you like it.
Click the
thumbnails below to view larger images:
Model, Images and Text Copyright © 2003
by Don Jamieson
Images Copyright © 2003 by
Brett Green
Page Created 23 October, 2003
Last Updated
17 March, 2004
Back to
HyperScale Main Page |
 Home |
What's New |
Features |
Gallery |
Reviews |
Reference |
Forum |
Search
Home |
What's New |
Features |
Gallery |
Reviews |
Reference |
Forum |
Search