|
Nakajima J1N1-S Gekko
by Chris Wauchop
|
|
|
Nakajima J1N1-S Gekko Type
11 (early) |
images and text by Brett Green

Tamiya's 1/48
scale J1N1S Gekko is available online from
Squadron.com
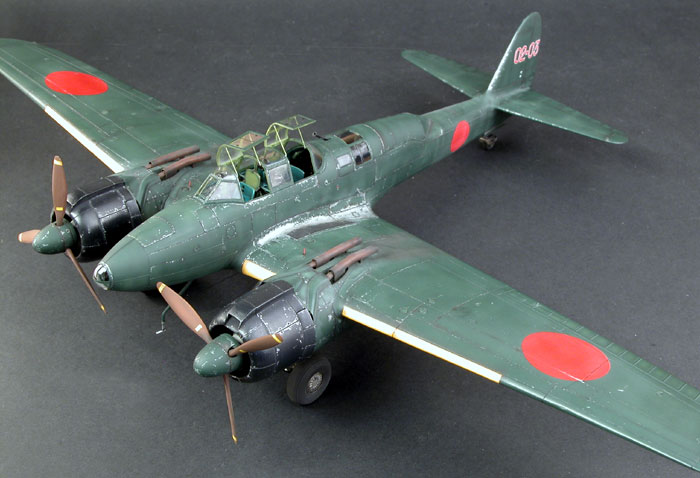
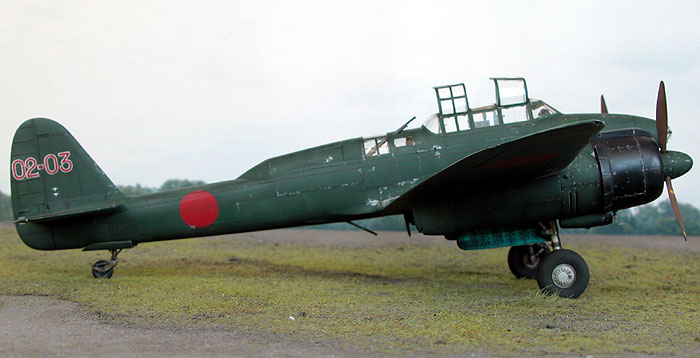
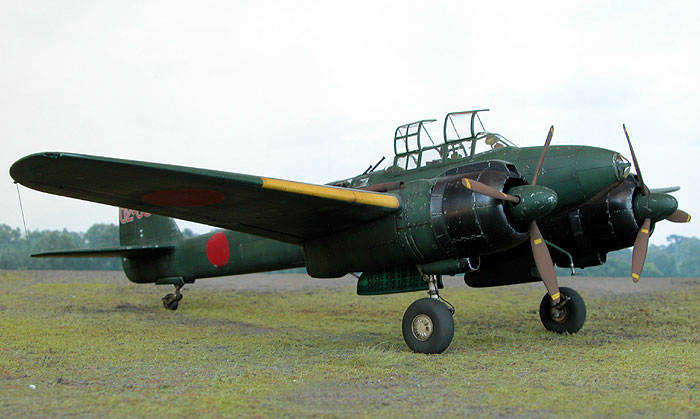
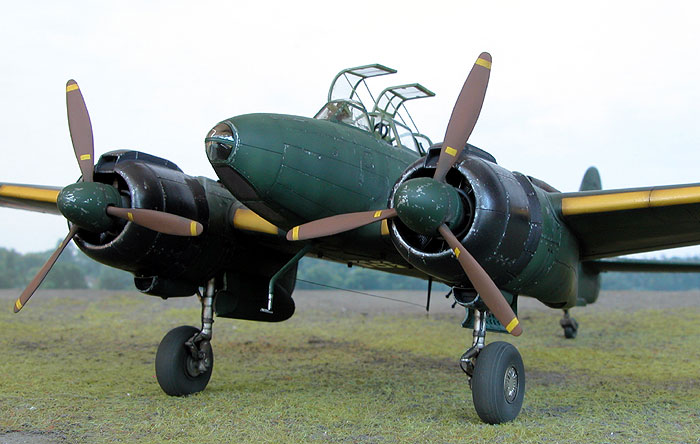
Here is Chris Wauchop's Nakajima N1J1-S Gekko Type 11 night fighter
from Tamiya in 1/48 scale.
Chris reported that this kit was beautifully detailed and that
construction was effortless.
Tamiya's 1/48 scale Gekko was built basically out of the box, with the only additions
being simple enhancements from material at hand.
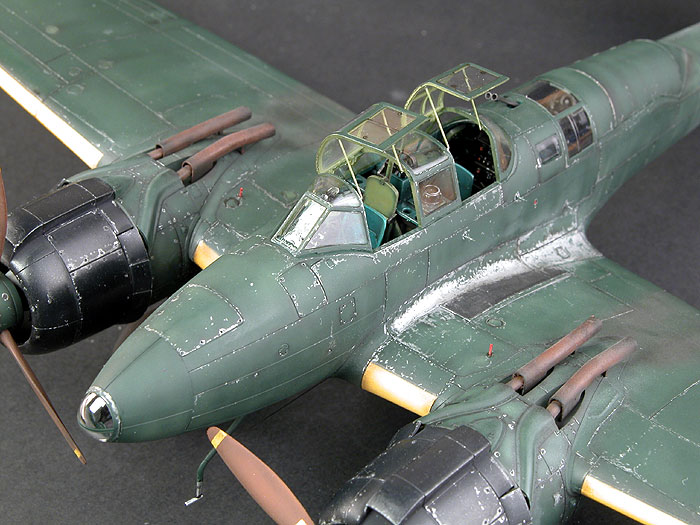
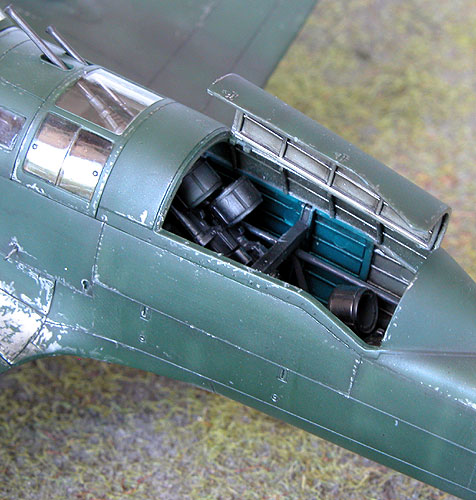
In the cockpit, harnesses were added from strips of lead foil.
Buckles were not visible in reference photos so were omitted.
The interior of the airframe received a base coat of Tamiya's
recently released Titanium Silver enamel paint. Chris was very impressed
with the finish and the smooth application out of his Testor A470
airbrush. A mix of Tamiya Clear Blue and Clear Green in equal portions
was sprayed over the silver base coat for the Aotake sections.
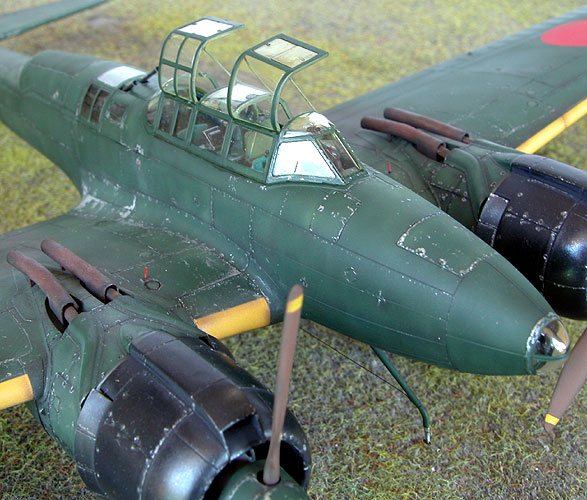
The struts holding the canopy open were added from stretched sprue.
Stretched sprue was also used to represent the small horizontal brace on
the tail wheel; the handholds protruding from the fuselage sides and the
landing gear indicators on the wings..
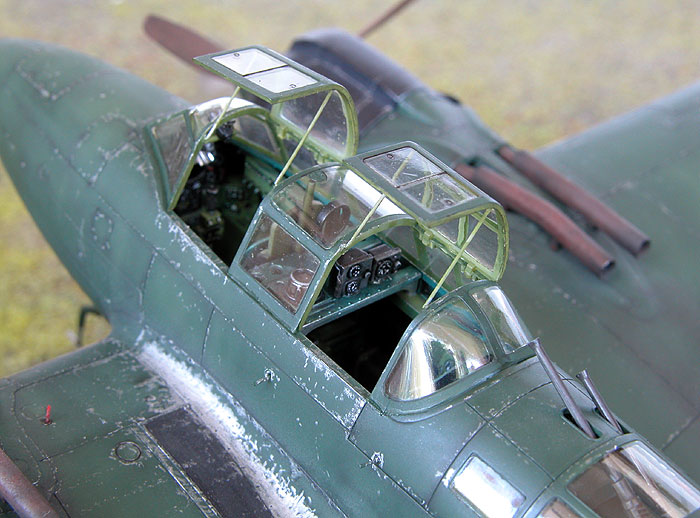
The cover for the oblique cannon in the fuselage was left unglued.
The fit was so good that there were no gaps when the part was pressed
shut, and it can also be displayed open when desired.
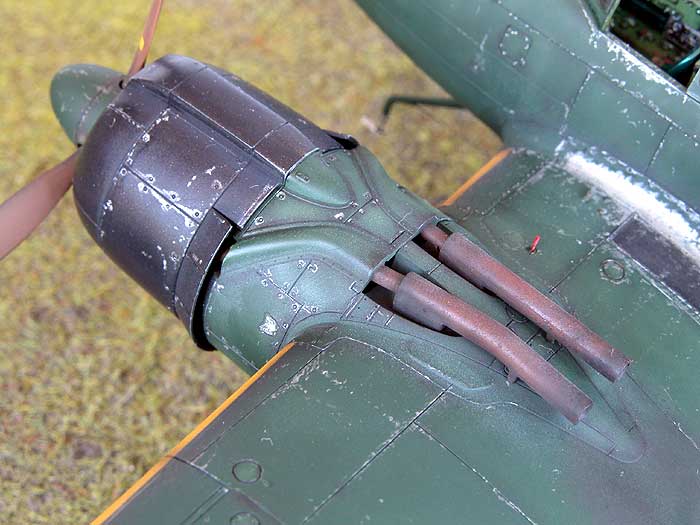
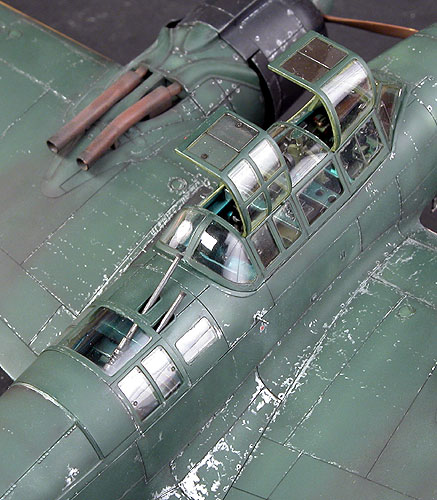
Gun barrel ends were hollowed out with a scalpel blade. The machine
gun assembly, framework and gun barrels were painted Tamiya Flat Black
then burnished with a 2B lead pencil.
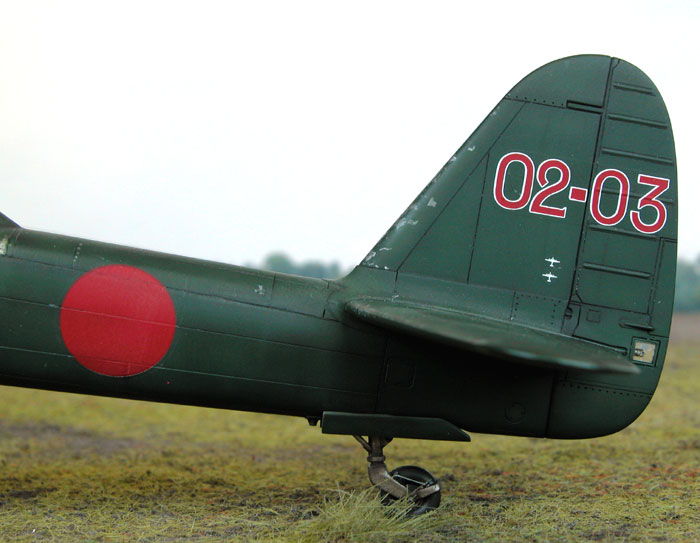
The solid clear styrene tail light enclosed within the rudder was
drilled with a pin vise to represent a light bulb. This light did not
receive any further painting.
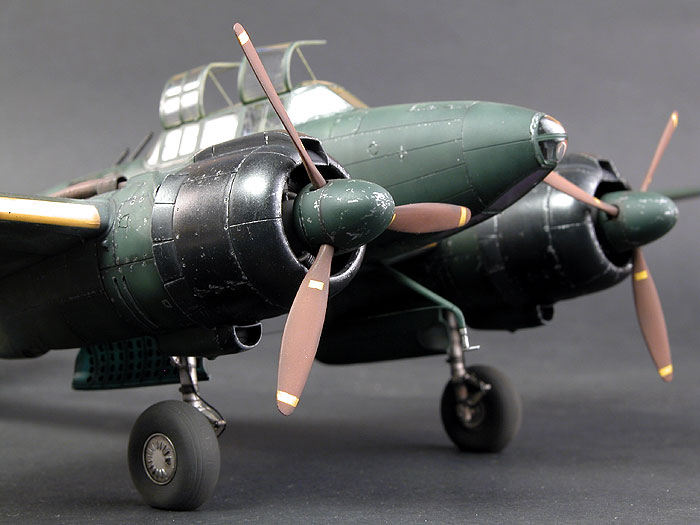
Tyres were flattened with a sanding stick and solder was used for the
brake lines.
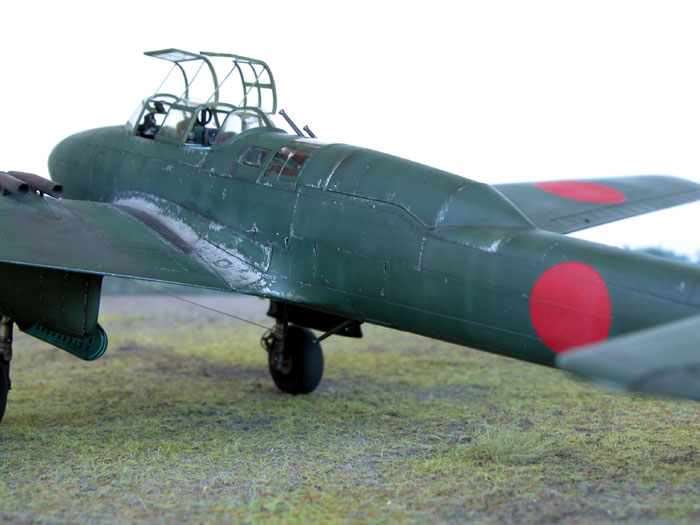
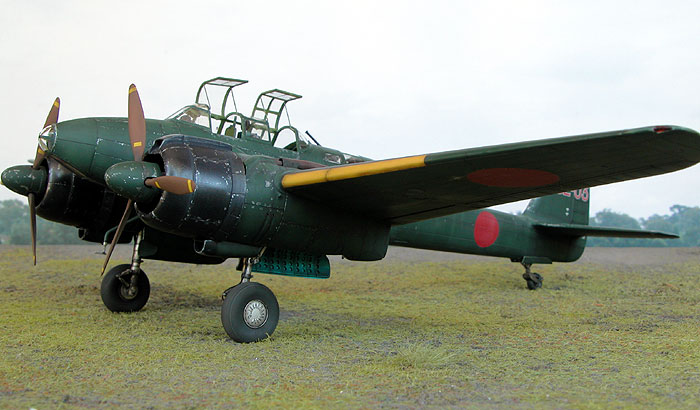
The overall camouflage colour is a mix of Gunze IJN Green and Tamiya
IJN Green, warmed slightly with Tamiya IJA Green. The mix consisted
equal parts of the three colours.
Chris employed his usual method of post-shading the panel lines for
the model. This method comprises airbrushing a very thin mix of brown
and black along the panel lines. This is followed by a thin semi-gloss
black heavily thinned with water, applied directly to all panel lines
using a 10/0 brush.
The centre of each panel was lightly oversprayed with the base colour
mixed with Tamiya Yellow Green. This was very thinly and lightly
applied. Vertical streaks were also added using this same colour.
 The
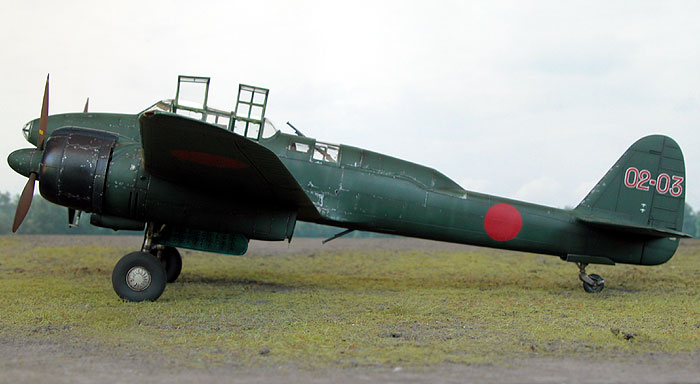
engine cowls were painted with a 50:50 mix of Tamiya Flat Dark Blue and
Flat Black. These parts were then polished with a nail buffer prior to
assembly. Gunze Rust was used for the flame dampers. The basic red
colour was weathered with Chris's thin black/brown mix. The
engine cowls were painted with a 50:50 mix of Tamiya Flat Dark Blue and
Flat Black. These parts were then polished with a nail buffer prior to
assembly. Gunze Rust was used for the flame dampers. The basic red
colour was weathered with Chris's thin black/brown mix.
Propeller blades are Tamiya XF-64 Red Brown, subtly shaded along the
edges with black.
The impressive paint chipping effect was achieved exclusively with a
silver artist's pencil. Even the heavy wear on the wing roots was
applied by gradually building up tiny dots from the tip of the silver
pencil.
Chris has just started dipping his canopies in Future to improve
shine and clarity, but he has not had much luck so far. Although he is
using Future from the same bottle as mine (I decanted some of the
original American formula into a jar for him) and using Tamiya masking
tape as I do, he has had problems with the Future lifting from the clear
parts when the masking tape is removed. He encountered that problem on
this canopy too - on the port quarter window of the windscreen - but
managed to hide the resulting flaw. This is a bit of a mystery, as I
have never had any such problem. I am sure that Chris would be grateful
for any suggestions to avoid this problem!
The canopy frames were masked with Tamiya masking tape. To further
highlight this prominent area, a thin wash of acrylic black paint was
run along the edges of each canopy frame. The effect is subtle, but
certainly adds depth to the framing.
Kit decals were used exclusively with the assistance of Gunze Mr Mark
Softer decal softening solution. Chris mentioned that, although many
people comment about Tamiya decals being thick and difficult to use, he
never has any trouble with the kit markings.
Smoke-coloured invisible mending thread (nylon monofilament) was
employed for the aerial wires both underneath the fuselage and also from
the starboard wingtip to the starboard aileron tip. The highly exposed
location of this wire almost guarantees that it will be snapped off by a
careless handler in the near future!
|
 Home |
What's New |
Features |
Gallery |
Reviews |
Reference |
Forum |
Search
Home |
What's New |
Features |
Gallery |
Reviews |
Reference |
Forum |
Search