|
M26 Pershing (T26E3)
by Scott A. Bregi
|
|
|
M26 Pershing |

Tamiya's
1/35 Scale Pershing is available online from Squadron.com
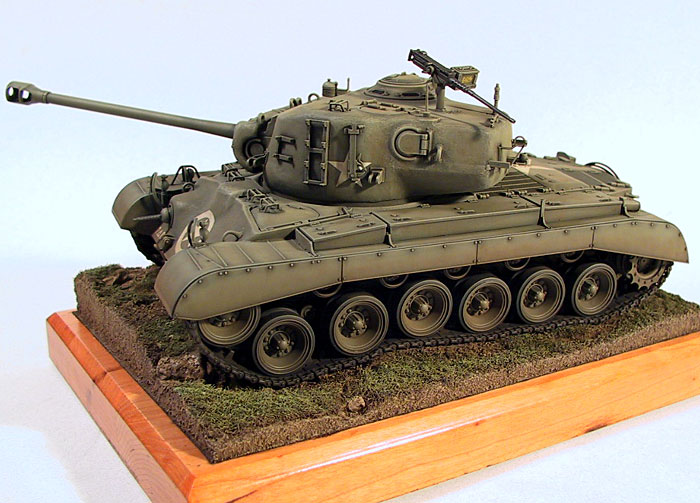
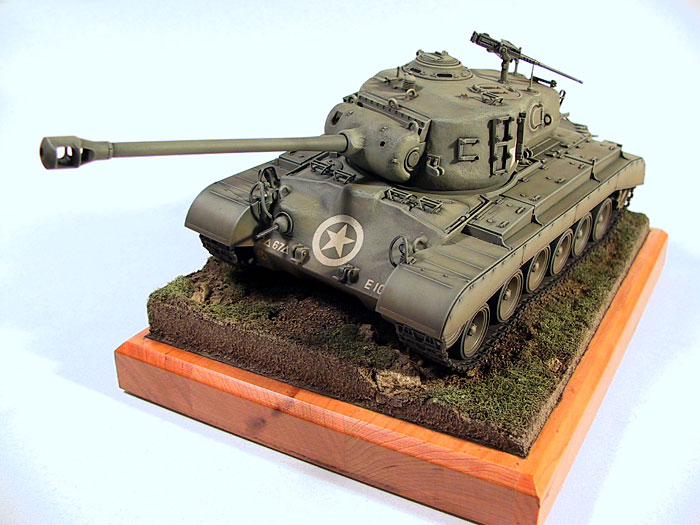
Here is my 1/35 scale Tamiya M26 Pershing
This model was built straight from the box and finished using kit supplied
markings for vehicle #10 from Echo Company, 67th Armor Rgt, 2nd Armored
Div. April 1945.
First things first:
The kit was assembled as per the kit instructions except that I did not
drill out the hole in the bottom of the hull for the attaching screw. I
attach my models to the base by drilling up thru the track at the center
line of the first and last road wheel. I then run some flat brown florist
wire in a loop up thru the base then loop it around the center of the road
wheel. The wire is then pulled taught and a section of bamboo skewer is
wedged into the hole to secure the wire.
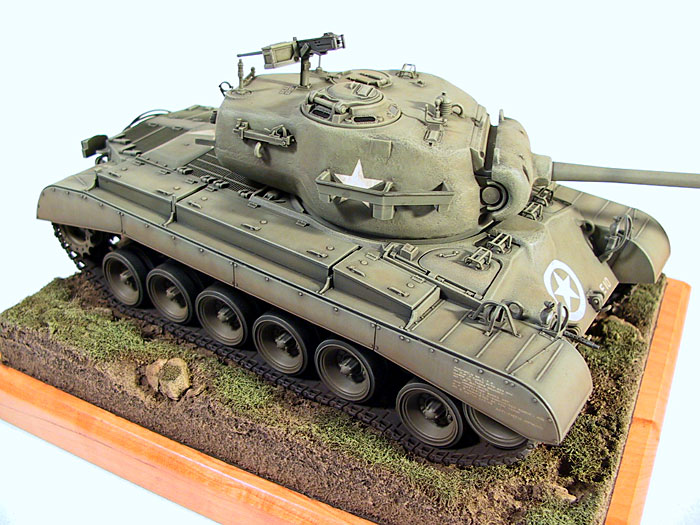
Since this model comes with a novel although simplified fully articulated
suspension. I had to lace all road wheels to the base in order to get the
model to conform to the undulating terrain.
Painting,
Markings and Weathering
|
 Paint Paint
I started by first pre-shaded the model by applying an overall coat of
Testor's flat black.
I then sprayed the base color coat with Testor's Model Master II ANA 613
Olive drab and followed that with ANA 613 Faded Olive Drab for a
highlight.
The M2 .50 cal MG and the bow machine gun were dry brushed with Alclad
steel over the flat black base coat
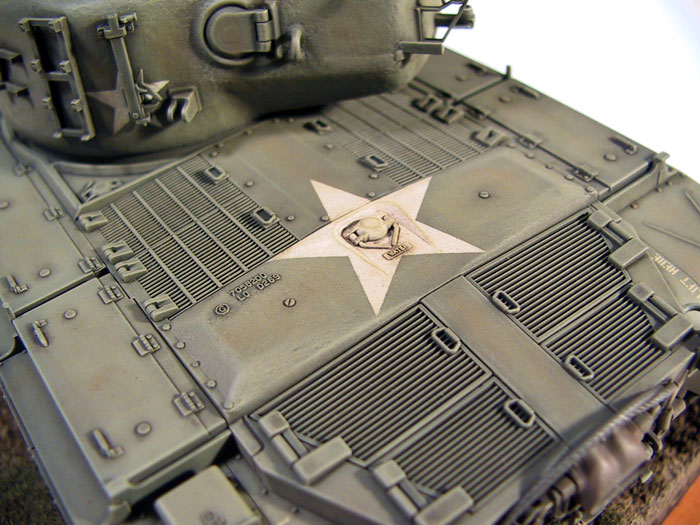
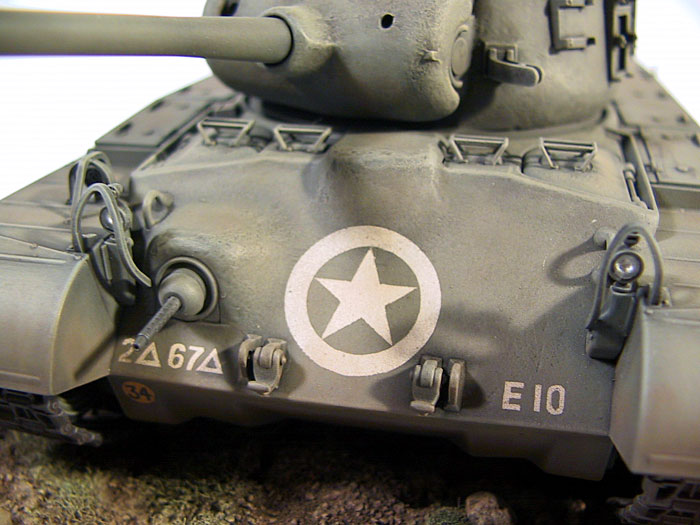
Markings
All National and Unit markings were accomplished by cutting stencils using
the kit decals with Tamiya Tape and then air brushed on with Insignia
White. All other markings were applied as kit supplied decals. To prevent
the decals from silvering over the dull finish
I quickly applied a layer of Micro scale Super film and then the decal was
applied on the still wet puddle of Super Film. I then quickly arranged the
decal into position and tamped it down with a cotton swab.
You have to get the decal into position fast as the Super Film will start
to soften the decal and then will cause it to conform to the surface. The
Super Film seals the decal to the surface and prevents the decal from
silvering.
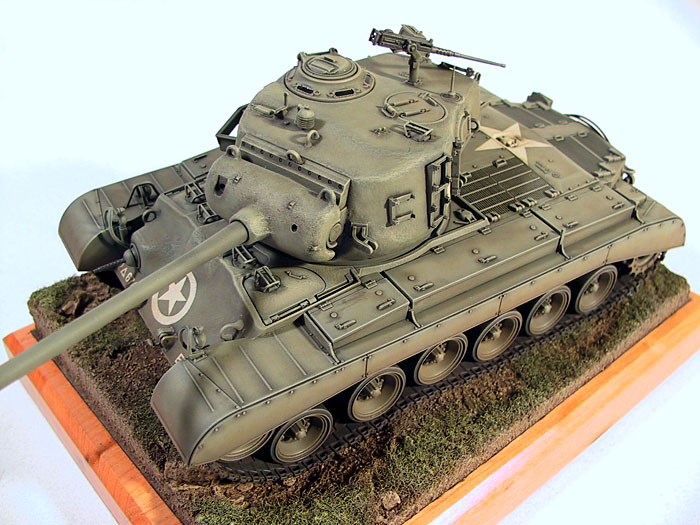
Weathering
The model was given an overall coat of Testors Dullcote and then an
overall wash using Turpenoid and Windsor & Newton artist oils in Burnt
Umber and Ivory Black. Dry brushing was accomplished by using Windsor &
Newton Titanium white mixed with a few drops of the base color and a drop
of Linseed oil to smooth out the consistency and increase dying time for
the oil color mixture. Subsequent washes were applied to specific areas
and dry brushes were the same as before but with more white and a touch of
Yellow Ochre. The tracks were painted flat Black and given a wash of
Rust-All and then dry brushed with Humbrol Metal cote polished steel then
given another wash with Ivory black oil paint. The model was given a final
sealing coat of Dulcote and attached to the base. The Pershing was then
weathered with pastels to blend it into the terrain on the base.
This was a very satisfying project as is just about all of Tamiya’s recent
Armor kits. Tamiya’s seems to raise the bar a bit higher with every kit
they produce!
I highly recommend this kit for someone that wants to take a crack at that
first armor project, and with Tamiya’s Flexible Styrene rubber band track
it is a snap to put together!
Click on the thumbnails
below to view larger images:
Model, Images and Text Copyright © 2004
by Scott Bregi
Page Created 20 February, 2004
Last Updated
17 March, 2004
Back to
HyperScale Main Page |
 Home |
What's New |
Features |
Gallery |
Reviews |
Reference |
Forum |
Search
Home |
What's New |
Features |
Gallery |
Reviews |
Reference |
Forum |
Search