|
Martin-Baker M.B.5
by Mick Evans
|
|
|
Martin-Baker M.B.5 |
images by Brett Green

Silver Cloud's
1/48 scale Martin-Baker M.B.5 is available online at Squadron.com
The M.B.5 represented the last of the Martin-Baker company’s dabble
in aircraft development before becoming the most successful manufacturer
of ejection seats.
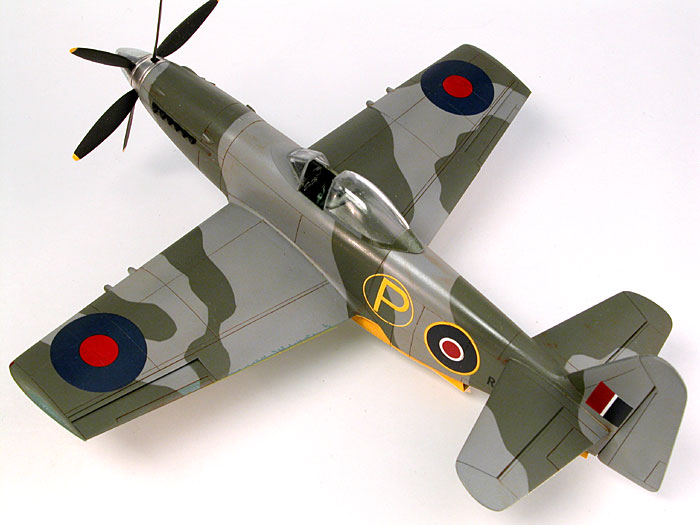
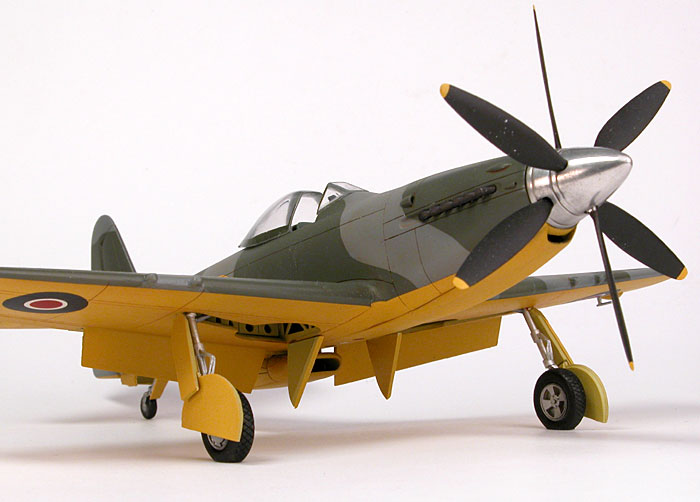
The MB.5 had laminar flow wings, a powerful Rolls Royce Griffon engine
driving contra rotating propellers. It was quite a large aircraft when
sat next to a Spitfire or Mustang, but it was agile and fast.
The M.B.5 would have been the penultimate in piston engine fighter
aircraft but it came just too late - the jet turbine powered aircraft
was already the flavour of the day.
Silver Cloud’s 1/48 scale M.B.5 comprises 31 injection moulded
plastic parts, 30 metal parts, and 1 clear part.
|
Kit Summary |
|
Advantages
Good detail
Nice surface detail
Accurate details and features
Excellent propeller and spinner. |
Disadvantages
Excess plastic on
mating surfaces
Thick Canopy
Poor fitting wings
Average instructions. |
|
Recommended for
experienced modellers |
The injection moulded parts have some nice and subtle detail moulded
into the soft grey plastic. The only problem with the plastic parts is
excess plastic on the mating surfaces. This is in the vicinity of 1mm in
some places, and is awkward to remove. I removed the gun port blanks off
the wings to allow the surfaces to be sanded more easily.
A lot of trial fitting is required to get the fuselage and wings to the
correct width. Once this is done the assembly is straight forward, until
it comes time to fit the wings.
The cockpit is a nice build but a bit scant on detail for a model in
2003.
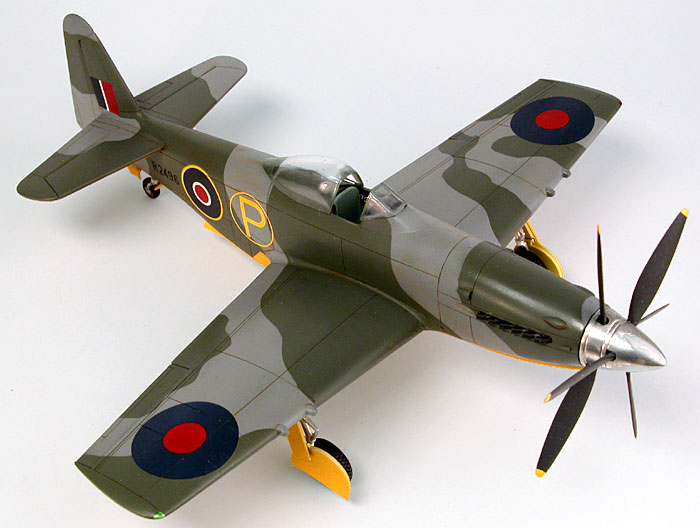
The wings are built around the main spar which slips through the
fuselage and ensures the correct dihedral on the wings. The wheel well
surrounds are made of metal and have the correct ribbing and lightening
holes moulded into them. On trying to fit the wings to the fuselage it
was noticed that the wing contour did not match the moulded stubs on the
fuselage. No amount of shimming, sanding, or hot water softening would
fix the problem, so I reshaped the stubs with Tamiya putty until the
shape of the wings was matched. This looks almost perfect on the
completed model.
The kit features separate flaps, ailerons, and rudder, but the elevators
are moulded on the horizontal tail surfaces.
The nose needed a bit of trimming work to make it fit to the fuselage.
The vertical and horizontal surfaces went together with almost no
problems at all.
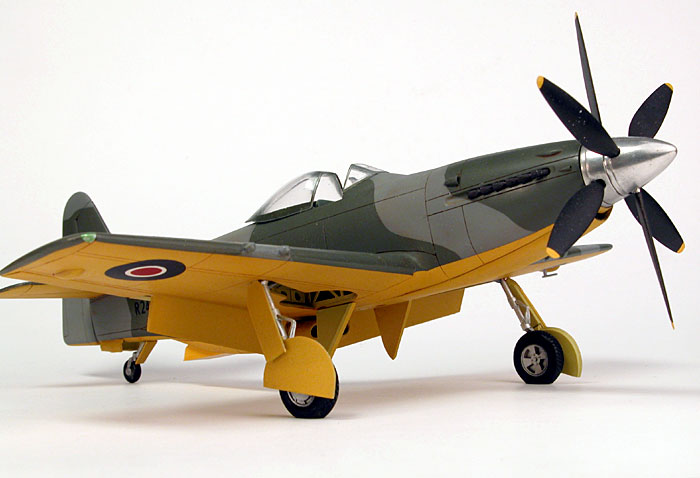
I replaced the wheels with some True Details Tempest wheels as these
looked more accurate then the ones supplied in the kit.
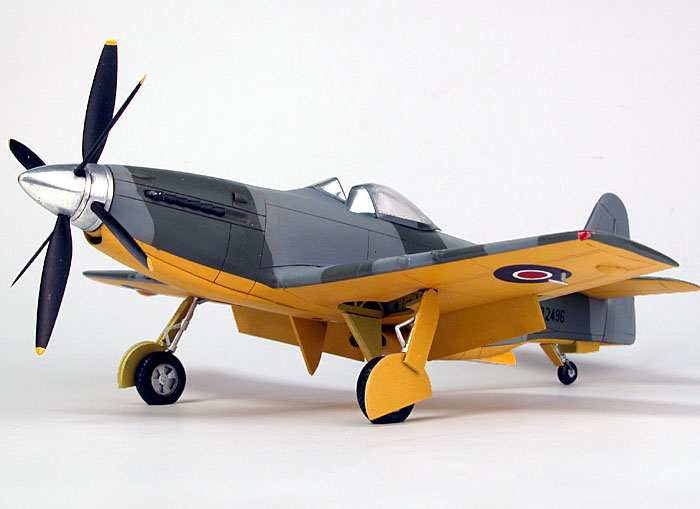
I chose to polish the spinner to replicate the early prototype before
the spinner was painted matt black. This required the spinner to be
sanded with progressively higher grades of wet and dry paper until all
imperfections disappeared. The spinner was then polished with Tamiya
polishing compound until a high polished metal finish was achieved.
The canopy posed the largest problem.
It was accurate in shape and fit, but just way too thick - approximately
3 to 4mm. Not having any clear plastic for plunge moulding, I took to
the canopy
with my Dremel and rotary burr and ground away a large quantity of
plastic from the inside. This was then smoothed with progressively
finer grades of wet and dry paper before being polished with a felt pad
coated in Tamiya polish mounted in the Dremel. The finished product was
not perfect but no worse than the product that I started with - only a
lot thinner.
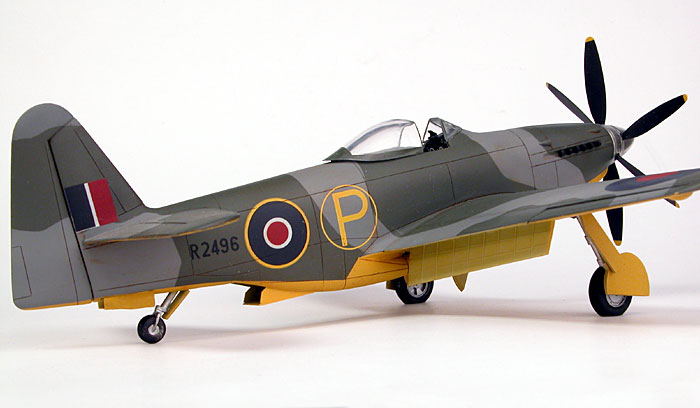
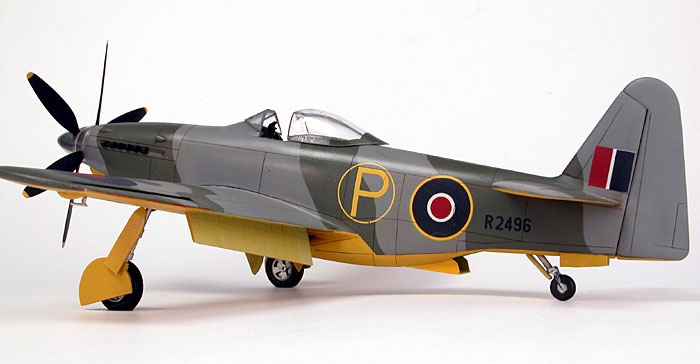
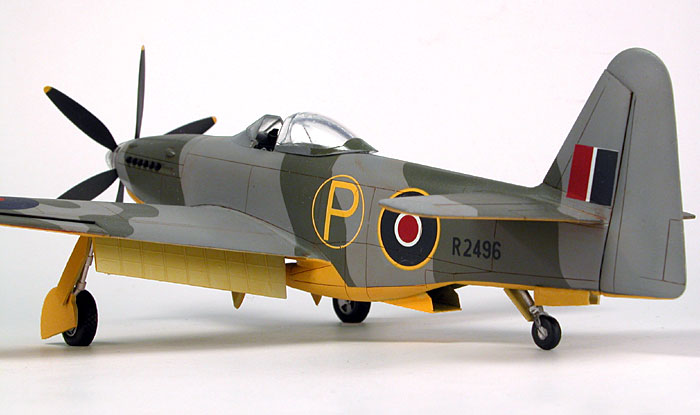
The aircraft was painted in standard prototype colours for that
period.
I painted the upper surfaces of my model using Xtra Color Dark Green and
Dark Sea Grey, with Trainer Yellow underneath. The wheel wells and flap
bays were painted in zinc chromate, while the cockpit was interior green
and matt black.
The decals were quite good and adhered to the surface very nicely with a
small dab of decal set.
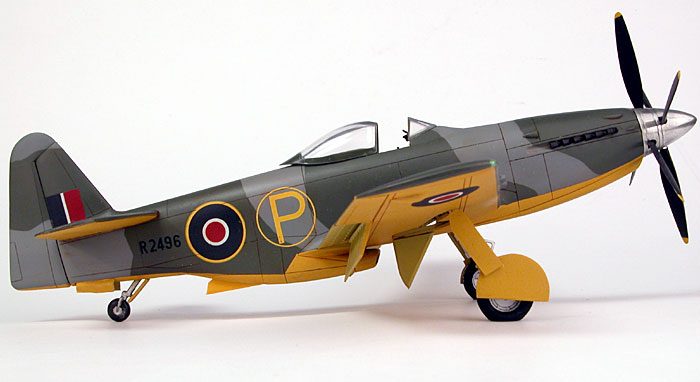
Silver Cloud's Martine Baker M.B.5 looks great when finished and
fills a void in my "favourite aircraft" section. However, be aware that
a good result will require a very significant commitment in planning and
modelling effort.
Thanks to
Squadron.com for the review sample
.
Click the thumbnails below
to view larger images:
Model and Text Copyright © 2003 by
Mick Evans
Images Copyright © 2004 by
Brett Green
Page Created 11 August, 2003
Last Updated 17 March, 2004
Back to HyperScale
Main Page
|
 Home |
What's New |
Features |
Gallery |
Reviews |
Reference |
Forum |
Search
Home |
What's New |
Features |
Gallery |
Reviews |
Reference |
Forum |
Search