|
Curtiss P-40K Warhawk
by
Ian Robertson
|
|
|
P-40K Warhawk |

HyperScale is proudly sponsored by Squadron.com
The P-40K was essentially a P-40E with a more
powerful Allison engine. Initial production models had a short fuselage
like the P-40E and a dorsal tail filet for stability. Later production
models incorporated the longer fuselage of the P-40F and removed the
tail filet.
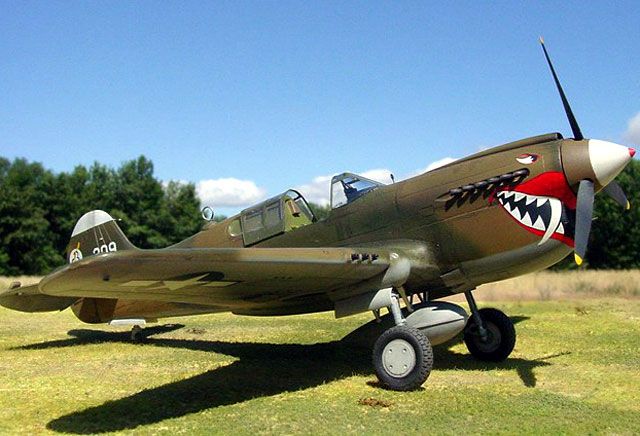
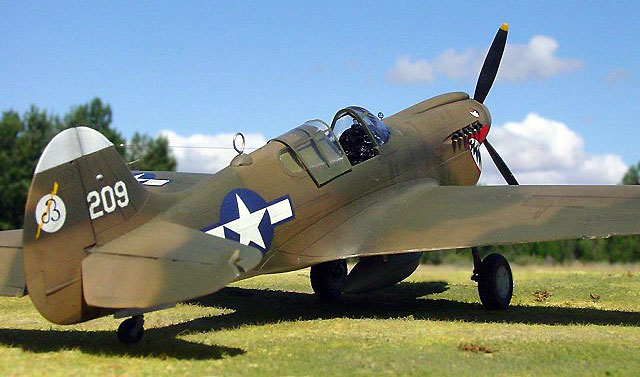
My model represents an early production P-40K.
This is the AMT/ERTL 1/48 P-40K Warhawk in the
markings of "Miss Wanna II" flown by 1st Lt Charles White, 25 FS, 51st
FG, China, summer 1944. Decals are from Eagle Strike sheet 48075.
The AMT P-40K is straightforward to build yet shows its age in terms of
crispness of detail and sophistication of design. The Mauve kit is
superior in my opinion, but as far as I know the P-40K is not an option
with that manufacturer.
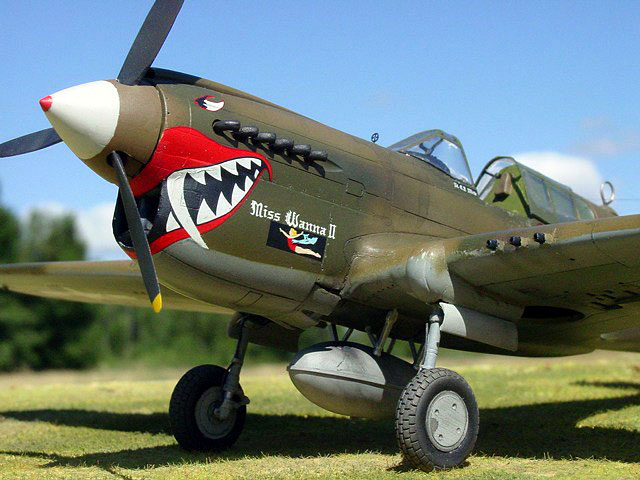
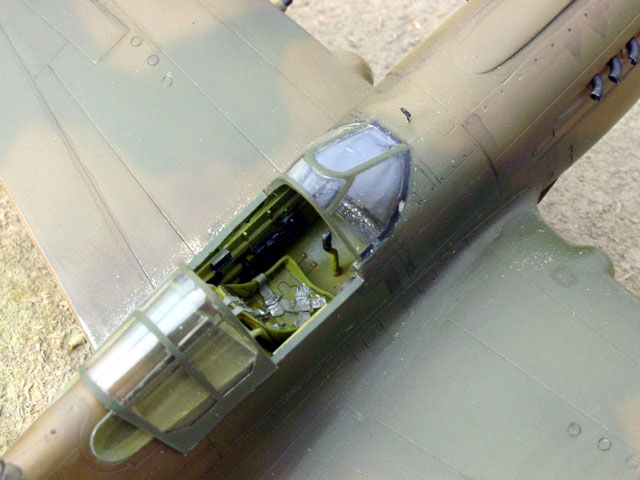
Modifications to my model include a resin seat from
Ultracast (which was well worth the cost given the seat's prominence in
the open cockpit), replacement control surfaces on the tail, replacement
tires from True Details, and photoetch crosshairs. I scratch built the
pitot tube using syringe tubing and wire. The loop antenna was fashioned
from spare styrene and wire. Brake lines were made from copper wire. Gun
barrels and exhausts were hollowed out.
The tail for the early P-40K was included in the kit as a replacement
part for the standard P-40E fuselage and tail. I opted to attach the
replacement tail parts to each half of the forward fuselage prior to
gluing the fuselage halves together. By doing so it was easier to create
a smooth transition between the fuselage and tail than if the completed
replacement tail had been plugged into the completed forward fuselage.
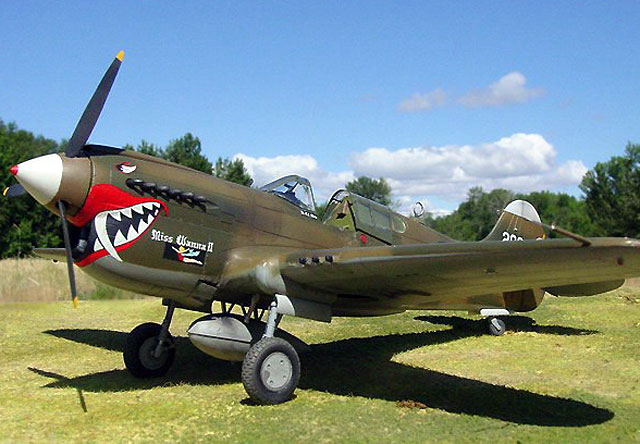
The exterior of the model was sprayed with several
light coats of SnJ Aluminum Metallizer. I did not buff the natural metal
finish. Wheel wells and the inside surfaces of the gear doors were
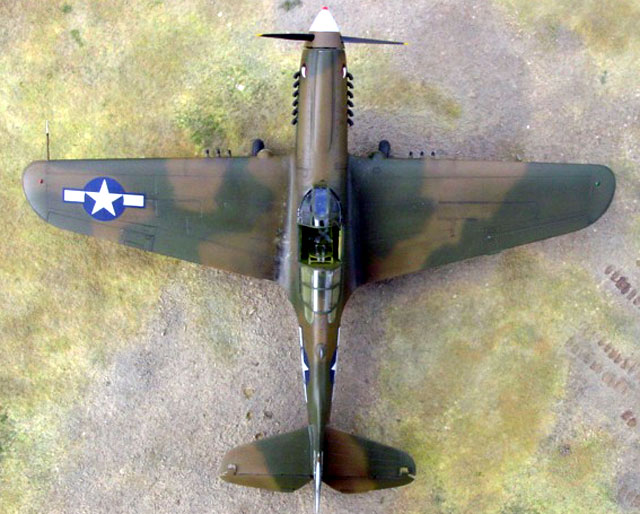
painted interior green. The upper camouflage, which was sprayed
freehand, consisted of dark green and dark brown, both of which were
faded slightly by mixing in some Israeli Khaki. The undersides were
painted neutral gray.

Once the camouflage scheme was complete, fine grain sandpaper was used
to make surface abrasions and expose the SnJ aluminum beneath,
particularly on the port wing root and cockpit entrance. Exhaust stains
were simulated by spraying highly thinned black paint. The antenna wire
was made from stretched sprue.
Images of the completed model were taken outdoors
with a SONY digital camera set at its highest picture resolution (2048 x
1536 pixels).
Other camera settings were as follows: 200 ISO film
speed (it's an option on my digital camera), 800-1000th/sec shutter
speed, F-stop 8.0, and fixed focus distance of either 20 or 30 cm.
Images were cleaned up using Adobe Photoshop 6.0 for the Macintosh.
Specifically, the resolution of some photographs was enhanced using the
"sharpen edges" tool. Sharpening images in such a way helps to restore
some of the clarity lost during image compression.
Click on the thumbnails
below to view larger images:
Model, Images and Text Copyright ©
2003 by Ian Robertson
Page Created 24 October, 2003
Last Updated 17 March, 2004
Back to HyperScale
Main Page
|
 Home |
What's New |
Features |
Gallery |
Reviews |
Reference |
Forum |
Search
Home |
What's New |
Features |
Gallery |
Reviews |
Reference |
Forum |
Search