|
 |
|
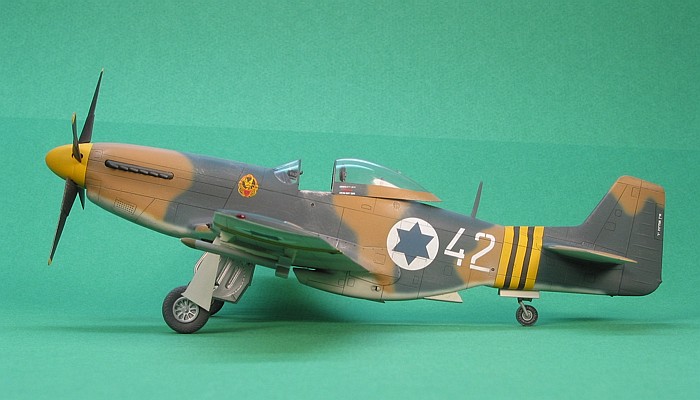
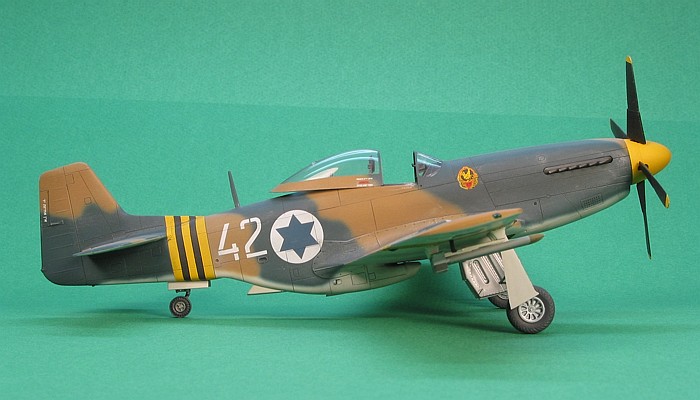
Israeli P-51D Mustang |

Hasegawa's 1/48 P-51D Mustang is available online from Squadron.com
Continuing my "Postwar Warriors" theme, I decided to build the
Hasegawa P-51D Mustang in the colors of the Israeli Air Force. I
acquired the decals for this model so I could give them to a friend, but
I found I really liked the camouflage and markings of the aircraft.
Thus, I chose to hang on to the decals (my friend would probably never
have gotten around to building them anyway) and used them to build this
model.

The hook that got me interested in this model is the blue color in
the camouflage. I can't say that I ever remembered seeing a dark blue
color in a desert camouflage, except for some Top Gun Aggressors. The
contrast appealed to my mind's eye, so I decided I wanted to build a
"painting project" to see the camoulfage in three dimensions. In the
end, the blue color has just enough of a green cast to it that it does
not look as out of place as I had thought it would.
I am not going to get into a long discussion of the Hasegawa
P-51D Mustang. Check out other reviews of this kit for a complete run
down of all the detailing. It is a great kit -- enough said.

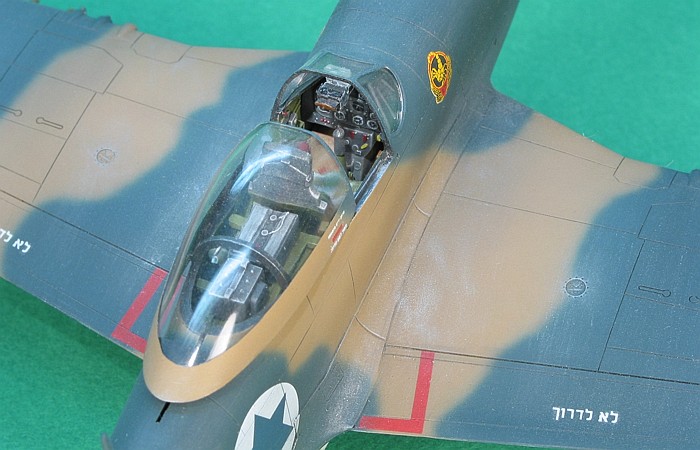
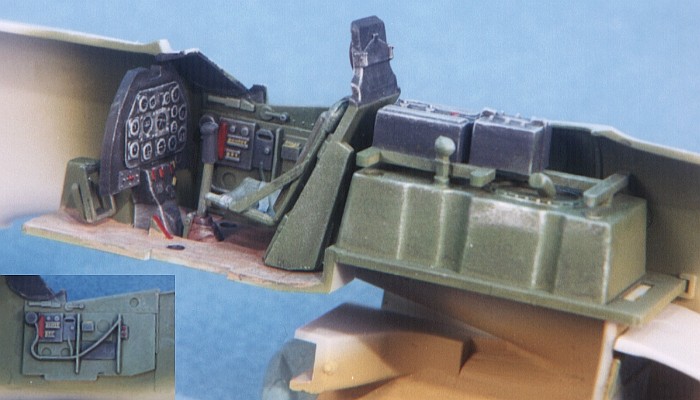
The model is built completely out-of-the-box. The point to the
project was the markings, so I wasted no time on superdetailing the
construction of the model.
The decals for this project are from IsraDecal. The following
is a paraphasing from their instruction sheet:
I used all Testors Model Master enamels paints for the model.
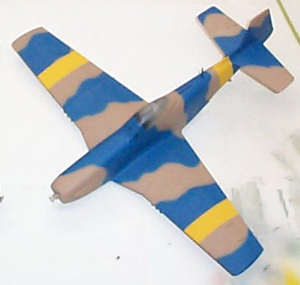 I actually painted this model twice. The first painting was a disaster
because I assumed that Floquil knew what they were doing. I was
wrong (and so are they). See the image to the right.
I actually painted this model twice. The first painting was a disaster
because I assumed that Floquil knew what they were doing. I was
wrong (and so are they). See the image to the right.
This grainy picture shows the original colors I painted on the model.
Floquil marketed this blue color in their Military Colors enamel
paint line. A friend lent me a bottle of the color, called "Israel Early
Camo Blue". It sounded good to me. I scale-effected the paint as usual
and painted the model. YUK!!! Even without the scale-effecting, this
color was way too light and too blue.
After re-evaluating the camouflage and exchanging e-mails with
another friend in Italy, I saw the error of my ways and decided that the
only correct fix to the problem was a re-painting of the model. I
returned to my original plan (before my helpful friend lent me that
bottle of blue paint) and custom mixed the colors for the camouflage.
The camouflage colors were mixed as follows.
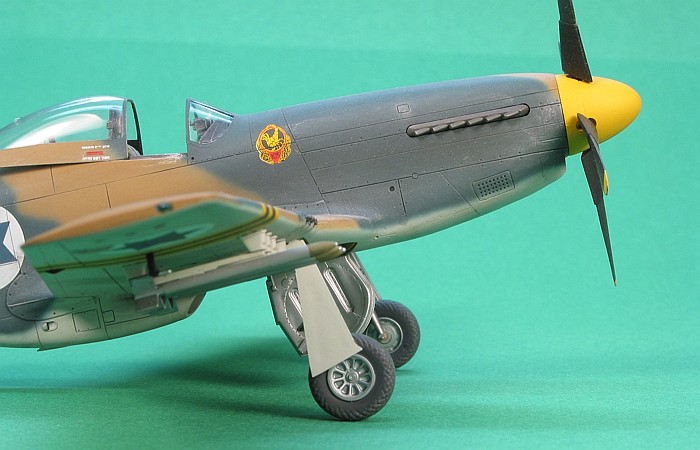
- Blue (RAL 5008): My Italian friend provided me the F.S.
correlation to this color. F.S.35045 appoximates it. I found (using my
F.S. color fan) that this color is a little lighter and grayer than
Non-Specular Sea Blue (F.S.35042). To mix the color, I started with
F.S.35042 and added Gunship Gray (F.S.36118) to lighten and gray-out
the color. I used a 5:1 mixing ratio (blue to gray).
- Brown (F.S.30215): Consulting my F.S. color fan another
time, I found this color to be close to Dark Tan (F.S.30219), only
slightly more yellow. To mix the color, I started with F.S.30219 and
added Insignia Yellow (F.S.33538) to offset the color. I used a 5:1
mixing ratio (tan to yellow).
- Light Gray (RAL 7044): My Italian friend provided me the
F.S. correlation to this color, also. F.S.36492 appoximates it. The
Model Master enamel paint line has this F.S. color in it. I used the
color right out of the jar with no change.
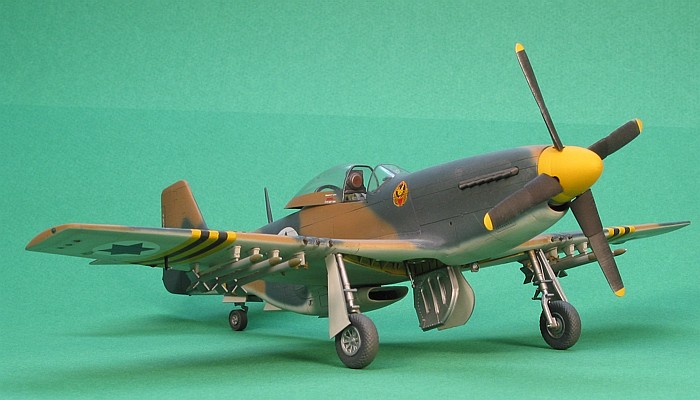
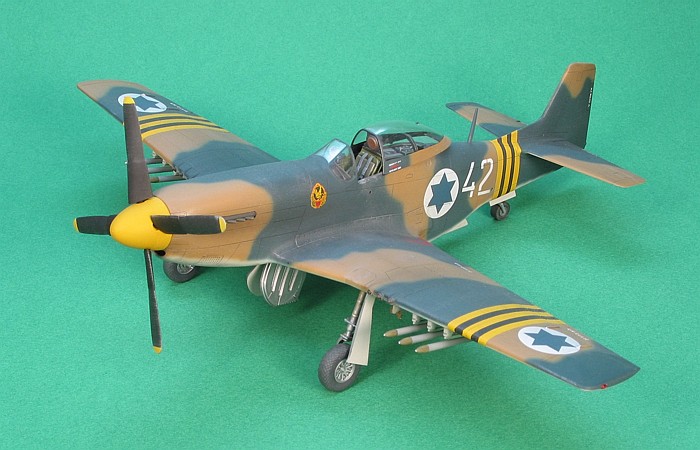
Using these color mixes, I was much happier with the final camouflage
on the model. I think the gray bottom color might be a little too light,
but I was not going to repaint the model a third time. This ultimately
was a "painting project", not a competition piece for Nationals. I left
the bottom color alone.
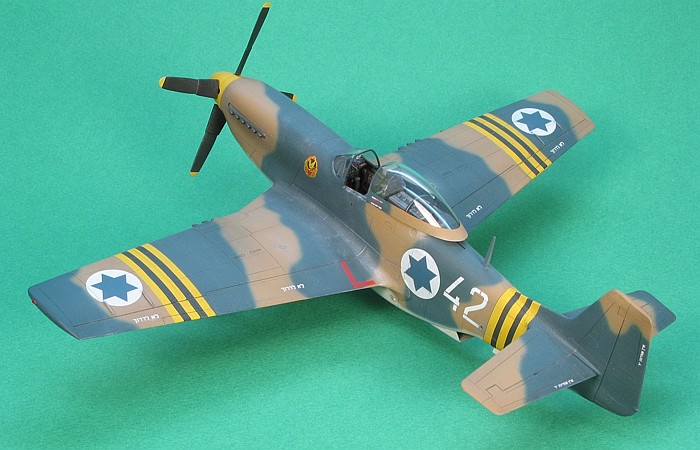
The last line of the decal instructions indicated to me that the
camouflages were non-standard, but the instruction sheet included left,
right and top views of Mustang number 42. So I followed the provided
drawings for the camouflage pattern. I applied the camouflage freehand,
without masking.
The decals went down with no surprises. The instructions claimed they
were designed for the Tamiya kit, but they fit my Hasegawa
kit just fine. I used Solv-a-set as a setting solution.
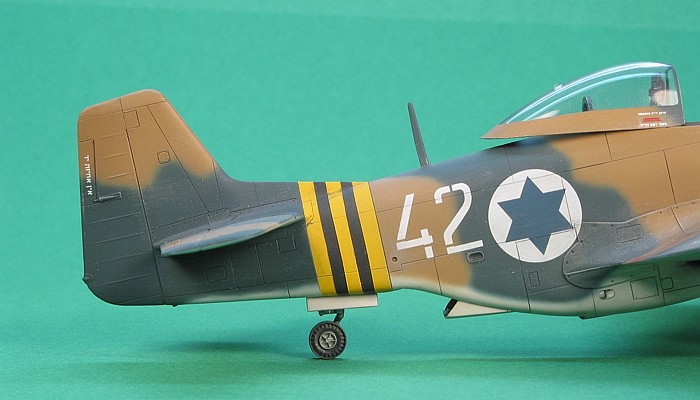
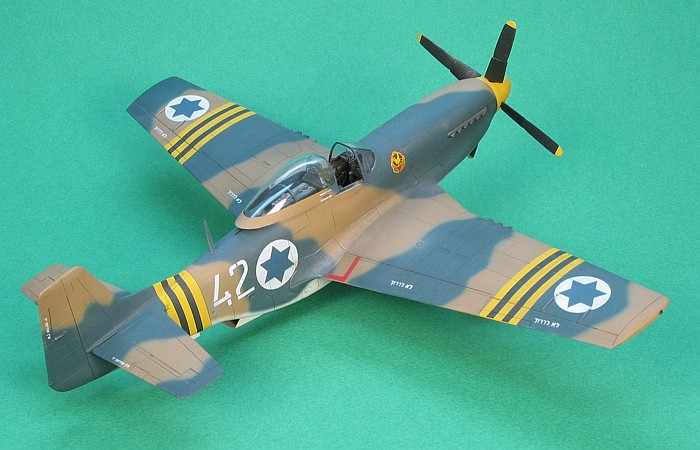
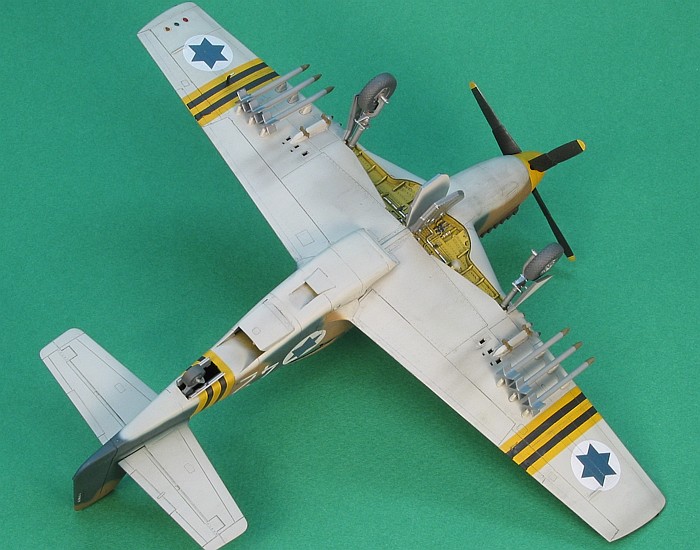
I was unsure the decals for the yellow Suez Stripes would conform to
the rear fuselage areas (no matter which kit I was building). So, I
decided to paint these onto the model rather than use the decals for
them. I painted the yellow in all three bands, not just the fuselage, so
that the colors would match each other. I cut out and used the black
portions of the decal stripes. Being thinner than the total Suez
Stripes, these conformed over the rear fuselage without any trouble.
For weathering, I used my typical style of thinned down enamel paint
washes and air brush shading. I finished the weathering with some dry
brushing to pop out the surface details. For a more complete discussion
of what I do to weather my models, see my posting on
"Weathering
Aircraft".
|
Additional Images and Project
Summary |
Click the
thumbnails below to view images full-sized.
Click the "Back" arrow on your browser to return to this page.
|
|
|
Project Statistics |
|
Completion
Date: |
8 March, 2001 |
|
Total Building
Time: |
30.5 |
|
Research: |
0.3 |
|
Construction: |
9.7 |
|
Painting
(includes creation and printing of custom decals): |
16.5 |
|
Decals /
Markings (includes creating and printing custom decals): |
4.0 |
|
Extra Detailing
/ Conversion: |
0.0 |
|
|
|
Model, Description and Images Copyright ©
2003 by David Aungst
 Home |
What's New |
Features |
Gallery |
Reviews |
Reference |
Forum |
Search
Home |
What's New |
Features |
Gallery |
Reviews |
Reference |
Forum |
Search