|
P-51D Mustang
by Scott Samo
 |
|
P-51D
Mustang |

Tamiya's 1/48
scale P-51D Mustang is available online from Squadron.com
Here is my recently completed 1/48 Tamiya P-51D. Since this kit
has been reviewed on many occasions, I will only elaborate on painting, decals,
etc.
I added the True Details cockpit. Construction was very
straightforward and easy.
|
Painting, Markings and
Weathering |
Painting and Weathering Commences
When the model was ready for painting, I used a primer coat of
Xtracolor gloss neutral grey. I intended to all it to dry for several weeks as I
wanted the primer coat to be rock hard for the silver color.
Several years later, I finally applied the Alclad II
Aluminum finish and had a great result. I thinned the paint very thin..
about 90% thinner and 10% paint. It took a long time to cover the model, but it
turned out great.
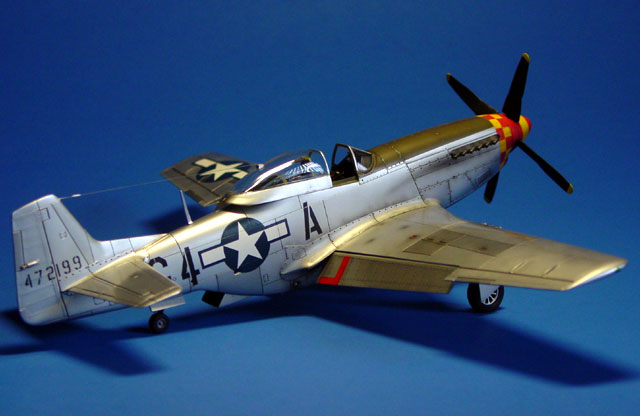
I used a mixture of Dark Aluminum and regular Aluminum for
certain panels. I tested the contrast of the Alclad II on plastic before I
painted the panels. Once I was satisfied, I used Tamiya yellow masking tape, and
sprayed the panels. I let it set for at least a month. I wanted to make sure the
paint was totally dry before I applied the gloss coat.
When the gloss was dry, I used Windsor and Newton Artists Oils
with Turpenoid for the wash. Gunze Olive Drab was used for the anti-glare panel.
The nose and checkerboard pattern was entirely airbrushed.
Painting takes longer than decals, but it was actually much
easier.
Decals
Decals are from Cutting Edge and performed beautifully!
The decal set is # CED48113 which comprises P-51's from the 335,
353 and 362 FS. I chose CAPT Charles Weaver's bird for this particular model.
Wheels are from True Details.
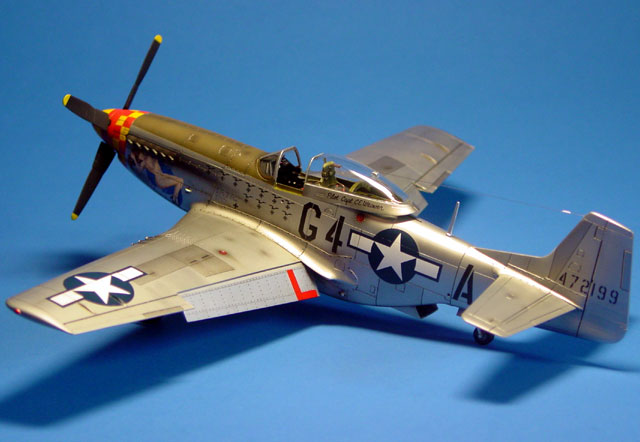
The only other addition, and by far the most tedious, was the antenna wire. I
like to use surgical sutures and nylon thread for all my models. Super thin and
really strong. I drilled a small hole in the tail and attached the wire with
super glue. That was the easy part. The hard part was attaching it to the canopy
and keeping the tension on the antenna with the canopy in the open position.
Even harder was trying to attach the spring and the antenna to the rear of the
headrest. After about three hours or so of thinking about it and slowly
progressing... it worked out perfectly. Not easy, but well worth the effort.
Weathering Completed
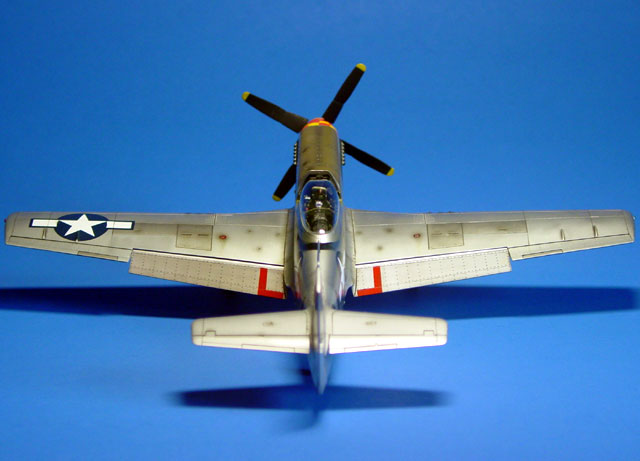
Lastly, I weathered certain areas with the airbrush with thinned
Gunze black. I didn't want to weather it too much because the paint job looked
great. However, I have not seen any photographs of P-51's used in combat that
looked pristine. They were usually pretty beat up.
Anyway, I guess it is up to the modeler to decide how much to
weather aircraft models. It is a fine, fine line between too much and not
enough. The key ingredient is time and lots of patience.
I am pleased with the result. This was my first "metal" finish
and I think it looks great. I cant say enough good things about Alclad II. Just
make sure and wear a really good respirator and spray in a well ventalated area.
I hope you enjoy the model!
Model, Images and
Article Copyright © 2003 by Scott Samo
Page Created 02 September, 2003
Last updated 17 March, 2004
Back to HyperScale Main Page
Back to Features Page |
 Home |
What's New |
Features |
Gallery |
Reviews |
Reference |
Forum |
Search
Home |
What's New |
Features |
Gallery |
Reviews |
Reference |
Forum |
Search