|
Panzer IV Ausf H (early)
by
Ian Robertson
|
|
|
Panzer IV Ausf H |

Tamiya's
1/35 scale Panzer IV Ausf H is available online from Squadron.com
The PzKpfw IV Ausf. H was the largest production
run of the Panzer IV, with over 3,700 produced during WWII. This
version was introduced in 1943 and shared many characteristics with its
predecessor, the Ausf. G.
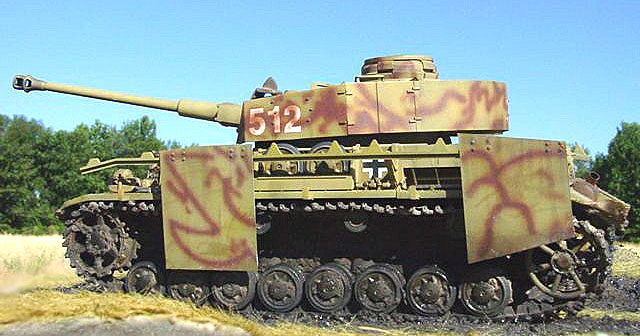
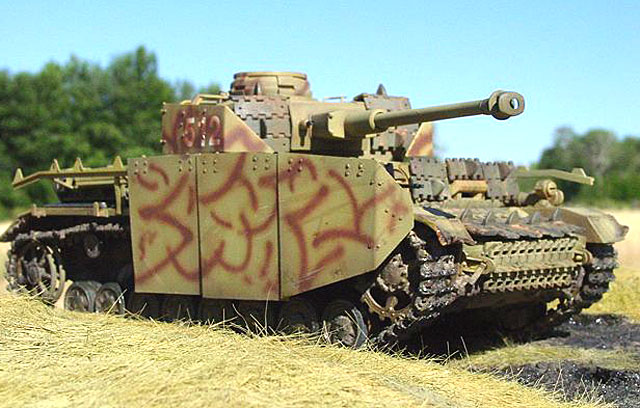
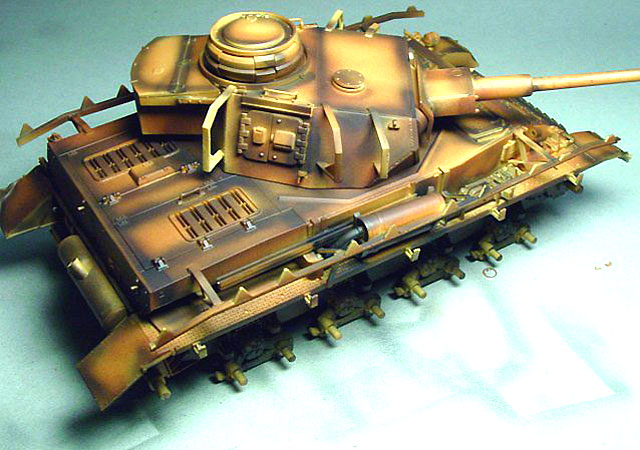
My model represents an early PzKpfw IV Ausf. H
operating in southern Russia in July 1943 during the Battle of Kursk.
Tamiya's
1/35 Panzer IV Ausf H
|
The kit is Tamiya’s PzKpfw IV Ausf H (#35209) with
the following modifications:
·
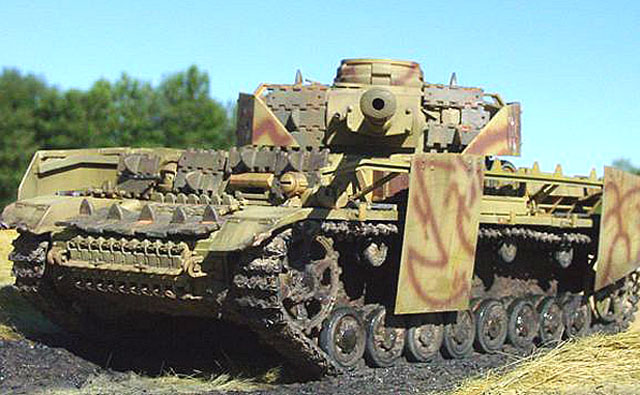
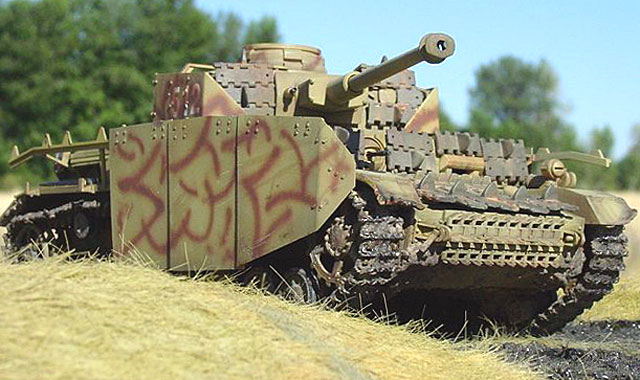
The single piece side skirts in the kit were replaced with
thinner panels fashioned from Evergreen sheet styrene. Rivet details on
the new skirts were made using a Waldron sub-miniature punch and die
set.
·
Friulmodel individual link metal tracks to replace the
kit’s vinyl tracks.
·
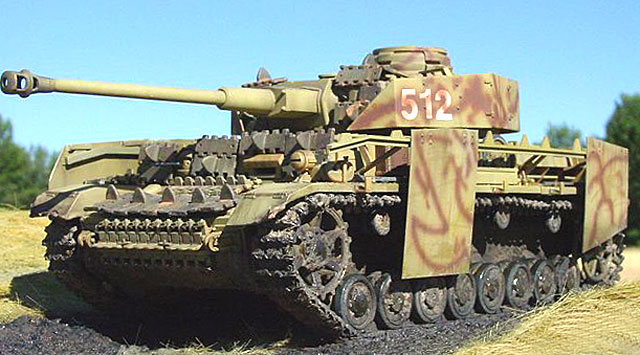
Dry transfers for the tank’s numbers.
Building the kit was a snap and took only 6-8 hours
(not including painting and weathering, which easily doubled the time
involved). The fit is near perfect and the detail is superb. Apart
from some Mr. Surfacer 500 and subsequent sanding to hide the seam on
the main gun barrel and muzzle, very little extra finishing work was
required.
I pre-shaded the model with a combination of dark
red-brown and black, and then applied the base color of dark yellow
(Tamiya XF-60). Pre-shading served two purposes: (1) it covered the
yellowish-tan styrene of the model, making it easier for me to ensure
that the XF-60 went on uniformly, and (2) it provided the subtle shadows
and accents I was looking for in the finished model.
These shadows and accents were further enhanced by
a series of washes using model master burnt sienna and umber, as well as
by post-shading and staining using highly thinned black Polly Scale
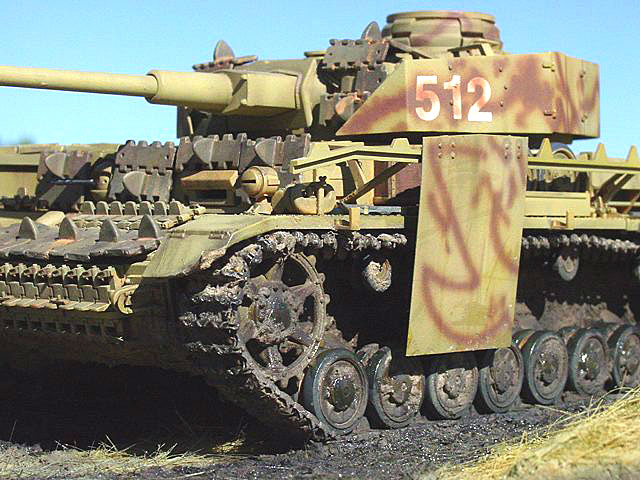
acrylic. Tamiya’s red-brown (XF-64) was used for the squiggles on the
turret skirts and side skirts. The exhaust was painted with Model
Master burnt iron, followed by an application of “Real Rust” by Aim
Products, and finally black chalk pastel applied with a brush.

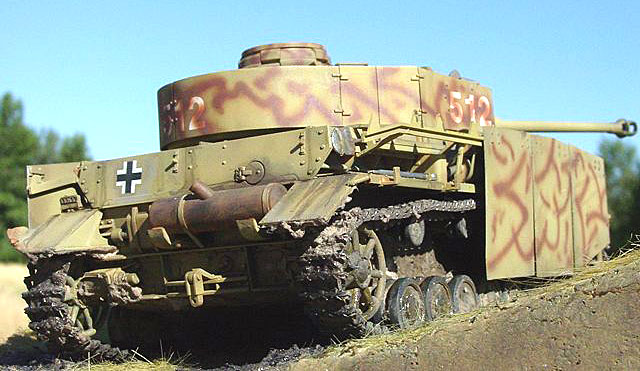
Once the basic camouflage and weathering had been
applied I added “mud” to the lower hull behind the wheels, as well as to
the underside of the hull. The mud consisted of celluclay mixed with
white glue, water, and fine sand. The mixture was tinted brown with
acrylic paint and applied to the model by hand and with an old brush.
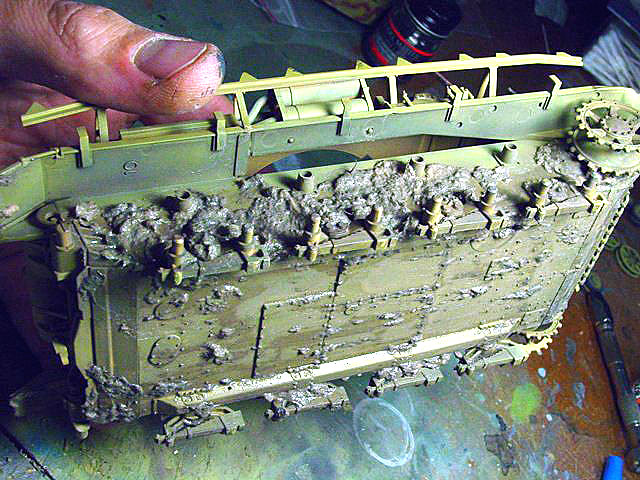
(Note - in reality, mud may not be appropriate
for my particular model because the summer of 1943 in southern Russia
was hot and dry. Then again, maybe a rainstorm one evening muddied
things up.)
Side skirts (schurzen), which offered protection
against hollow charge anti-tank rounds, were present on many German
panzers during the Battle of Kursk. However, panels from these skirts
frequently dislodged, leaving incomplete protection as I have depicted
on my model.

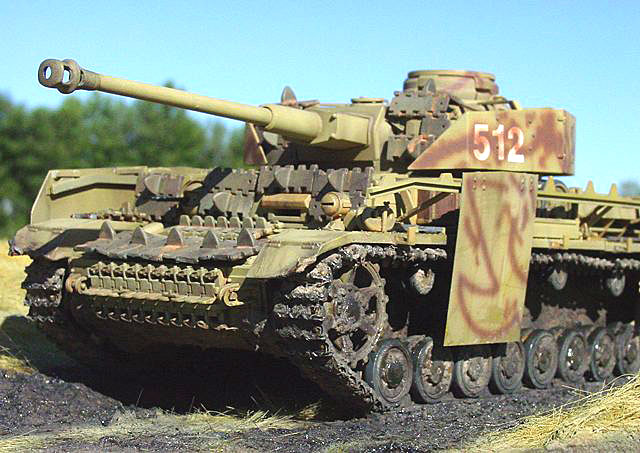
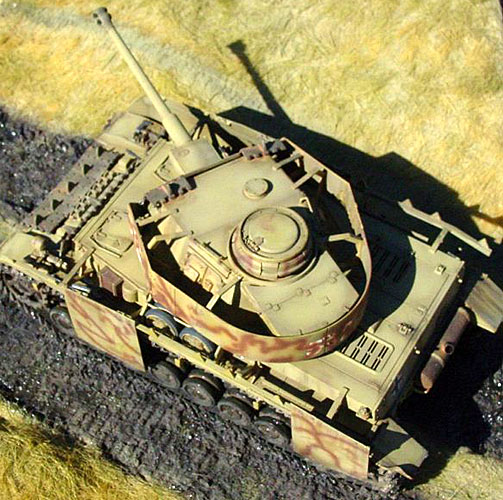
Tracks from a Dragon T-34 kit were added as extra
armor on the front hull and turret. Squadron’s PzKpfw IV In Action book
provided the photographic inspiration for this addition. I painted the
T-34 track a with a mixture of black and brown acrylic, and then treated
it to some “Real Rust”.
Friulmodel’s individual metal track links were
intimidating when first removed from the package, but they proved very
easy to put together. The pins visible in the photograph were glued to
each link with a dab of CA glue and then trimmed flush with a dremmel
tool.
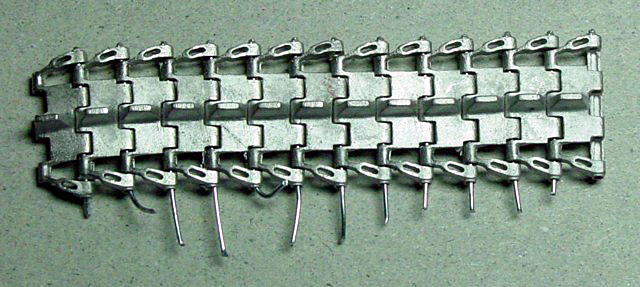
Three hours was needed to assemble the tracks.
Given their ease of assembly and fantastic appearance, price is my only
deterrent from using friulmodel tracks all the time. I painted the
tracks in a similar manner as described above, but without the rust
stains.
I glued blocks of styrofoam to a bread board to
create gently rolling terrain for my model. The styrofoam was then
coated with celluclay (same tinted mixture as described above). Track
impressions were made by pressing the kit’s vinyl tracks into the wet
celluclay. Sand was sprinkled in this area to enhance the texture.
Artificial grass was then added to the wet celluclay and painted XF-60.
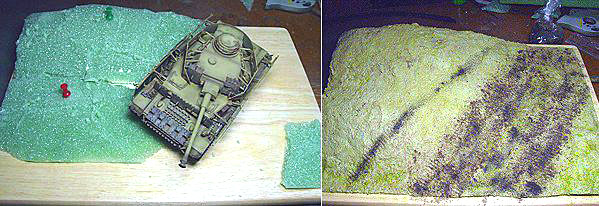
After painting, but while the celluclay was still
spongy, I set the model down on the base and added more celluclay at the
base of the tracks to embed them. Mud was also added to the wheels and
in the recesses of individual track links (so much for all that
friulmodel detail!).
Images of the completed model were taken outdoors
with a SONY digital camera set at its highest picture resolution (2048 x
1536 pixels). Other camera settings were as follows: 200 ISO film speed
(it’s an option on my digital camera), 800-1000th/sec
shutter speed, F-stop 8.0, and fixed focus distance of either 20 or 30
cm.
Images were cleaned up using Adobe Photoshop 6.0
for the Macintosh. Specifically, the interface between the base and
background were merged using the software’s “blur” tool, and edges in
some photographs were sharpened using the “sharpen edges” tool.
Sharpening images in such a way helps to restore some of the clarity
lost during image compression.
Click on the thumbnails
below to view larger images:
Model, Images and Text Copyright ©
2003 by Ian Robertson
Page Created 14 August, 2003
Last Updated 17 March, 2004
Back to HyperScale
Main Page
|
 Home |
What's New |
Features |
Gallery |
Reviews |
Reference |
Forum |
Search
Home |
What's New |
Features |
Gallery |
Reviews |
Reference |
Forum |
Search