|
De Havilland D.H.112
Sea Venom FAW53 RAN
by
Bruce Graham
|
|
|
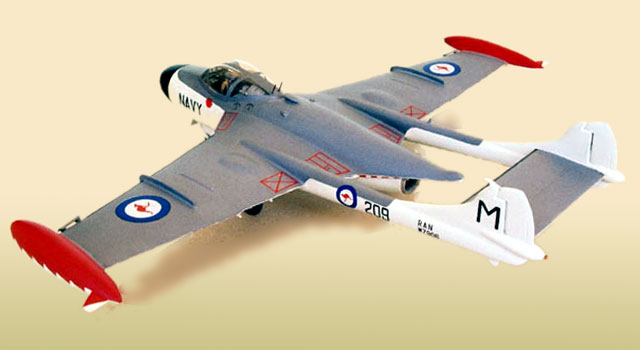
De Havilland D.H.112
Sea Venom FAW53, 724 Sqn, Royal Australian Navy |

HyperScale is proudly supported by
Squadron.com
This is Aeroclub’s 1/48 Sea Venom multi-media kit.
Construction used the supplied parts with some small additions.
Instructions consisted of drawings and descriptions of assembly. The
instructions on preparing the vacuum formed components were very helpful
and well worth following.
Reference material with some good photographs is very
helpful in positioning some detail and adding other not in the kit.
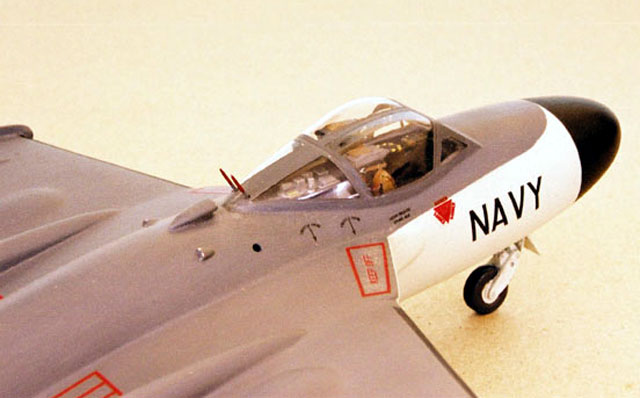
Assembly of the injection moulded forward fuselage
half is straightforward. The cast metal cockpit detail is adequate and
well done. Two piece ejection seats require addition of harness and
ejection handles.
The vac form canopy is very clear and was trimmed down slightly more
than indicated so as to gain a lower profile as appeared in photographs. A
bar was placed across top of canopy interior, which appears to carry some
instruments. Rear view mirror added to this.
Photographs reveal the position of the cartridge starter outlet and two
homer aerials in rear of canopy.
Photos reveal IFF aerial ahead of pilots position – next time.
Gun ports of the four 20mm Hispano canons were drilled out. The thickness
of material and shallow angle of drilling makes this awkward. Material was
thinned out from interior. Reference photos reveal that the ports are
painted red - next time. Spent case chutes are made from scrap.
Rear fuselage half and mainplanes are combined in an upper and lower
vacuum formed components. The edges proved to clean up nicely with good
definition. Some dry fitting and shaping to best fit these parts before
gluing.
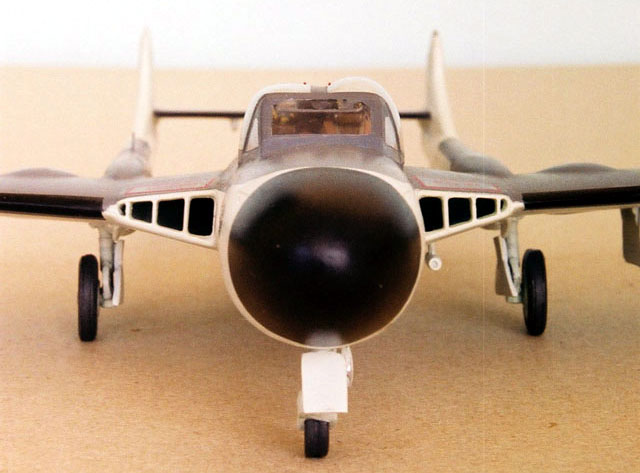
Air intakes are metal and, after some cleaning up, fit well. Some
pre-shaping of forward fuselage sides and addition of suitably shaped
scrap material creates an air duct behind the intake.
Wing fences are cut from pattern in the vac plastic. A poor attempt at one
fence was remedied by tracing the other and trying again. The plastic is
soft and easy to work with.
Tip tanks are each two piece injection plastic with metal fin. Plastic
card fitted inside wing tip acts as a guide and support for the tanks.
Some clear sprue was added to tanks for navigation lights.
A mysterious T shaped aerial kit part was positioned from photographs, as
was the addition of an UHF aerial under the port wing.
The two halves of each boom are injection moulded as are the rudders and
one-piece tailplane/elevator. Three attempts were required to position the
booms at a reasonable angle. The vac plastic being soft does not suffer
much reworking once glue goes on. The tailplane required some extra
locating pins. Clear sprue was added to rear of starboard boom for the
navigation light, and photographs reveal an UHF aerial atop the starboard
boom.
Engine outlet is cut from the lower vac fuselage portion. This opening
provides a guide for positioning the five piece metal Ghost engine.
Evidently I was not careful enough here and had some odd shaped gaps
around the exhaust. To remedy, the fuselage surrounding the exhaust was
cut out, another piece cut and shaped to fit, then feather into the top
fuselage along with part of original removed piece. Some filling required.
End result was neat though.
The metal arrester hook sits up in this portion of fuselage.
Main undercarriage has been assembled using the metal kit parts without
any additions or modifications. Metal wheel wells are fitted into the
wings. Six metal parts make up the nose wheel including the metal nose
wheel well. A small metal piece was a mystery until photographs revealed a
brace, added using a paper staple, supporting the forward well door with
the mystery piece behind and attached to bottom of brace.
Aircraft colours are Aeromaster Extra Dark Sea Grey and Sky, although I
used ModelMaster Duck Egg Blue. Finished off with ModelMaster Satin
(Although gloss on the aircraft).
The kit provides markings for a Royal Navy FAW22 and a Royal Australian
Navy FAW53 aircraft.
Not much supplied in the way of stencils, and those provided tend to lack
sharpness.
The national markings for the RAN version were replaced with a
better-defined set from Roodecal.
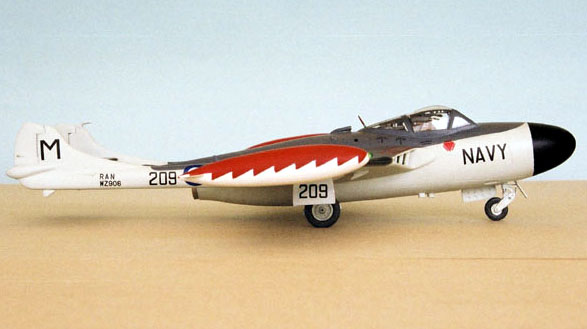
The kit painting and marking guide show the RAN aircraft in the colours of
724 Sqn (ground based aircraft) but with ‘M’ on the fin for carrier based
aircraft, and is described as a 724 Sqn aircraft on board HMAS Melbourne.
Confusing. However, it appears my reference material clears this up.
The last four Sea Venoms to operate from HMAS Melbourne were taken from
724 Sqn stocks and, it seems, had ‘M’ added to their existing markings.
These aircraft once on board HMAS Melbourne became B Flight, 816 Squadron
(operating alongside 816’s Fairey Gannets).
Despite this, the models’ serial number and fuselage number do not
match with my reference material. In view of these anomalies, I decided to
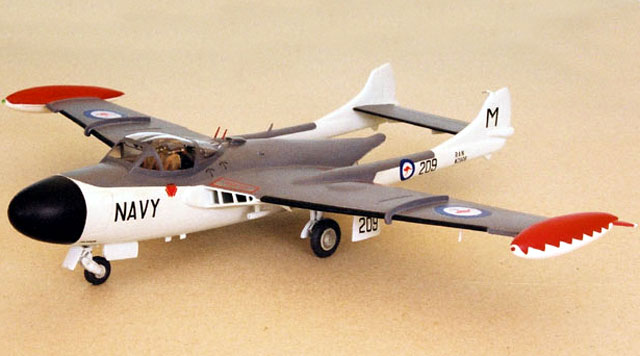
use the squadron colours I preferred, which I reckon to be a variation of
805 Squadron (normally red and white checks), during one of their eleven
tours on board HMAS Melbourne.
Aeroclub’s Sea Venom was an enjoyable build, with a few pieces
remaining depending on the version used. Reference material is very handy.
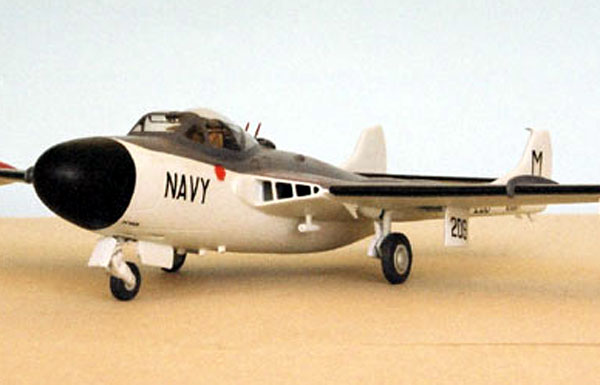
De Havilland’s Sea Venom is an interesting configuration. While rather
heavy looking on the ground the aircraft adopts a pleasing aspect in the
air. The folding wings, weapons bay and external armaments of the aircraft
provide plenty of scope for detailing to add further interest to an
attractive model.
Sea Fury, Firefly and Sea Venom in Australian Service. By Stewart
Wilson.
Model, Images and Text Copyright © 2003
by Bruce Graham
Page Created 22 February, 2003
Last Updated
17 March, 2004
Back to
HyperScale Main Page |
 Home |
What's New |
Features |
Gallery |
Reviews |
Reference |
Forum |
Search
Home |
What's New |
Features |
Gallery |
Reviews |
Reference |
Forum |
Search