|
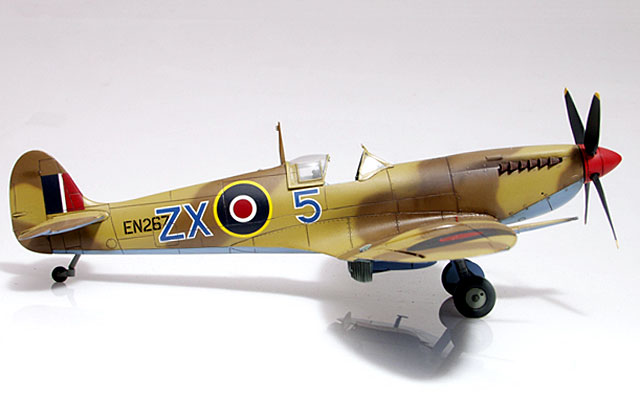
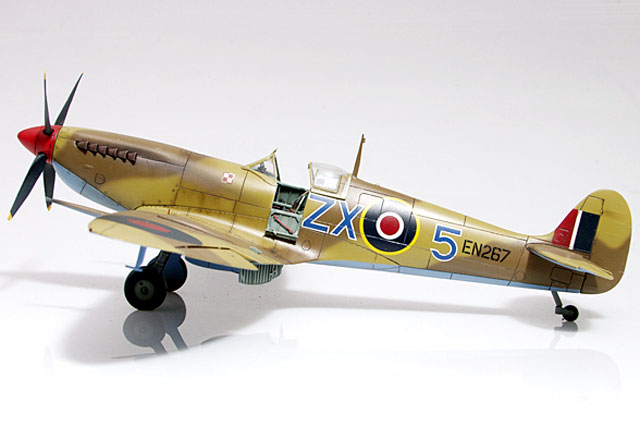
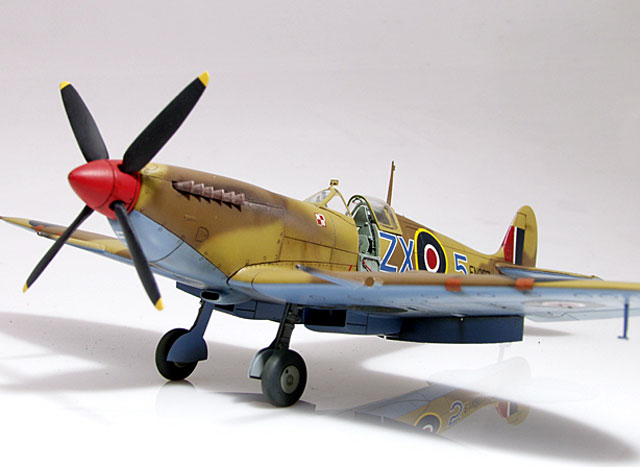
Supermarine Spitfire IXc
by Maciek Zywczyk
|
|
|
Supermarine Spitfire
Mk.IXc |

ICM's 1/48
scale Spitfire IXc is available online from
Squadron
The Polish Fighting Team (PFT), attached to
No. 145 Squadron, made its first operational flight on 16 March 1943.
The unit was manned by 15 volunteer pilots
from several Polish squadrons that were operating in RAF. The PFT was
operating in North Africa until 10th of May 1943. They scored 25 aircraft
destroyed, 3 probably and 9 damaged.
The PFT was equipped with the Spitfire VB and
VC. The first 6 Spitfires IXs arrived on 23rd of March and then whole unit
was rearmed with this more powerful version of famous fighter.
The ICM 1/48
Scale Spitfire IXC
|
I like the Supermarine Spitfire very much.
Until recently, this plane was represented in 1/48 scale by some old, not
very accurate or detailed kits. Then, in a short period of time, 3 new
kits arrived. After examining kits and reading several reviews and
comparisons (the biggest one here on HyperScale) I decided to start on the
ICM kit.
Aftermarket sets were desperately needed, so I bought some items from
Ultracast’s range. The excellent Aires cockpit set was also released just
in time.
The ICM kit is almost perfect in shape.
Latest plans (made from plane measurements
made by Spitfire specialists) showed that the whole tail is about 2 mm to
low. All details from the inside of the fuselage halves were deleted and
sanded smooth.
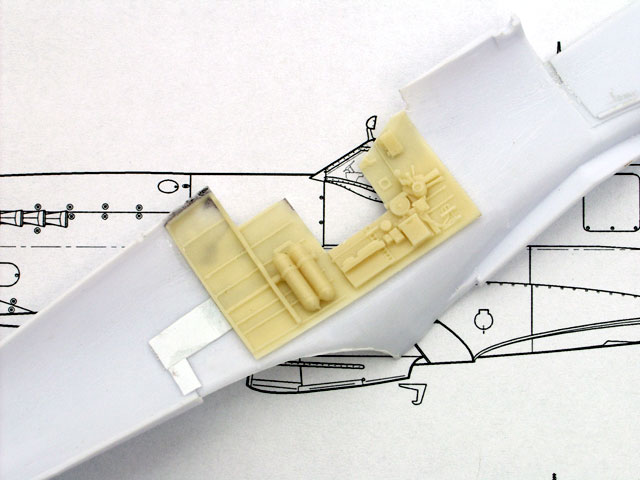
I made a cut behind canopy in the left half,
then a resin part (Aires item) was glued to the front part. The Aires
inner wall reaches far behind canopy, so it was used as a reinforcement
for the join.
The tail was repositioned according to the
drawing, and the front and rear of the fuselage were rejoined. Some pieces
of plastic were also used to reinforce this assembly.
This procedure was repeated on the other
side.
Click the thumbnails below to view larger images:
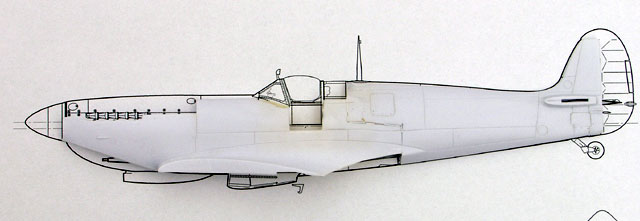
After modifications,
reinforcements from plastic cards and cutting line were visible. I laid
the modified fuselage over plans (not exactly in places) and it matches
perfectly!
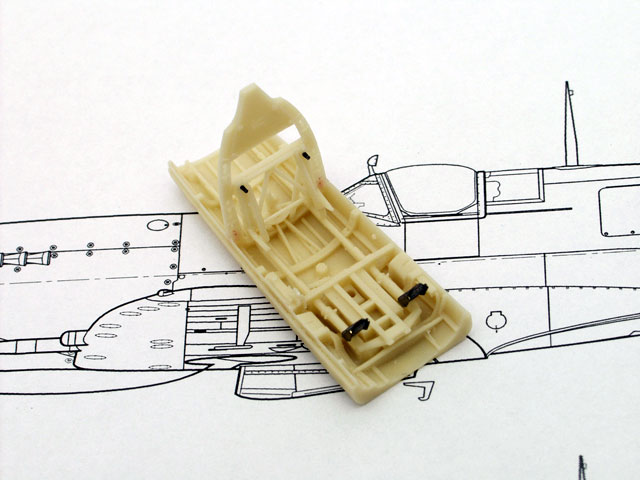
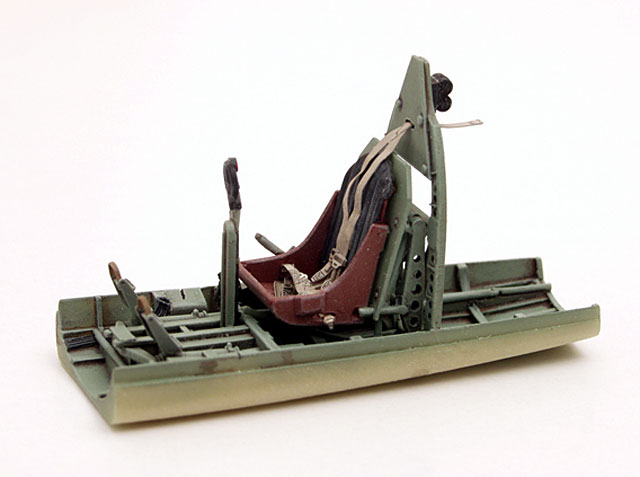
The floor was secured to the bulkhead using wire as reinforcement. After
all the cockpit components were prepared for painting, I sprayed Humbrol
Interior green and then gloss clear. After 2 days wash and matt clear
followed. Details were painted with black, red brown (seat) and other
appropriate colours. At last everything was drybrushed.
Click the thumbnails below to view larger images:
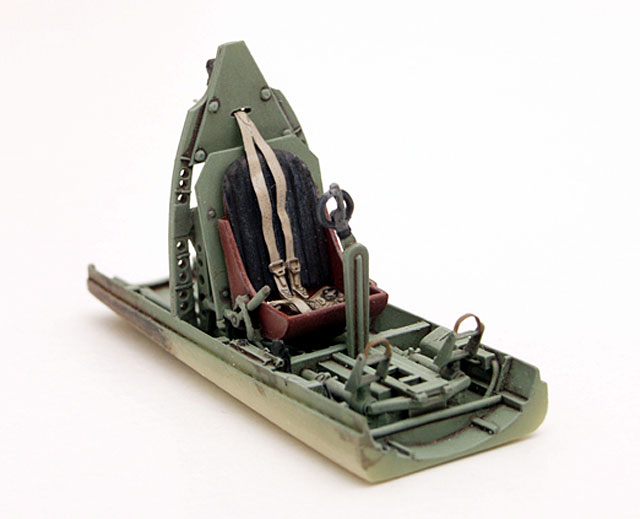
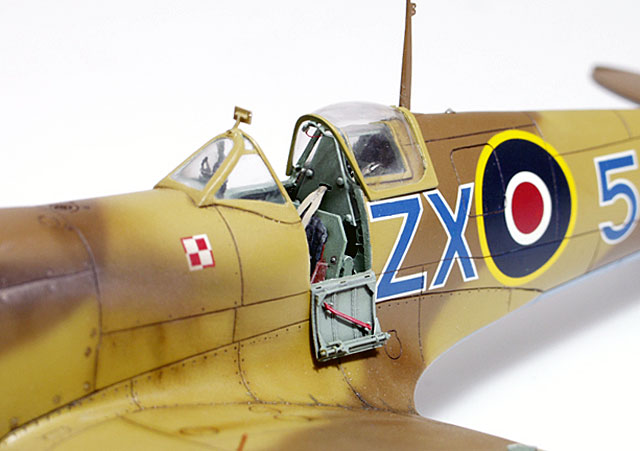
The Aires cockpit set is
excellent. It fits after some trimming.
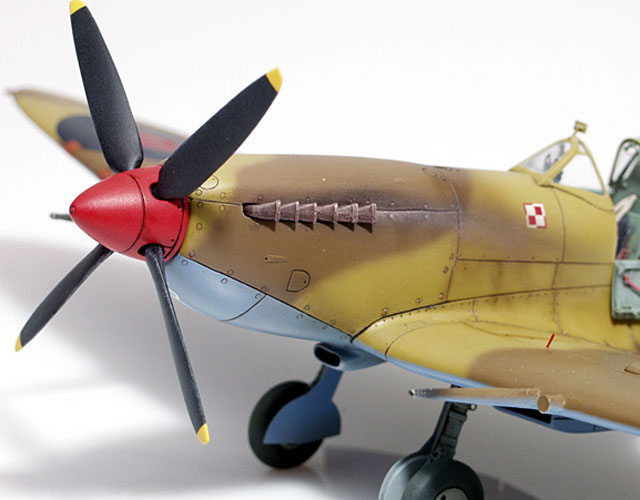
I drilled out the Ultracast spinner and glued plastic rod inside as a
shaft. Using some parts from the sparse box, I made a base with a vinyl
cap. This works like a Tamiya kit – I can take propeller off and put on
whenever I like.
The fuselage halves were secured with superglue, which was used almost
exclusively during construction. It’s very hard to make it keeping
fuselage straight – much care should be taken. I decided to glue all
engine covers shot and leave engine off, so I had to made base for
exhaust. Excellent Moskit product was used. Each exhaust pipe was
separated from base and glued to the plastic plate. It was difficult to
align them properly, but the result is great. Unfortunately after gluing
and sanding, I had to paint them trying to simulate their natural burned
and rusted look.
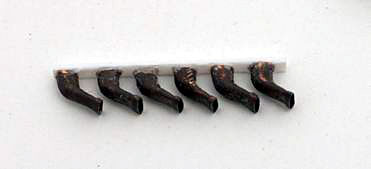 The
exhaust after modification were prepared for painting. The
exhaust after modification were prepared for painting.
Next were the wings. To ensure proper dihedral, I made spar and glued it
to the lower part. Flaps were cut off and Eduard items installed.
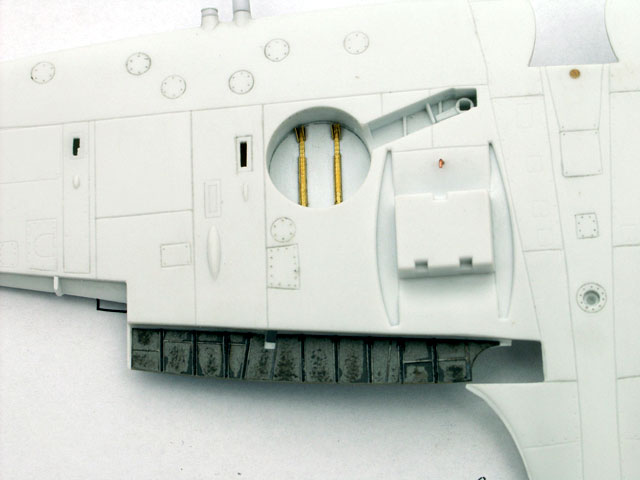
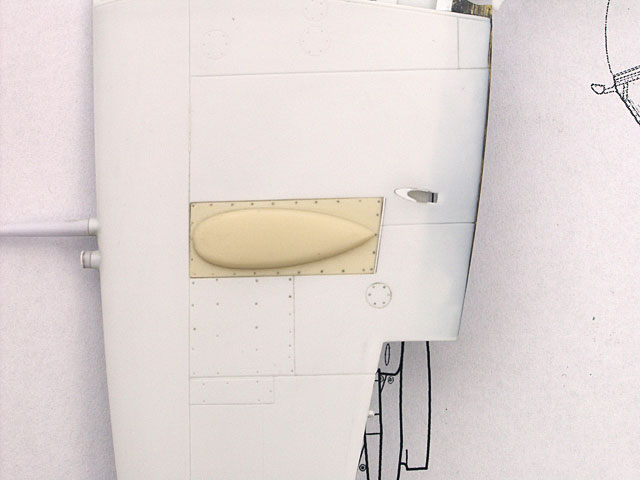
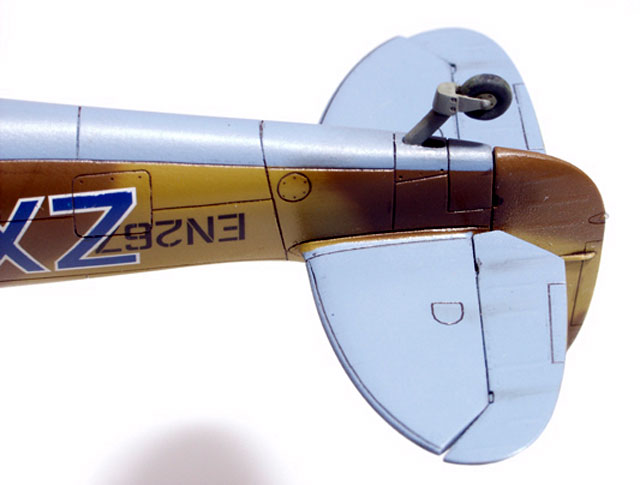
Certain areas of fuselage can be
seen when flaps are open, so this area was detailed with plastic card and
wire.
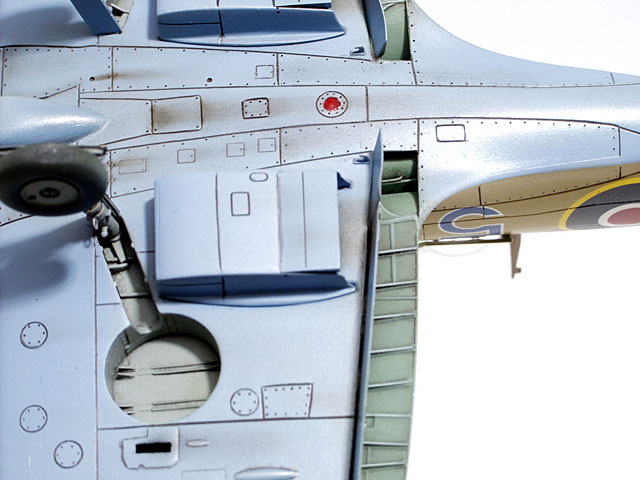
The interior of the fuselage is visible after flaps are lowered.
Lot of puttying and sanding was necessary to fill all those sink marks. I
used super glue with pieces of plastic as a filler. All panel lines and
surface details had to be rescribed.
Click the thumbnails below to view larger images:
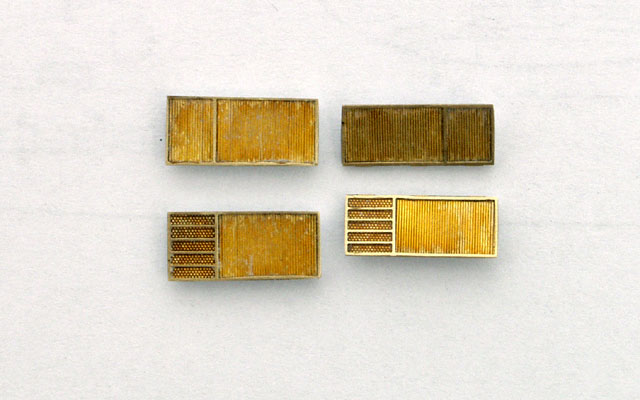
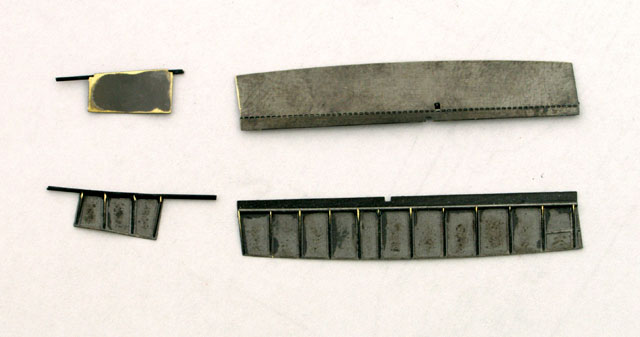
Wings, flaps, ailerons and
photo etched radiators before painting. The spent cartridge ejector ports
are wrong, but luckily moulded as a relief inside, so I thinned plastic
part and opened them with new blade, correcting shape.
The fuselage and wings were
joined. Ultracast details fitted well, but again all joints required lot
of sanding and had to be rescribed. Upper engine cowl is correct after
some sanding. Locks for cowlings had to be filled and replicated in
correct places, using modified surgical needle but I discovered that
wheels were to small in diameter. The problem was, that tires were to low.
I superglued plastic card, glued temporarily a rod to the wheel and shaped
them correctly using motor tool. Another modification was to shorten gear
legs. I was lucky, both plastic parts were sink marks free.
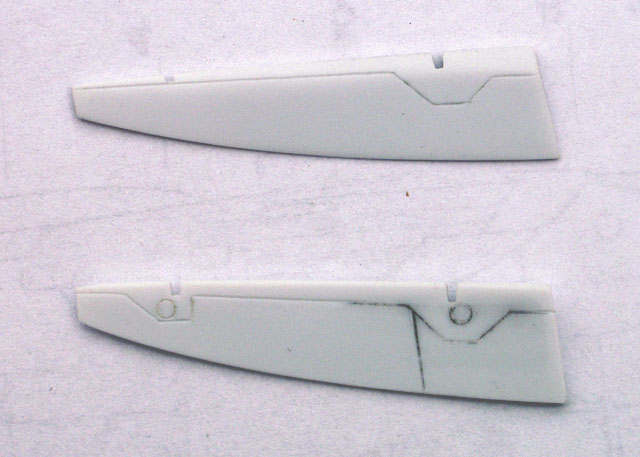
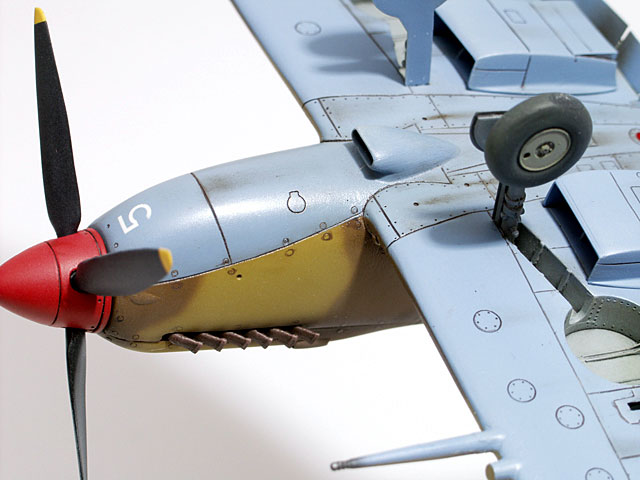
Filling with super glue is
sometimes invisible, but many modifications can be seen on this images.
Air intake was deepened with motor tool. It’s totally different than Mk. V
intake, not only ICM made this mistake.
I discovered that wheels were to small in diameter. The problem was, that
tires were to low. I superglued plastic card, glued temporarily a rod to
the wheel and shaped them correctly using motor tool. Another modification
was to shorten gear legs. I was lucky, both plastic parts were sink marks
free.
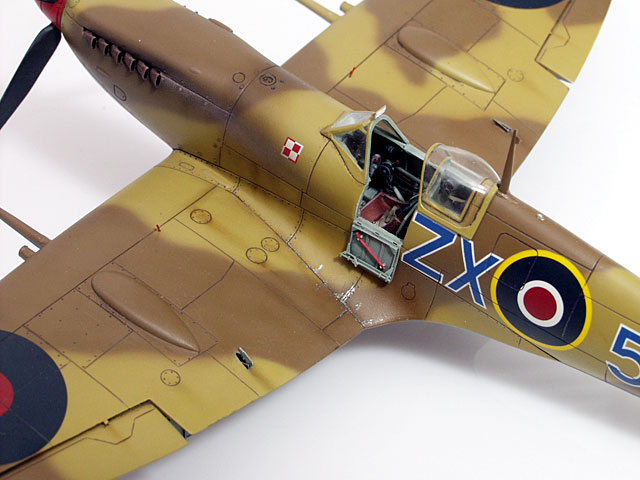
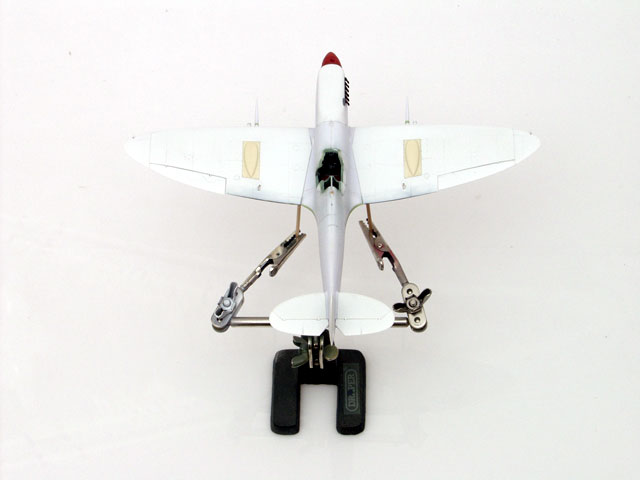
The airframe was painted with Humbrol and
Testor's enamels.
After a coat of gloss clear, the decals were applied. I left off all
stencils, as Spitfires came to Africa in European camouflage and were
repainted in field conditions. After decals dried I gave another clear
coat. Then the edges of carrier film were sanded, another clearcoat
applied and sanded. This process was repeated until all edges disappeared.
Panel lines were darkened with mix of brown and black.
After matt coat, some weathering was made
with artists oils. Exhaust stains were airbrushed with black and then
drybrushed with tan and grey. Finally coat of mix gloss and matt was
applied.
All small bits were attached and my Spitfire was ready.
|
Project
Summary |
Kit: Spitfire Mk IX 1/48
ICM 48061
Exhaust: Moskit 48-43
Photoetched parts: Part S48-081
Cockpit: Aires 4129
Flaps: Eduard 48366
Seatbelts: Eduard 49006
Decals: Techmod 48024
Propeller & spinner: Ultracast 48082
Cannon bay covers: Ultracast 48097
Lower Cowl with early style intake: Ultracast 48093
Wheels: Ultracast 48067 |
This kit was very hard to build. It took me
over 120 hours. I cannot say it’s inexpensive – all the resin and
photoetched bits lift the cost to a very high level and are truly needed
to complete ICM Spitfire.
Even so, it is the best Spitfire IX replica on the market.
I love this plane, so I still wait for good
and accurate kit. I hope, that Tamiya will release Spitfire IX, as they
did P-47 after Hasegawa and Academy offerings were on the market.
Click the
thumbnails below to view larger images:
Model and Text Copyright © 2004 by
Maciek Zywczyk
Images Copyright © 2004 by Rossagraph
Page Created 23 January, 2004
Last Updated
17 March, 2004
Back to
HyperScale Main Page |
 Home |
What's New |
Features |
Gallery |
Reviews |
Reference |
Forum |
Search
Home |
What's New |
Features |
Gallery |
Reviews |
Reference |
Forum |
Search