More Construction
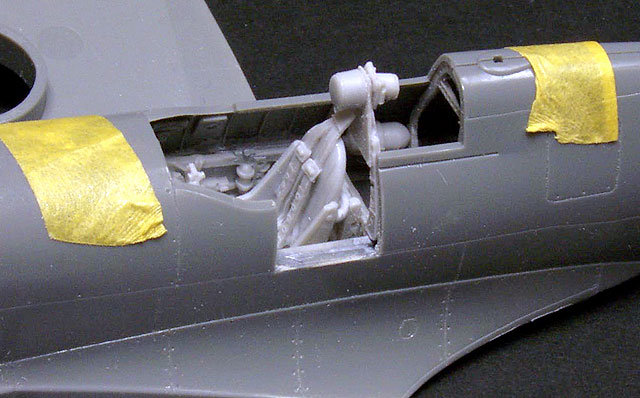
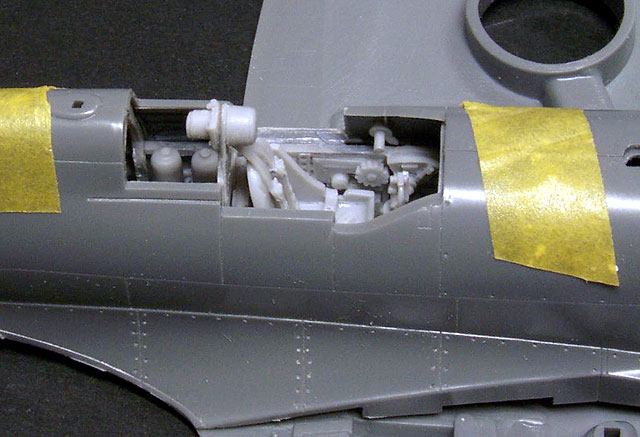
The remaining construction was very fast and straightforward. The major
sub-assemblies were glued together. The resin cockpit did not have any
adverse impact on the excellent fit of the kit.
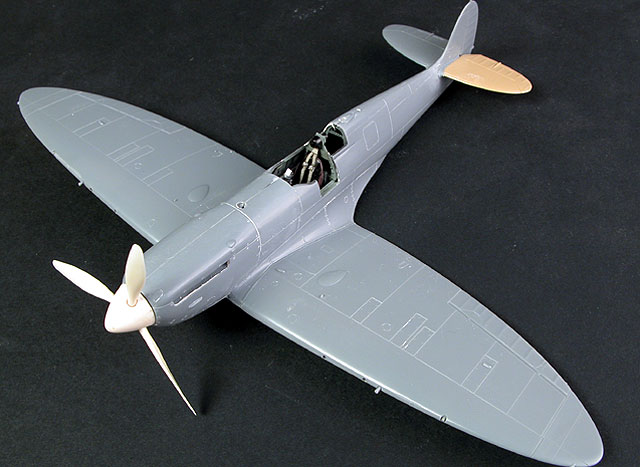
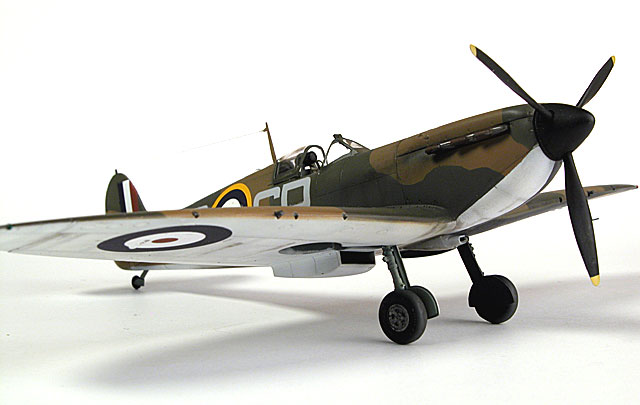
The only other major noticeable deviation from the kit was replacing
Tamiya’s propeller assembly with a resin item from Ultracast.
The caramel-coloured tailplane in the photo is from the Tamiya Spitfire
Vb Tropical kit. One of the horizontal tailplanes in my Mk.I kit was
broken, so I raided this compatible part from the Mk.V kit.
This model was almost ready for paint by June last year. While at the
IPMS USA Nationals in July 2002, Paul Cotcher from Victory Productions
showed me the artwork for the instructions of their forthcoming "Spitfire
- Aces of the Empire" sheet with 41 options for the mounts of Aces from
all corners of the British Commonwealth.
I was hooked.
Painting and finishing of my Tamiya Spitfire was promptly put on hold
until the sheet was released. My set arrived early in May, and the final
version lived up to the high expectations set by the draft artwork.
Painting
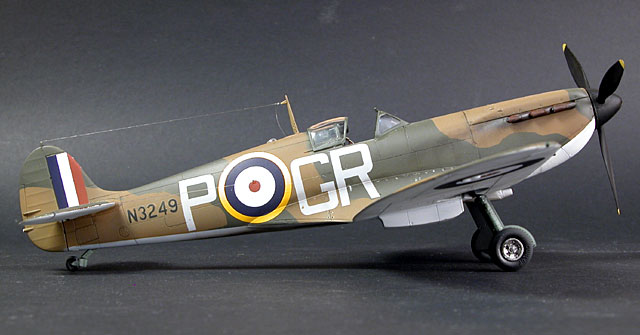
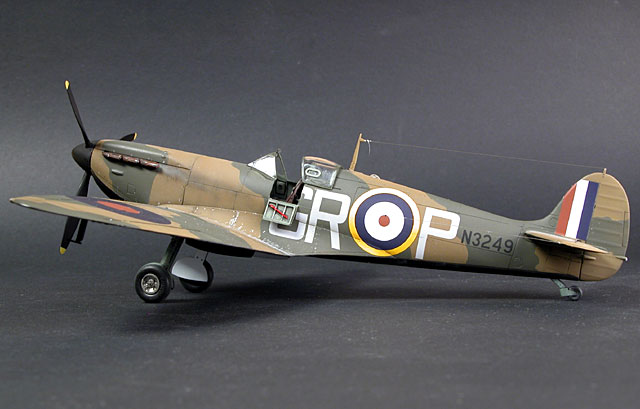
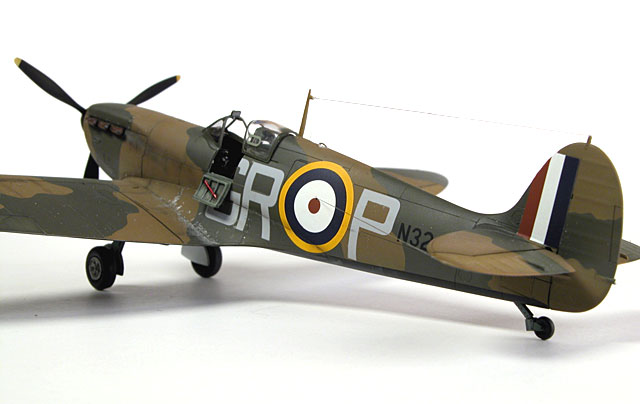
I decided to finish my model as an interesting Spitfire Mk.I flown by
Flt. Lt. Robert Stanford-Tuck during the evacuation of Dunkirk on 24 May,
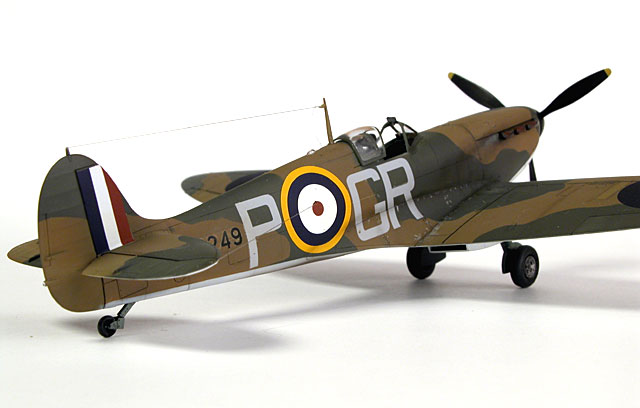
1940. This aircraft had non-standard "C" type roundels on the fuselage,
with large Medium Sea Grey codes and lower surfaces split between black
and white.
Photos of mid to late-war Spitfires show significant variation in the
demarcation of upper surface camouflage colours. Some aircraft have razor
sharp edges between the colours, and some are a very soft blending. These
variations may have to do with different applications in the factory,
field repainting and/or weathering.
However, Spitfire camouflage colours in the first year of the Second
World War seemed to feature a consistently hard edge.
I therefore decided to use Cutting Edge's Black Magic Mask set for the
early Spitfire "B" camouflage scheme. Although the set is labelled for the
Mk.V, it is also relevant to the Mk.I and Mk.II.
First, however, I sprayed the panel lines black. This technique is
called pre-shading, and is intended to retain a subtle hint of a darker
shade along structural features and in shadowy areas after the camouflage
paint has been applied.
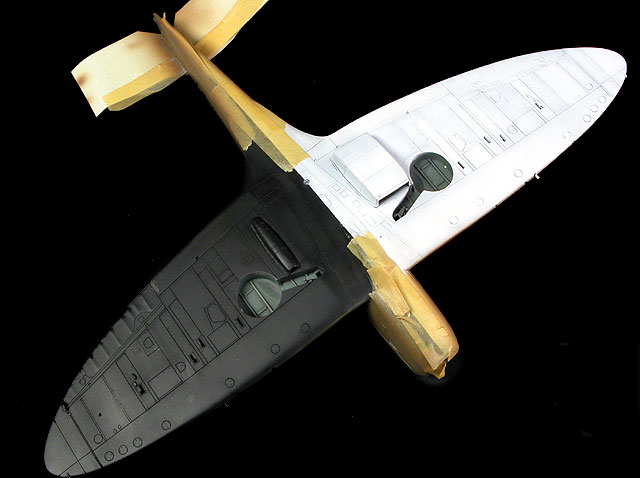
Next, Flat White was sprayed under the starboard wing and the fuselage.
The lower fuselage was then masked along the centre line and the remainder
of the bottom of the aircraft was painted with a 50:50 mix of Flat Black
and Red Brown. This mix actually looks like black, but permits
additional shading and weathering in black. Also, it is not as
unrealistically stark as 100% black can appear when applied to a large
area - especially adjacent to white!
 The
camouflage demarcation on the lower cowl and fuselage was masked with
narrow strips of Tamiya tape before a coat of Polly Scale RAF Dark Earth
was applied to the upper surfaces. This is my favorite choice for this
elusive colour. The Dark Earth was "thinned" with Polly Scale Gloss Clear.
In addition to improving the performance of this sometimes temperamental
paint in the airbrush, the Gloss Clear method gives the paint a
decal-ready sheen. The
camouflage demarcation on the lower cowl and fuselage was masked with
narrow strips of Tamiya tape before a coat of Polly Scale RAF Dark Earth
was applied to the upper surfaces. This is my favorite choice for this
elusive colour. The Dark Earth was "thinned" with Polly Scale Gloss Clear.
In addition to improving the performance of this sometimes temperamental
paint in the airbrush, the Gloss Clear method gives the paint a
decal-ready sheen.
I also like Polly Scale paints in general because, unlike some other
acrylics, they dry rock hard and resist wearing off (eg at the edges of
wings and other oft-handled areas); and they do not show fingerprints. To
speed the hardening process, I use a hairdryer set on low heat for a few
minutes between coats.
Next, I masked around control surfaces and a few random panels, then
sprayed them with a lightened shade of Dark Earth (mixed with Polly Scale
Middle Stone).
Before applying the Black Magic camouflage masks, I made a few minor
adjustments to the black vinyl with a sharp hobby knife. I thought that
the pattern was a little too "busy" in some areas, so I smoothed out some
of the curves with some selective trimming.
One of the advantages of having a large forehead is that it is a useful
surface to reduce the tack of masking sheets! After peeling each mask off
the sheet, I pressed them against my forehead and then applied the
less-sticky vinyl direct on the model. The masks fitted very well.
RAF Dark Green was sprayed between the masks to complete the camouflage
pattern.
With the painting finished, the Black Magic masks were peeled off the
model and stuck back onto their original sheet. These masks can be
re-used. In fact, I think they are actually better the second time
as they are less tacky than when they are new.
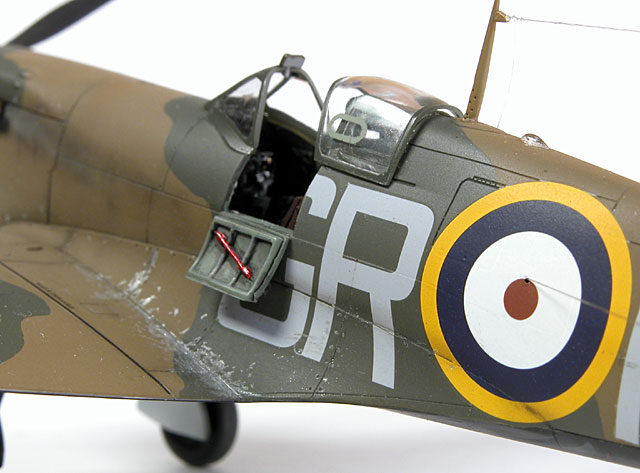
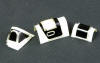
Black Magic masks were also used on the canopy. I painted
the oval vent/window outline Interior Grey Green, but next time I will
simply spray this area with flat varnish for a more subtle result.
Click the thumbnails below to view larger
images:
|
|

|
|
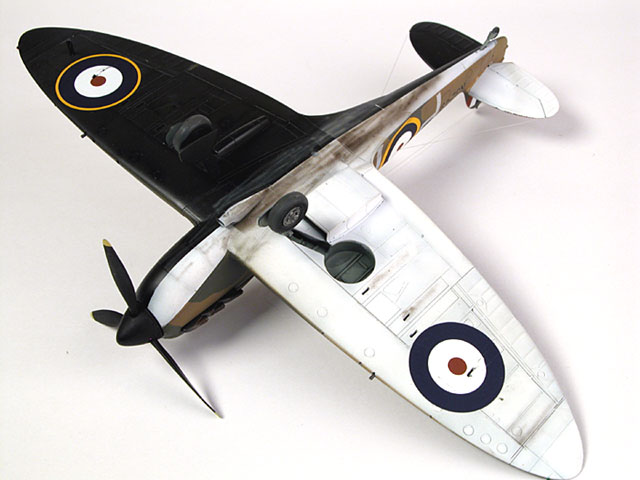
Lower surfaces have been painted black and white, and are masked in preparation for the upper surface paint job.
|
|
|
|
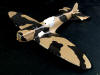
The entire upper surface has been painted with Polly Scale acrylic RAF Dark Earth. A lighter shade has been applied to control surfaces & some panels.
|
|
|
|
Black Magic masks were also used to assist painting the canopy.
|
|
|
|
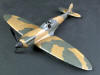
Black Magic masks are now in place waiting for the Dark Green
|
|
|
|
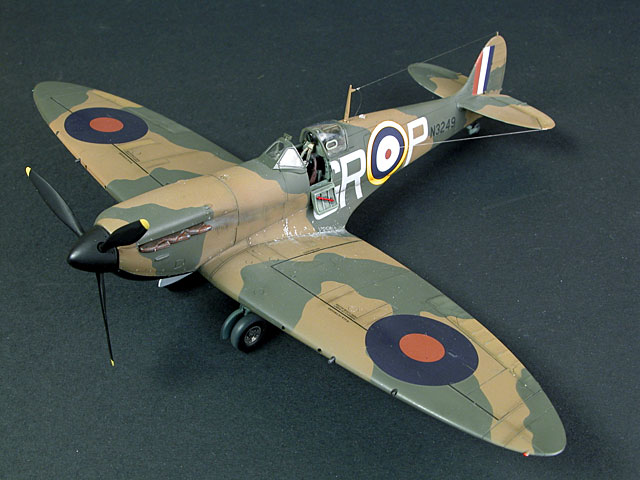
The basic camouflage scheme is complete!
|
|
|
Decals
The upper surface of the model was already glossy, so I
simply applied a quick coat of Testor Metalizer Sealer to areas on the
bottom of the wings that were destined to wear roundels.
Victory Productions decals performed beautifully on
application. I used Micro Set and Micro Sol, and the markings responded by
obediently sucking into the panel lines.
An overall coat of Polly Scale Flat Clear sealed the paint
and decals.
Weathering and Finishing Touches
Weathering was kept light on my Spitfire. I applied an
exhaust streak to each fuselage side with a thinned mix of brown and black
using the Aztek airbrush, followed by a breath of light grey over the top.
Lower surfaces received a slightly heavier application of
black streaks, representing the typical oil and grime seen on the bottom
of Spitfires. I lightened this mix with grey for the black half of the
fuselage and wing.
Wing walkways were "chipped" with a silver artist's
pencil.
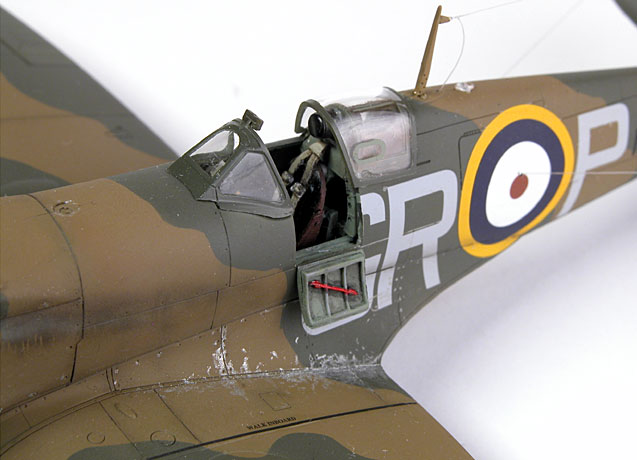
Early Spitfires had aerial wires running from the middle
of the fuselage to the tips of the horizontal tailplanes in addition to
the mast-mounted wire and lead-in. These were added using smoke-coloured
monofilament (invisible mending thread).
Navigation lights on the wingtips were first painted with
a spot of white, followed by Clear Red (on the port side) and Clear Green
(for starboard).
|
Summary of Modelling Resources and
Modifications |
-
Tamiya kit number 61032
- Spitfire Mk.I
-
Cutting Edge CEC48329
Spitfire Mk. I resin replacement cockpit
-
Ultracast UC48112 de
Havilland Spinner and Prop
-
Black Magic™ CEBM48316
Spitfire Mk.I to Mk.V Camouflage Masks ("B" Scheme)
-
Black Magic™ CEBM48180
Spitfire Mk.V Canopy/Wheel Hub Masks
-
Victory Productions'
VAPD48006 Spitfire: Aces of the Empire
-
Monofilament (invisible
mending thread) for antenna rigging
-
Polly Scale Acrylic
Paints:
|
Tamiya's Spitfire Mk.I is a great kit straight from the
box for the beginner; but still offers plenty of potential for extra
detailing for more ambitious modellers.
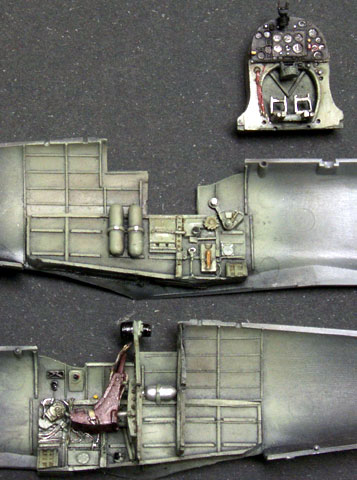
The Cutting Edge cockpit adds very useful detail to the
very visible cockpit.
The Victory Productions decals were excellent too - and
only another 40 Spitfire options on the sheet to choose from after this
one!
|
 Home |
What's New |
Features |
Gallery |
Reviews |
Reference |
Forum |
Search
Home |
What's New |
Features |
Gallery |
Reviews |
Reference |
Forum |
Search


 Painting
the Cockpit
Painting
the Cockpit