|
Focke-Wulf Ta 183B
by Anthony Manzoli
|
 |
|
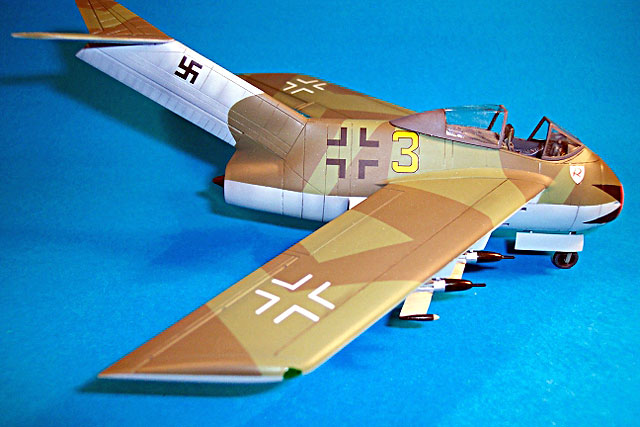
Focke-Wulf Ta 183B
Huckebein |

AMtech's
1/48 scale Ta 183 is available online from Squadron.com
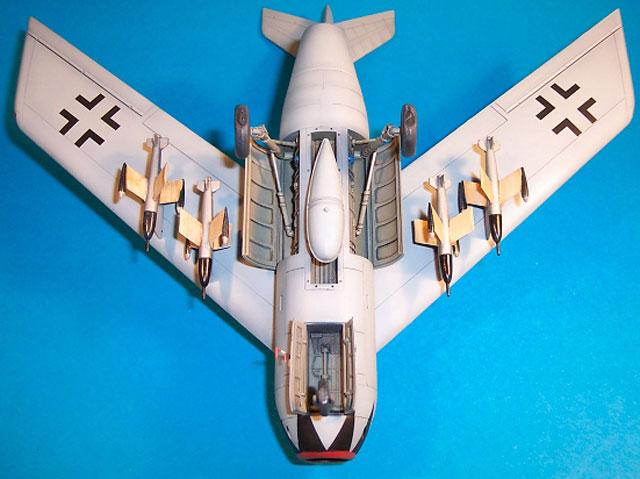
This is the AMtech 1/48 scale Focke-Wulf Ta 183B
kit reboxed by Tamiya.
I purchased the kit second hand so it was missing
the Kettenkrad, which Tamiya boxes with many of it's late war jets.
The kit has already been reviewed on a number of
occasions so I will not go into detail about the actual kit. Instead, I
will discuss what I decided to do with it.
I built the kit out of the box with the exception
of adding fuse wire to the back of the instrument panel, which is barely
noticeable, adding some aftermarket etched belts by Extra Tech, and
cutting apart the one piece canopy.
The kit falls together with no need of any filler,
just some very light sanding and polishing. I like using the soft nail
files for this.
Once all the major parts were glued together, I
masked the cockpit and started by preshading with flat black.
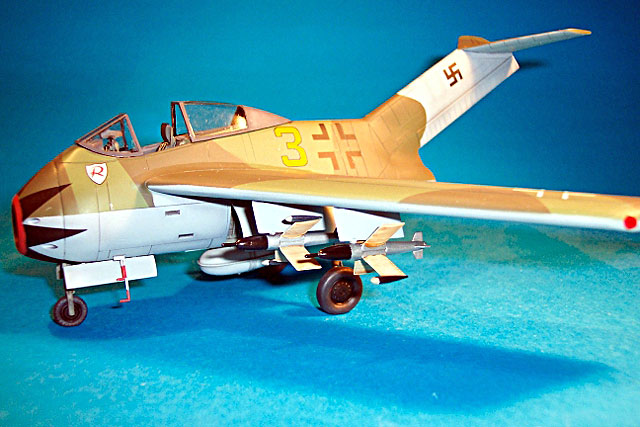
Being a late war Luftwaffe project, finishing the
kit is up to your own imagination. I decided to go with the splinter
pattern but opted to mark it with the same markings featured on the
front cover of Walter Schick and Ingolf Meyer's book, "Luftwaffe Secret
Projects Fighters 1939-1945."
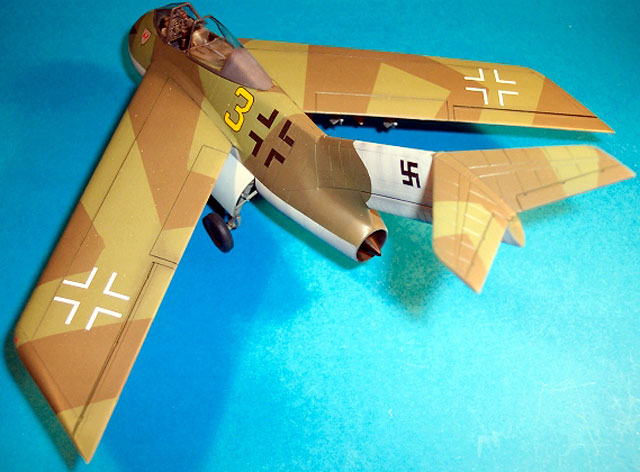
The preshading technique only really shows under
lighter colours, and ends up getting covered by the upper camouflage
colours but is still a bit noticeable. After the preshading, I painted
the under wings and fuselage as well as the tail with Gunze RLM 76. I
allowed this to dry overnight since I would be masking it for the upper
colours.
I proceeded the next day to mask using Tamiya low
adhesive tape and applied the RLM 83 Light Green to all of the upper
surface. I allowed this to dry over night and then masked the splinter
pattern and applied the RLM 81 Brown Violet. This was the main portion
of the paining.
While this dried for a day I went ahead and painted
the landing gear doors, landing gear, wheels, gear legs and rockets.
This would speed up the finishing process once the paint had dried. I
gloss coated it using Pascoe's Long Life, which worked pretty well, and
allowed it to cure for two days before decaling.
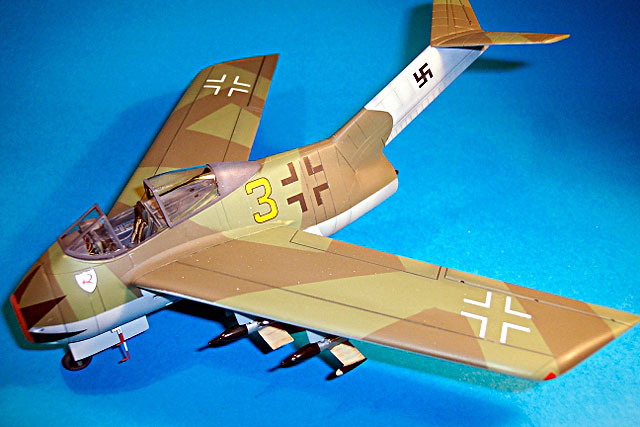
Once the decals were on I finished the construction
of all the accessories and matte coated it using the Long Life mixed
with Tamiya Flat Base. The canopy was glued on last.
This was definitely a fun build and I might do
another.
Click on the thumbnails
below to view larger images:
Model, Images and Text Copyright ©
2003 by Anthony Manzoli
Page Created 28 August, 2003
Last Updated
17 March, 2004
Back to
HyperScale Main Page
|
 Home |
What's New |
Features |
Gallery |
Reviews |
Reference |
Forum |
Search
Home |
What's New |
Features |
Gallery |
Reviews |
Reference |
Forum |
Search