|
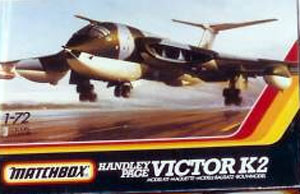
The 1/72 Scale Matchbox
Handley-Page Victor B.2
by Bill "C2C" Dye
|
|
|
Handley-Page Victor B.2 |

HyperScale is proudly supported
by Squadron.com
 Suddenly it occurred to me. I didn’t have a model of a big sweet
potato on a stick! So I decided to build the Matchbox (yeah, yeah, I
know) Victor. Suddenly it occurred to me. I didn’t have a model of a big sweet
potato on a stick! So I decided to build the Matchbox (yeah, yeah, I
know) Victor.
The Victor seemed to be the closest thing the British had to the U.S
B-52; that is, if you consider longevity and ignore looks.
First flown in 1954, the Victor was the third of the “V” bombers. In
1962 the Victor was re-engined and received numerous other improvements.
It was then deployed in the No.139 Squadron as the B2 variant. After
being out of service for some time, the Victor was converted to the K2
tanker configuration with reduced wing span. The K2s were used in
Operation Granby (Desert Storm to us Yanks) and yes, I’m told you can
get decals for that too.
Inspired by a November 1983 “Scale Models” magazine article and a set of
Bentley drawings loaned to me by Dave Hansen, I decided to follow the
same process as in the magazine article and backdate the Matchbox kit to
the B2 bomber version.
The Matchbox
1/72 Scale Victor
|
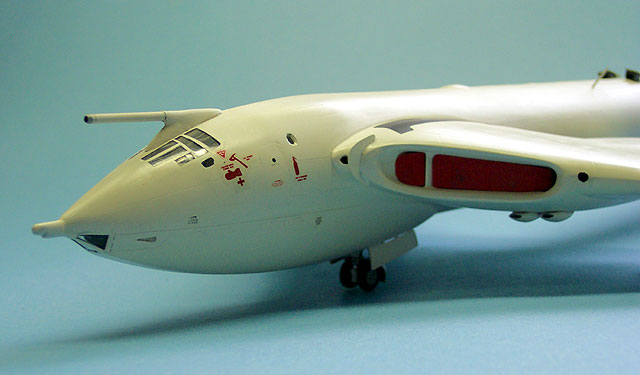
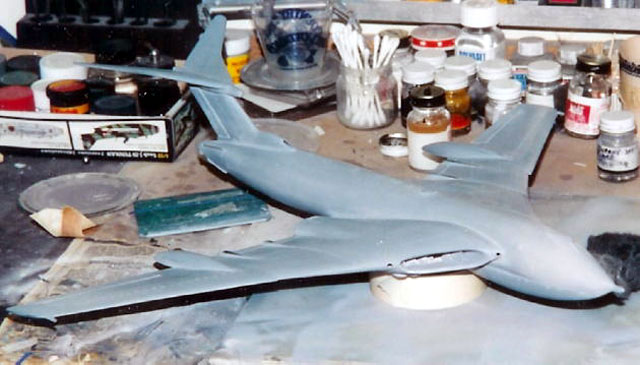
The Fuselage
This
is not a ‘no-brainer’ nor ‘add glue, shake the box . . .voila, a
nice model!’ It takes a fair amount of work, but nothing unreasonable .
. . . ‘course after a Nova Flying Wing . . . but, that’s another story.
Prior to assembly I sanded off all of the yucky double raised panel
lines. I re-scribed the wings, tail and horizontal stabilizer before
gluing the halves together. (Hint: scribe between the double raised
lines first, then sand the raised lines off.).
The fuselage went together in a straight forward manner, i.e. toss in
a cockpit, ton of weight, glue together, hack off the aft refueling
apparatus, touch of ‘Bondo’, file, file, sand, sand, dunk, sand, sand,
dunk (s,s,s,d)– you’re there!
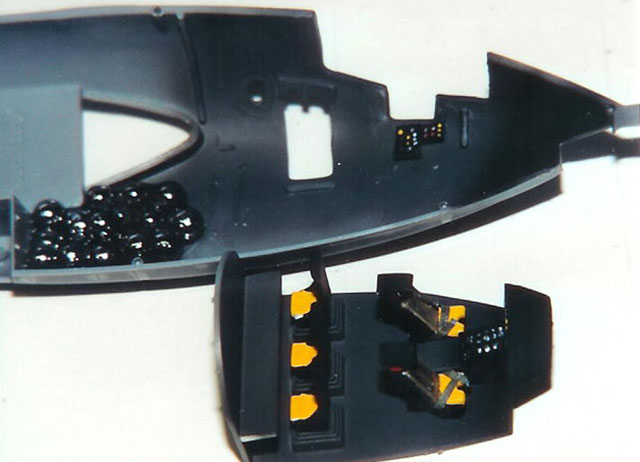
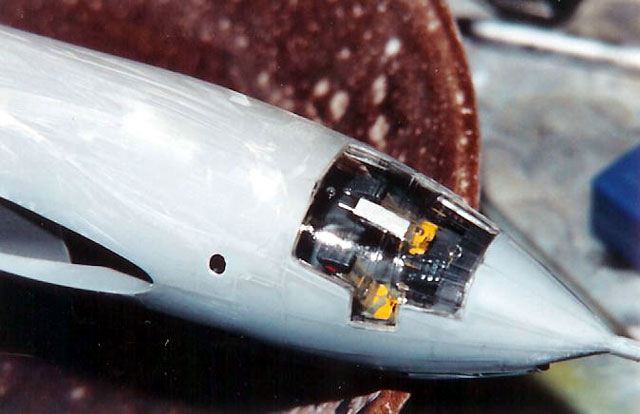
I dipped the canopy in Future, set it wet onto a paper towel until
dry and epoxied it to the fuselage . . . that ought to hold it! The fit
was terrible, hence epoxy because I was going to ‘s,s,s,d’ (see above)
to smooth out the . . . ah-hum, irregularities with the fit.
I globbed super glue around the canopy perimeter to fill the seams and
then made a pencil tracing of the canopy window patterns and taped that
to the wall so I wouldn’t lose it! I broke out the file and got rid of
all the raised lines, super glue blobs and then s,s,s,d with 400,
600,1000,1500, 2000, then polished it with Blue Magic. This was not as
bad as it sounds; maybe an evening or less. I put Scotch magic tape to
the now transparent windows based on the pencil trace I made earlier
(thank goodness I taped it to the wall!).
I cut off the refueling probe from the probe housing and replaced it
with something round(!) like a brass tube.
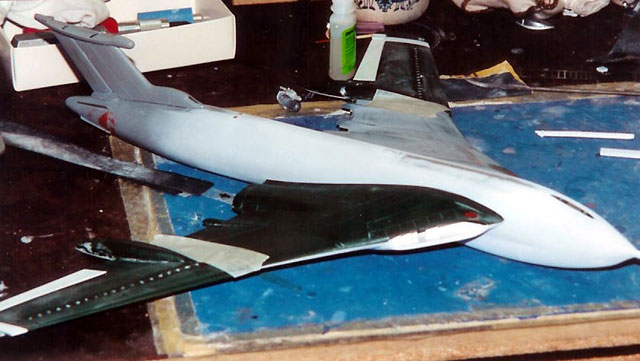
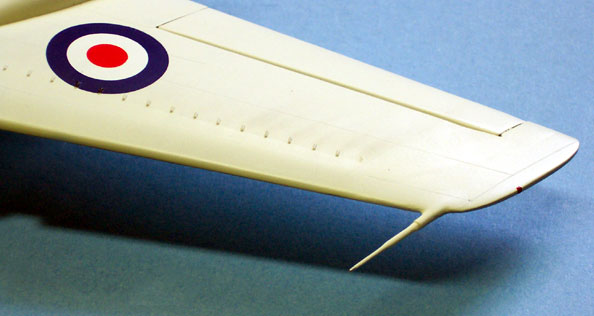
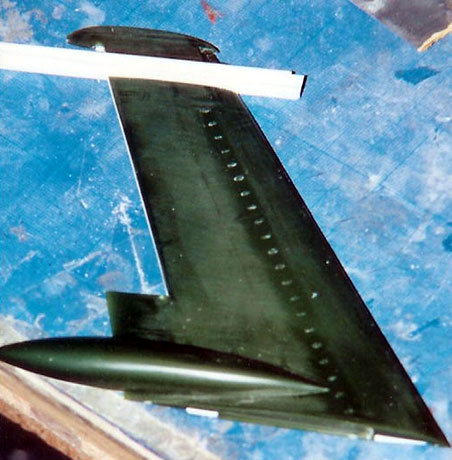
Wings
The kit’s wings are divided into eight inboard and outboard halves. I
glued these together and the real fun began.
The intakes, well . . . . stink. I had no interest in reworking all of
the guide vanes per the “Scale Model” reference photos. Hmmm what to do?
. . . . Intake covers! Yea, yea, I know . . . cop out. But they’re nice
and red and will give the model some visual interest . . . that’s my
story and I’m sticking to it! Even at that, I spent an evening or two
making just the intake lips presentable, not to mention making the
covers.
The exhausts are way too thick but to thin them I’d have to bore out the
entire exhaust. Instead, I deep scribed around them to make them look
separate from the wing. Not the best, but it will do. I cut a slot with
a triangular super thin razor saw for the omitted wing fences and
drilled holes for the baby intakes on both sides of the main engine
intakes . . . with the intake covers.
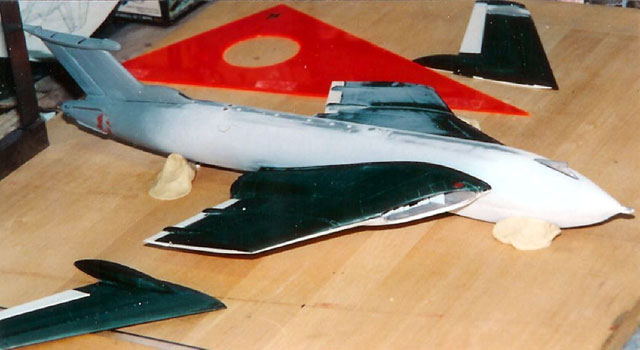
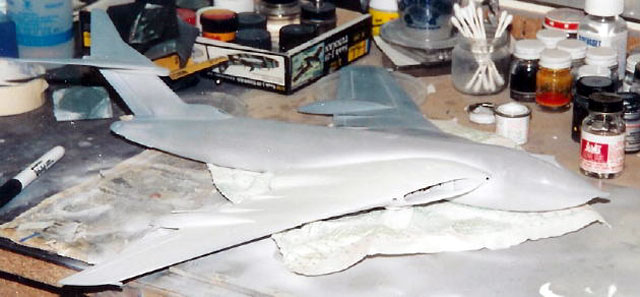
Outboard Wing Panels
What a pain! But don’t panic . . . it’s not that bad.
I cut off the wing tip and set it aside. (Pick up the razor saw . . .
take a deep breath and just do it!) I then attached a piece of built up
Evergreen plastic 0.3 inches wide with thickness to match the cut off
piece. File, file, file, sand, sand, sand (fffsss). Add another piece of
plastic to build up the space between the aileron and the extended wing
tip . . fffsss. ‘Flush’ the kit pitots and replace them with small
pieces of tubing.
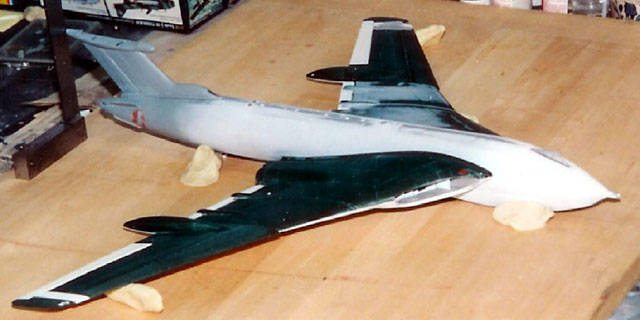
Now, with the fuselage, inboard and outboard panels done, it’s time
to attach the vertical tail to the fuselage. To facilitate this
attachment and alignment of the tail, the fuselage was pressed into some
clay that was stuck onto a piece of ¾” pressboard (my alignment board).
The inboard wing panels were then glued to the fuselage. The
wing/fuselage fit was so positive the use of the alignment board was
unnecessary. By the way, this was the best feature of the whole kit. . .
. . OK, the only feature.
With the model on the board I attached the outboard wing panels.
Measure, adjust, measure adjust, then ‘zap’ with some super glue . . . .
sure hope I measured it right! Same with the horizontal stabilizer. This
fit was really bad and there was a lot of fffsssing.

Nice kit so far, huh!
Click the thumbnails below
to view larger images:
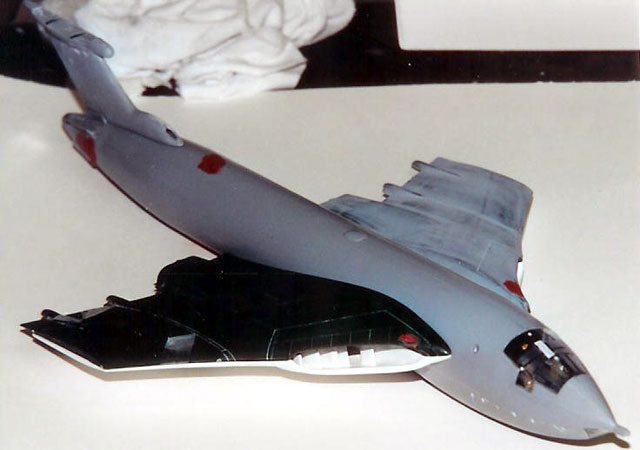
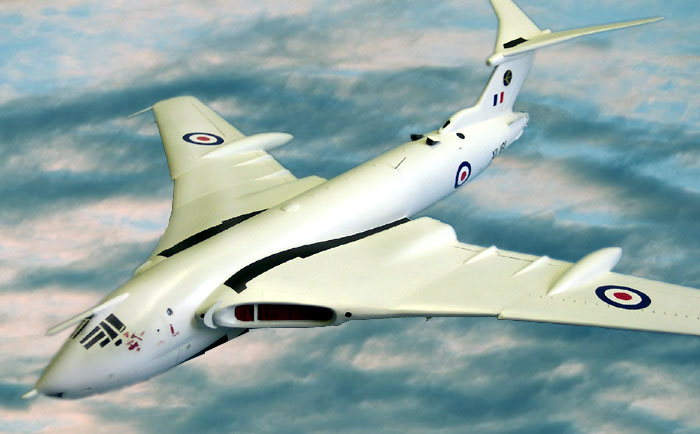
Well now it looked like a sweat potato with wings and a tail! I hosed
it down with primer and sanded it with a Scotchbrite pad.
At the time,
white paints varied pigment wise. I had tried Floquil Reefer White on my
XB-70 and really liked that so I used it here. To reduce the ‘sand’
effect I mixed 2 parts Floquil Reefer white paint, 3 parts Floquil
Crystal Cote and 12 parts lacquer thinner. This took about 3 or 4 coats
and the Crystal Cote took most of the ‘sand’ effect away. I over-sprayed
it with plain Crystal Cote and added decals. XTRADECAL roundels were
used with numbers from the kit. Microscale Black sheet was used for all
the black walk areas. Several more hours for the gears, pitots, intake
covers (yea, yea, I know) and little thingies on the top of the
fuselage. Done!
It’s big, it’s ugly, it’s British and I absolutely love this
aircraft.
The kit was kinda . . . well, crappy, but with some work I think it
looks okay especially next to my all white Vulcan, but that’s another
story...
Click the thumbnails below
to view larger images:
Model, Images and Text Copyright © 2003 by
Bill Dye
Page Created 14 March, 2003
Last Updated 17 March, 2004
Back to HyperScale
Main Page
|
 Home |
What's New |
Features |
Gallery |
Reviews |
Reference |
Forum |
Search
Home |
What's New |
Features |
Gallery |
Reviews |
Reference |
Forum |
Search